Water is such an ubiquitous part of our existence that there’s no wonder that it’s found its way into our artwork as well, and beginners often wonder how to paint water but are overwhelmed by the prospect. Well, wonder no more because this post is going to teach you how to paint water of all different magnitudes in simple and doable ways!
How to Paint Water with Acrylic Pouring
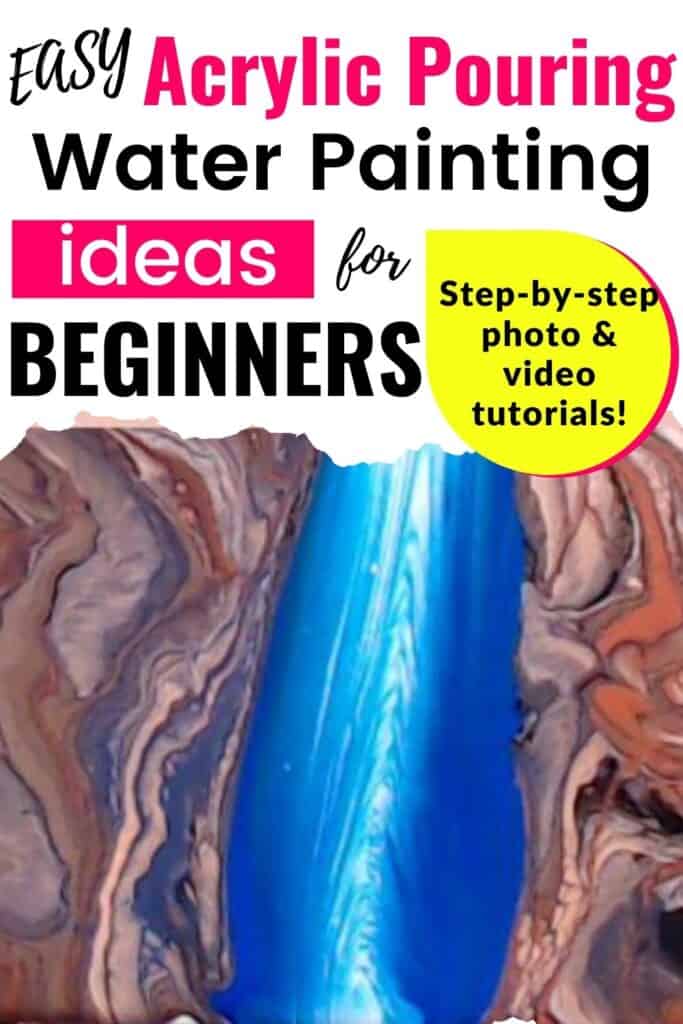
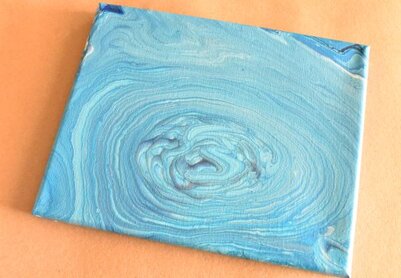
Acrylic pouring is such a dynamic art form that you can paint nearly anything that you set your mind to, including water with amazing texture, landscapes with water, detailed water ripples, water with sunset reflections, water with beautiful movement, and more.
What’s more is you can paint almost any body of water you want with different acrylic pouring techniques, like the ocean, waves, waterfalls, underwater scenes, whatever you set your imagination to!
New to Acrylic Pouring?
If you’re pouring for the first time and would like more explanation on materials, processes, and terms, you can head on over to my Beginner’s Guide to Acrylic Pouring. You can also head over to my Comprehensive Guide to Acrylic Pouring Techniques for more information on all of the different techniques and my How to Thin Acrylic Paint for Acrylic Pouring post to learn all about pouring mediums!
If you want more information about colors and color theory as it relates to acrylic pouring, head on over to my post about Choosing Colors for Acrylic Pouring and grab your FREE printable Color Wheel and Color Scheme Guides.
This post contains affiliate links, which I earn a small comission from. These are provided for your convenience, and the price isn’t increased at all.
Ripples
Paints:
I mixed 5 shades of blue with the colors above to use in my ring pour so as to give the ripples depth.
Pouring Medium:
- Floetrol
- Water
Technique:
Canvas:
How to Paint Water Ripples with Acrylic Pouring Video Tutorial
How to Paint Water Ripples with Acrylic Pouring Step-by-step Instructions
- Layer your paints into your cup by pouring the paint into cup slowly and allowing it to travel down the side of the cup. Pour many small layers in alternating colors to achieve the ripple effect.
- Cover your edges and corners or even the whole canvas in some of your pouring paint to facilitate the paints movement across the canvas in order to keep the rings in tact.
- Slowly pour your paint onto the canvas, moving the stream of paint in small circles.
- Tilt your canvas in a circular motion slowly, stretching the paint outward in all directions and covering the canvas.
- If you run out of paint like I did, do not panic and do not over stretch. Grab some other paint and fill in the gaps. This will help you be able to tilt your painting and fill the canvas without overstretching your paint and losing the ripple shapes.
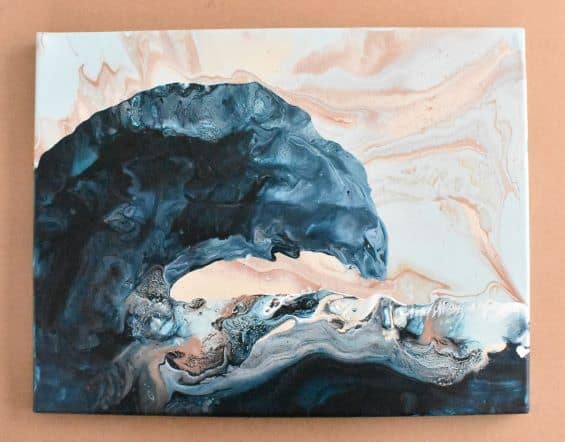
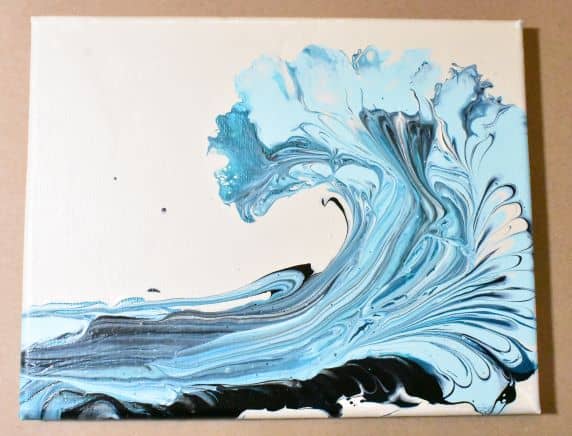
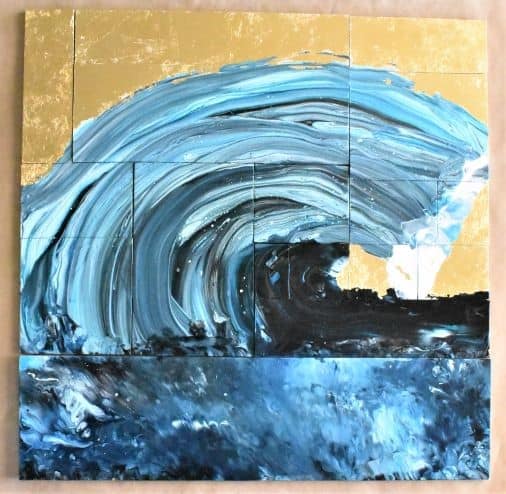
Waves
Waves are something that caught my attention for a while, and I did something of a small series of them, so there are a few different tutorials to be found here on Homebody Hall. Just click on the picture below to see the whole tutorial!
Waterfalls
Waterfalls are some of nature’s most gorgeous feats, so when I set about painting them, I could hardly stop with just one technique. Therefore, in my waterfall tutorial, I’ve got three different techniques you can use to paint a waterfall!
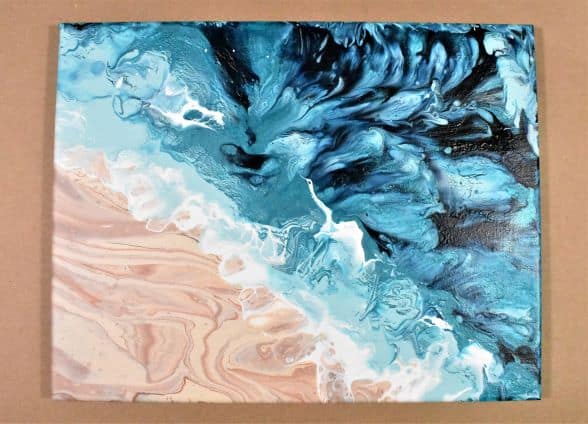
Ocean
Who doesn’t love just laying on the beach, listening to the waves crash in and sand beneath your toes? Ah, that’s my happy place. To channel that, I’ve done a couple tutorials on how to paint that beautiful ocean water. One incorporates the sand and the the beach, the other the sunset and the ocean. Again, just click the picture below to see the whole tutorial!
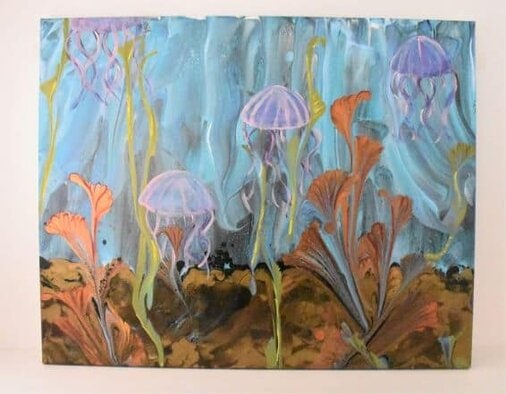
Underwater
When we’re talking about how to paint water, we can’t forget all of the beauty and magic that lies beneath the water! So if you’re looking for how to paint an underwater scene, you can do that with acrylic pouring too!!
How to Paint Water Embellishments by Hand
Even though I love acrylic pouring, I think that you can add another layer of wonder with some strategic hand-painting! So I also wanted to show you how I paint water by hand to enhance and embellish my acrylic pours sometimes!
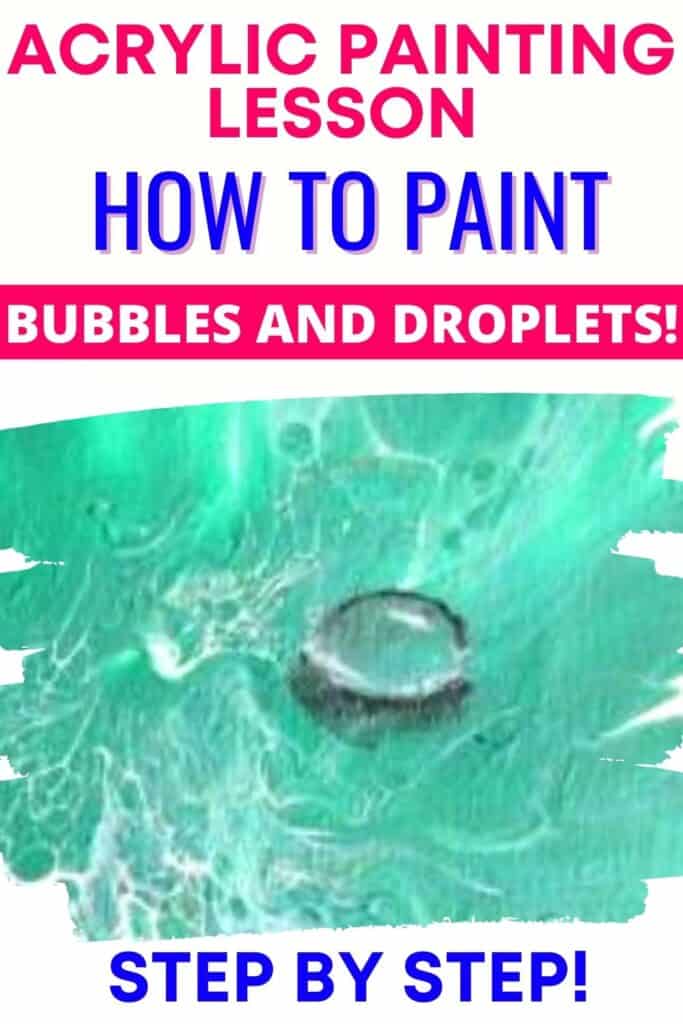
Water Droplets
Paints:
Tools:
- Paintbrushes (one with a finer tip and one a little bit wider for blending)
- Outline the top of your water droplet in black. If your water droplet is smaller, it will be round. If you’re making a larger droplet, it will be more oblong, like the one I painted above. A reference photo is often helpful for determining the proper shapes.
- Shade in the top of your bubble with a very transparent layer of black. You want the background to show through as it would with a real water droplet. To thin the paint, you can add a little bit of water. Don’t be afraid to play with it, adding some paint and lifting it off with paper towel, to get the right shade.
- Outline the bottom of your water droplet in white, just as you did the top of the water droplet.
- Shade the bottom of your droplet with a very transparent layer of white, working the paint in the same manner as you did with the black.
- Add the shine marks to your droplet. These are two slightly curved lines on opposite sides of your droplet. In order for the droplet to look realistic, you’ll need to determine where your light source is and work with it. For me, I decided that the light was going to be shining in the direction indicated by the yellow arrow. So the shine marks are right along that same direction.
- Lastly, you’ll add your shadow in black, which you also want to be in line with your light source. The shadow does not have to be very dark because the light does pass through the water to some degree. So as you can see, the shadow for my droplet is more toward the right because that is where the droplet would diffuse the light source. Your shadow should be proportionate to your droplet, so if you have a giant droplet, you will have a large shadow, and the opposite is true as well for smaller droplets.
Bubbles
Paints:
Tools:
- Paintbrushes (one with a finer tip and one a little bit wider for blending)
The steps for painting a bubble are much the same for painting a droplet, as outlined above. Bubbles generally look best in staggered columns going upward.
- Outline the top of your bubble in black; they’re going to be very round for the most part.
- Again, fill in the top of your bubble with a transparent layer of black.
- Outline the bottom of your bubble in white.
- Fill in the bottom of your bubble with a transparent layer of white.
- Add the shine marks to your bubble. The light source is likely to be mostly from directly above if the bubble is underwater, so your shine mark will be close to the very top of the bubble and your bottom one close to directly on the bottom of your bubble.
- No need to worry about a shadow for an underwater bubble.
Go Forth and Pour!
And there’s everything you need to know about how to paint water the easy way!! Now go play with some paint and experiment with some embellishments! If you’re into painting nature, check out my nature painting ideas post for tons of ideas and inspiration!
As always, check out my updates on Facebook and Instagram and feel free to peruse Homebody Hall for more fluid art tips, tricks, and tutorials! Also head over to Youtube and subscribe to get my videos sent to you as soon as they come out!!
And now you can joing my Facebook Group, Flourishing Fluid Arts with Homebody Hall and get help, tips, inspiration and just hang out and have a great time!
Want to remeber this water painting tutorial? Be sure to pin it to your favorite Pinterest board!
