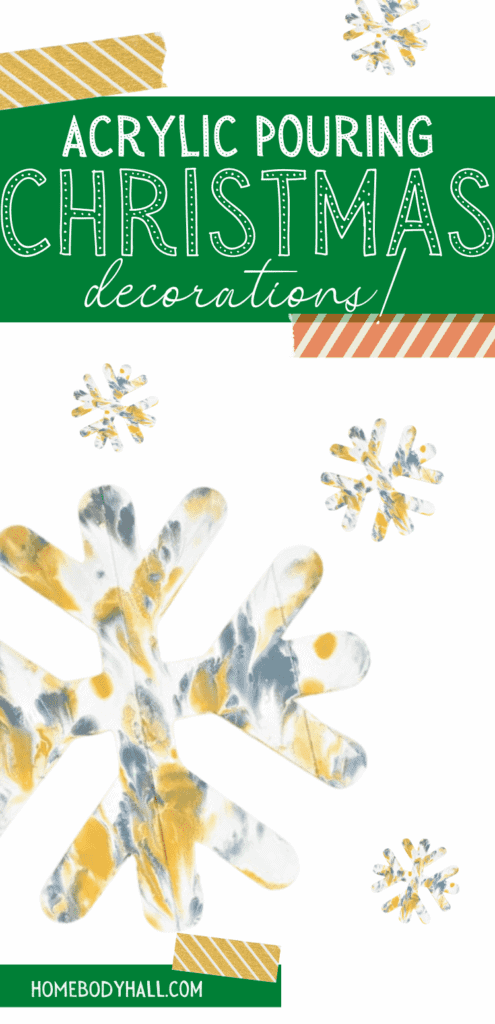
If you’re looking for some quick DIY Christmas Decor to add a little holiday cheer to your home, look no further than these fun acrylic pouring projects! These wood cutouts decorated with acrylic pours are perfect to celebrate the season in a quick, easy, and fun way!

If you’re pouring for the first time and would like more explanation on materials, processes, and terms, you can head on over to my Beginner’s Guide to Acrylic Pouring. You can also head over to my Comprehensive Guide to Acrylic Pouring Techniques for more information on all of the different techniques and my How to Thin Acrylic Paint for Acrylic Pouring post to learn all about pouring mediums!
(If you’re curious about colors and color theory as it relates to acrylic pouring, head on over to my post about Choosing Colors for Acrylic Pouring and grab your FREE printable Color Wheel and Color Scheme Guides.)
Acrylic Pouring DIY Christmas Decor!
This post contains affiliate links, which I earn a small comission from. These are provided for your convenience, and the price isn’t increased at all.
Techniques:
- Dirty-cup Pour – Star
- Acrylic Pour Reverse Dip with plastic wrap- Snowflake
Paints:
Star
For the dirty-cup that I used on the star, I used the rest of the paint I had mixed for my DIY Advent Calendar, red, white, and a ton of metallics!
- Artist’s Loft Deep Red
- Artist’s Loft Titanium White
- Master’s Touch Permanent Black
- DecoArt Dazzling Metallics Glorious Gold
- DecoArt Dazzling Metallics Splendid Gold
- DecoArt Dazzling Festive Green
- DecoArt Dazzling Festive Red
- Artist’s Loft Metallic Bronze
- Artist’s Loft Old Gold
- Master’s Touch Crimson
Snowflake
- Artist’s Loft Titanium White
- DecoArt Dazzling Metallics Glorious Gold
- DecoArt Dazzling Metallics Splendid Gold
- Artist’s Loft Old Gold
- DecoArt Dazzling Metallics Shimmering Silver
Pouring Medium:
- Floetrol
- Water
Canvas:
- One wooden star sourced at the Dollar Tree
- One wooden snowflake sourced at Target
(Like THESE wooden cutouts at the Dollar Tree!)
Tools:
- Plastic wrap
Embellishment:
- “Merry Christmas” in Sharpie water-based paint pen in silver
Acrylic Pouring DIY Christmas Decor Video Tutorial
Acrylic Pouring DIY Christmas Decor Step by Step
Star
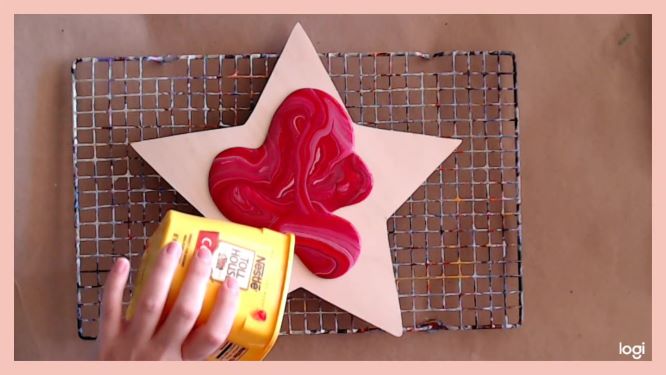

- Pour your paint into your pouring cup however you’d like! Get creative, pour from different heights, different amounts of colors, have fun with it!
- Pour the paint onto your wooden shape.
- Tilt the paint to cover your wooden shape.
- When the paint is dry, embellish how you’d like.
Snowflake
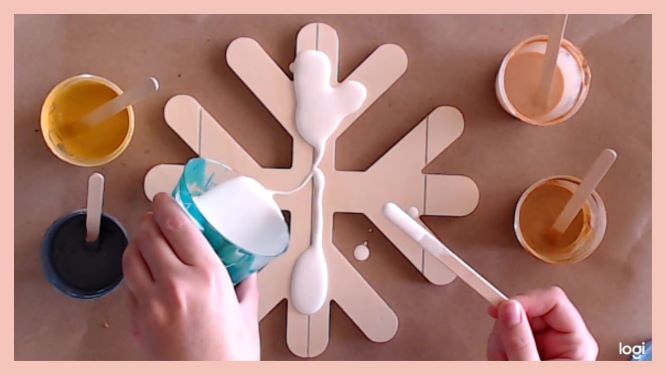


- Layer your paints onto the wooden shape as you’d like.
- Lay plastic wrap on the paint, pressing it down into the paint.
- Pull the plastic wrap off.
- With a popsicle stick, touch up any spot on the edges that may have been missed.
Go Forth and Decorate!
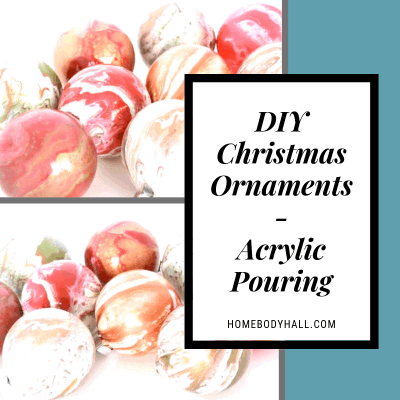
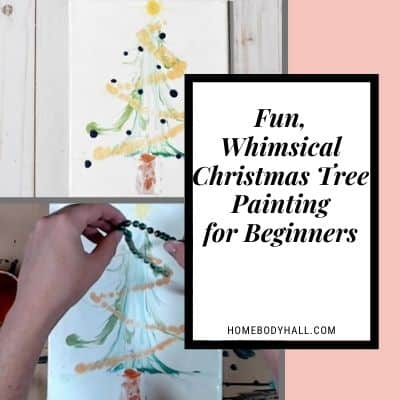
Making your own DIY Christmas Decor is a fun family activity and a great way to make holiday memories, so have fun and give it a go! And if you’re looking for other fun acrylic pouring DIY Christmas decor, be sure to check out my posts on acrylic pouring ornaments, a DIY advent calendar, as well as a whimsical Christmas Tree painting!
And if you need ideas to give your family for what to get you for the holidays, click here to check out my gift guide of 43 Genius Gift Ideas for Artists into Acrylic Pouring!
As always, check out my updates on Facebook and Instagram and feel free to peruse Homebody Hall for more fluid art tips, tricks, and tutorials! Also head over to Youtube and subscribe to get my videos sent to you as soon as they come out!!
And now you can joing my Facebook Group, Flourishing Fluid Arts with Homebody Hall and get help, tips, inspiration and just hang out and have a great time!
