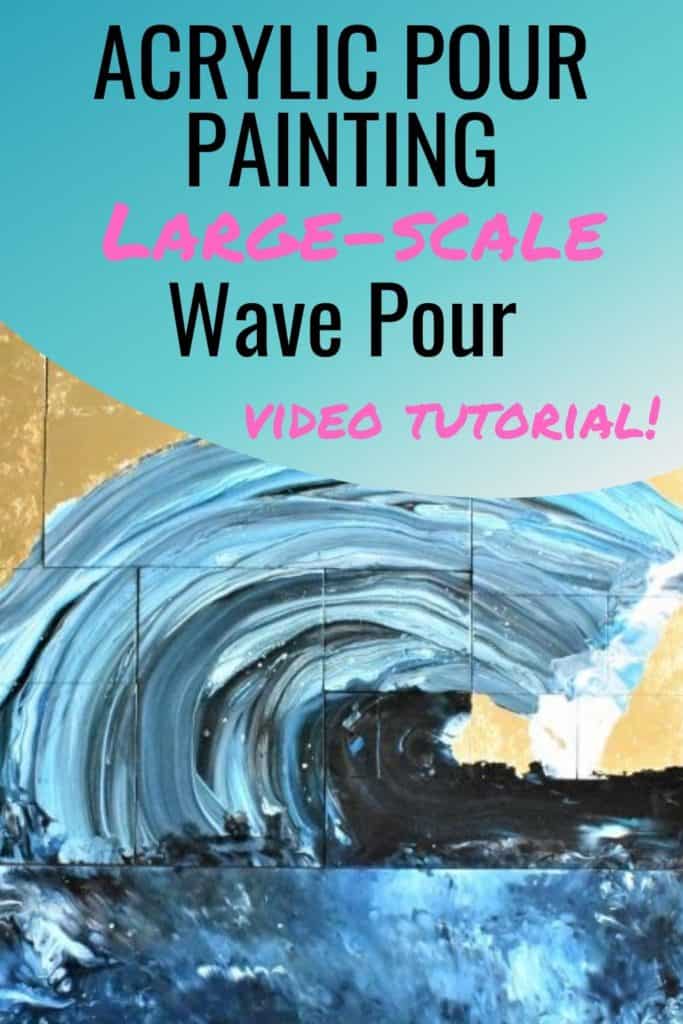
To add to my Beach Sunset , Beach Scene, and Wave Pour pieces, I have been working for the last couple weeks on a large-scale wave pour. And I am super excited to share the finished product with you all.
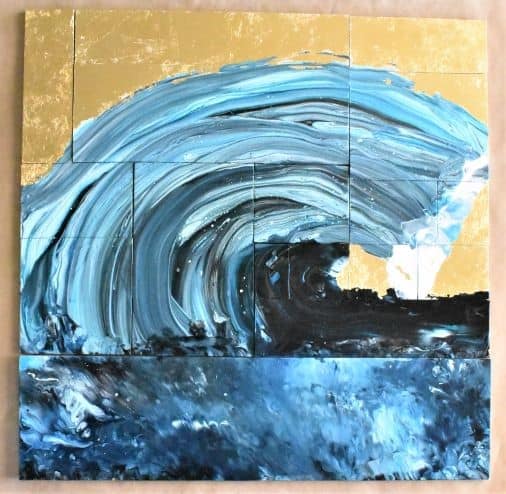
The inspiration for this project came from the last wave pour I did, when I was frustrated that I couldn’t move the paint differently in different parts of the painting.
Acrylic Paint Pouring Large-scale Wave Pour Materials
- Swipe with baby wipe
- Straw blown
- Reverse Dip with Saran Wrap
Paints:
- Navy Blue mixed from Artist’s Loft Bright Blue and Master’s Touch Permanent Black
- Artist’s Loft Metallic Cobalt
- Artist’s Loft Titanium White
- Primer Marquee Color Sample – Teal color*
- Dunn Edwards Perfect Palette Sampler, Interior Velvet Light Base – Cream color*
*I don’t know the exact colors of these because I purchased them in the “oops” section of Home Depot as well as from the HabiStore, but I noted as much identifying info as I have.
In my previous beach-themed pours, I also used a salmon color and a mauve color, but I was so in love with the wave when I was done that I didn’t want to add any business to the background.
Pouring Medium:
- Floetrol
- Water (only in acrylics)
Canvas:
- MDF – 24 in. x 24 in. x 1/4 in.
Embellishment
- Craft Smart Premium Gold Leaf Sheets adhered with Mod Podge
Prepping for a Giant Wave Pour
Sketching and Cutting
So the first thing I did was draw out the shape of the wave that I wanted to pour, and I drew in where I felt like the different shades would be as well as where the movement of the piece would be different. This is what I think made this an awesome wave, really knowing where I wanted the colors to go and how I wanted the piece to move.

Then I divided the board into squares and rectangles. My husband used a bandsaw to cut the MDF into the shapes that I requested. Some of the pieces were a little wobbly, but overall, they look pretty good.
On the practical side of things, I made sure to number both the front and backside of the pieces and took a picture before doing anything so that I could put it back together with minimal headache.
TIP: I sketched this out in Sharpie, but I would really advise against this, especially if you’re going to be working with lighter colors. In mine, for instance, the turquoise showed through the white in the foam. So pencil would probably have been a better choice.
Now, as you’ll see in the video, I didn’t actually end up moving the paint on the pieces separately, but I feel like the different geometric shapes add to the composition of the piece and also bring an interesting juxtaposition to the organic shape of the wave and water.
Priming
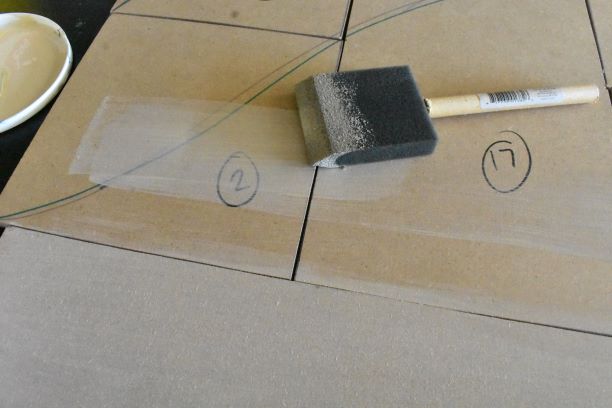
I primed the MDF with two thin coats of the Dunn Edwards Perfect Palette Sampler, Interior Velvet Light Base – Cream color and a foam brush.
Gold Leaf Tips
This is only the second time that I have used gold leaf. The first being on my unicorn pouring project, which was much smaller. So I learned a lot about gold leaf on this project. So here’s a quick rundown of tips I wish I had!
- Use as little glue as possible. More glue does not equal more sticking with gold leaf, quite the opposite actually!
- Work in sections. When you’re using a super thin layer of glue, as you should be (see Number 1), things dry quickly.
- Wait for the gold leaf to dry for a while before you brush off the excess. Seriously, don’t be impatient.
- I can’t actually say for certain that the gold leaf flakes would be easier to use, but they look like it from what I’ve seen on other videos. Because half of my problem was getting the leaf off of the paper, I think that is what I will try next.
Go Forth and Pour!
Now, I still need to do the clear coat on the leaf to make sure that that stays put, but I am super happy with this piece and can’t wait to mount it and put it up somewhere in the house! I’d love to see your take on this project too, so drop me an email or a message on social media with a pic!
As always, check out my updates on Facebook and Instagram and feel free to peruse Homebody Hall for more ideas on how to make your house a home, on a budget! Happy creating!
2024 Color Palettes for Creating Updated Art
Let’s Throw a Paint Party: How to Host Your Own Paint and Sip
Do It Yourself Countertop Paint: Update Your Kitchen With Pour Paint
Want to remember this wave pour acrylic pour painting? Pin this tutorial to your favorite Pinterest Board!
