Cherry blossoms on a beautiful cherry tree is one of the most amazing visuals of springtime, so why not bring that wonderful feeling right into your home with a simple acrylic pouring cherry blossom painting?! This tutorial is awesome for beginners and is a great way to get your feet wet in painting and to make something beautiful for your home or for a gift.
If you’re pouring for the first time and would like more explanation on materials, processes, and terms, you can head on over to my Beginner’s Guide to Acrylic Pouring. You can also head over to my Comprehensive Guide to Acrylic Pouring Techniques for more information on all of the different techniques and my How to Thin Acrylic Paint for Acrylic Pouring post to learn all about pouring mediums!
So how do you paint a cherry blossom painting with acrylic pouring? Well, the two techniques that I used were:
- Dirty-cup Pouring
- Puddle Pour
What colors do you need to paint a cherry blossom painting?
Cherry blossoms are a glorious pink color, posed against the backdrop of dark, twisting branches. So when I was choosing colors for my cherry blossom painting, I chose two shades of pink, a lighter shade and a darker shade, and I chose umber for the branches.
I also added some metallics to the mix because I love them. I feel like they give a lot of depth to the painting. For the flowers, I added in some copper, and for the branches, I added in some bronze.
As far as the background, the sky is the limit (literally lol). You could do a black background to really showcase your flowers, add in a moon, use a sunset as a beautiful backdrop, whatever you’d like really.
I chose use a dirty-cup pour to create a nice spring day background with a light blue/teal color and white to give the impression of clouds. I also used a house paint for the blue becasue I knew that it would create some crazing or cracking that would add some natural texture to the painting. (If you don’t use the house paint, this shouldn’t happen.)
(If you’re curious about colors and color theory as it relates to acrylic pouring, head on over to my post about Choosing Colors for Acrylic Pouring and grab your FREE printable Color Wheel and Color Scheme Guides below!)
Materials You Will Need to Paint a Cherry Blossom Painting with Acrylic Pouring
This post contains affiliate links, which I earn a small comission from. These are provided for your convenience, and the price isn’t increased at all.
Paints:
- Artist’s Loft Copper
- Liquitex Basics Quinacridone Magenta
- Master’s Touch Crimson
- Master’s Touch Titanium White
- Artist’s Loft Metallic Bronze
- Ultra Pure White Base Behr Interior Matte /Exterior Flat Stain-blocking Paint & Primer Marquee Color Sample – Teal color*
All of my colors were mixed from the paints above. If you want to learn how to mix colors, be sure to grab your free color wheel printables and snag the helpful printable pack as well.
*I don’t know the exact color of this because I purchased them in the “oops” section of Home Depot as well as from the HabiStore, but I noted as much identifying info as I have. I also have listed some similar acrylic paint colors below these.
Pouring Medium:
- Floetrol
- Water
Tools:
Canvas:
How to Paint a Cherry Blossom Painting Video Tutorial
Step-by-step Cherry Blossom Painting with Acrylic Pouring
Background


As I said above, I wanted to make a beautiful spring sky for the background of my cherry blossom painting. So I did a dirty pour with a light blue/teal color and white to evoke the look of clouds.
- Pour your background colors into your pouring cup as you would for a dirty-cup pour.
- Pour the paint out in horizontal bands across the canvas, covering as much of the canvas as possible.
- Tilt the canvas until the entire canvas is covered and you are happy with the look of the background.
Branches


- Sketch out the branches with umber paint using a popsicle stick.
- Fill in your branches by pouring the paint along the lines that you sketched out.
- Pull out some thinner branches from your thicker branches.
- I pulled some of my background colors into the branches for texture, totally optional.
- Add some highlights into the branches to give them dimension, pattern, and texture. I used metallic bronze.
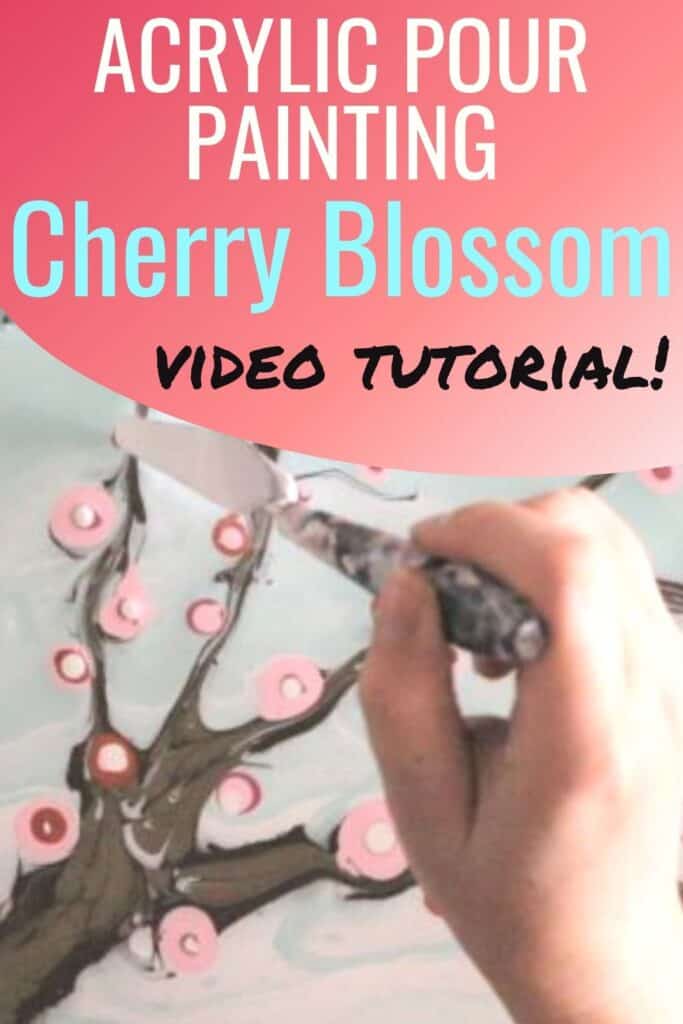
Flowers


Now it’s time to have some fun and paint some cherry blossoms on your tree! I used four colors total for my blossoms: light pink made from crimson and white, white, copper, darker pink made from magenta and white.
- Using one color at a time, use a popsicle stick (or if you’re having trouble getting the paint where you want it, you can use a pipette) to drop circles of paint onto your branches. I suggest using one color at a time so you can get a feel for color balance so that you don’t have a bunch of flowers of one color in one part and none of that color in another area.
- Continue layering your colors onto your flowers. I used two colors for each flower and white in the center of each one.
- Create the cherry blossom shape by using your skewer to pull your background paint from the edge of your circle into the center. Do this five times around each circle. I think the center looked nicest when I did a tiny spiral motion with the skewer on the last line in. Do this for each flower.
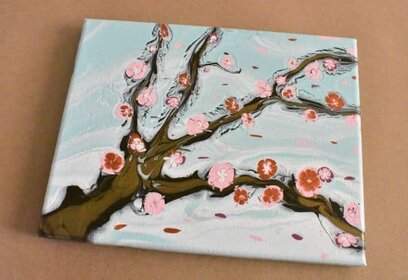
Extra Petals


I wanted to add some petals that were blowing in the wind. So I dotted the petal colors only to the right of the flowers and in an elongated way to give the feeling of them being carried by the wind.
Go Forth and Pour!
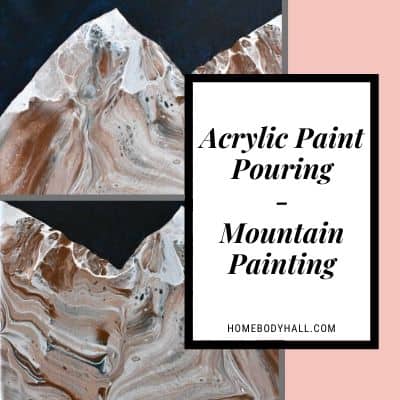
That’s how I created a simple acrylic pouring cherry blossom painting. If you like painting landscapes, you might also be interested in my ocean sunset, sunset painting, mountain painting, and beach painting projects.


As always, check out my updates on Facebook and Instagram and feel free to peruse Homebody Hall for more fluid art tips, tricks, and tutorials! Also head over to Youtube and subscribe to get my videos sent to you as soon as they come out!!

Ideas for Painting Mountains at Sunrise
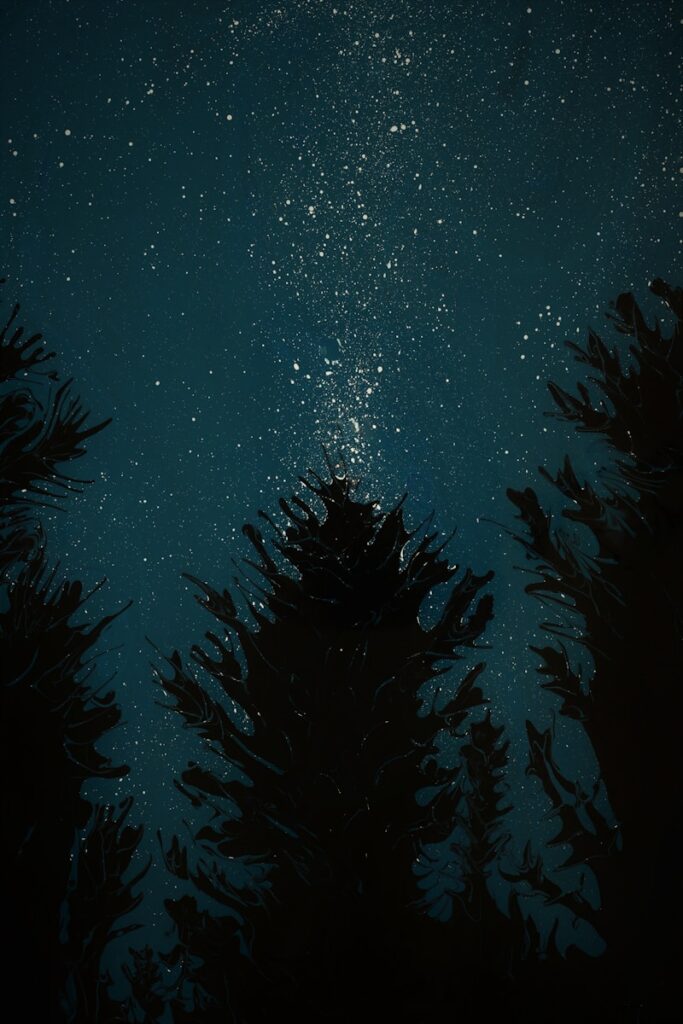
5 Inspiring Night Painting Ideas for Artists
Water Flower Ideas that Make Boring Days More Creative
Want to remember this simple acrylic pouring cherry blossom painting? Pin this tutorial to your favorite Pinterest Board!