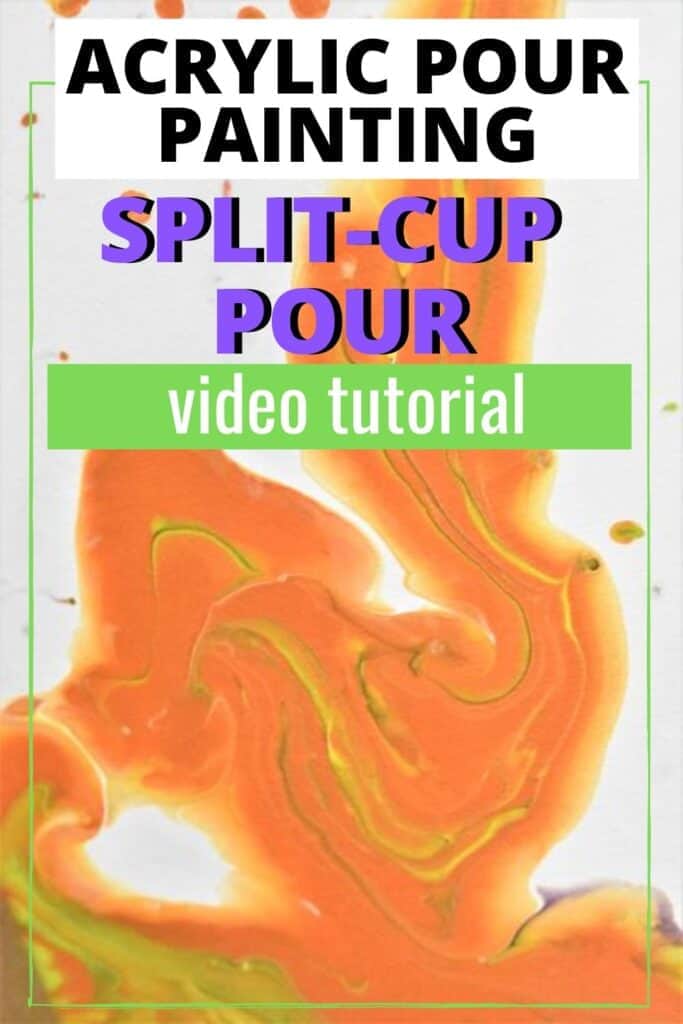
Day 28 in my acrylic pouring color theory series is a split-cup pour with a split complementary color scheme, fittingly enough.
The thing I really like about this technique is that it is an interesting way to work with negative space and yet still have some interesting pockets of color with the underlying cells.
If you’re curious about colors and color theory as it relates to acrylic pouring, head on over to my post about Choosing Colors for Acrylic Pouring and grab your FREE printable Color Wheel and Color Scheme Guides.
If you would like to follow along with my 30-day acrylic pouring color theory video series, grab your very own color wheel and color scheme guides and some paint, and head on over to the color theory section of Homebody Hall!
This post contains affiliate links, which I earn a small comission from. These are provided for your convenience, and the price isn’t increased at all.
Color of the Day (Day 28 – Split-cup Pour):
- Violet
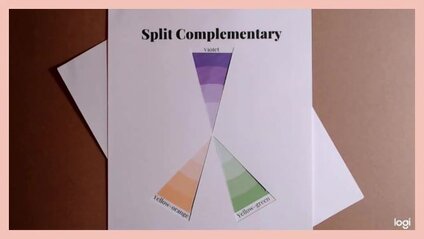
Color Scheme:
- Split complementary – Violet, Yellow-green, Yellow-orange
Shades Chosen:
- Violet
- Yellow-green
- Yellow-orange
Neutral Chosen:
- White
Technique:
- Split-cup pour
Paints:
All of the colors I used were mixed from the paint colors below. (Blue and magenta for violet, yellow and orange (red and yellow) for yellow-orange, yellow and green (blue and yellow) for yellow-green)
I used magenta for my violet hues because I think it makes a less muddy color because there isn’t a yellow undertone to it as there is with red. So if you ever want to make a very vivid violet color, go with magenta. I have found that I actually prefer the Liquitex Basics Quinacridone Magenta to the Artist’s Loft Brilliant Magenta.
- Artist’s Loft Brilliant Blue
- Artist’s Loft Brilliant Yellow
- Artist’s Loft Deep Red
- Liquitex Basics Titanium White
- Artist’s Loft Brilliant Magenta
Pouring Medium:
- Floetrol
- Water
Canvas:
Tools:
- Split cup (For this piece, I made a split cup out of a prescription medicine bottle hot-glued to the inside of a plastic cup.)
Sealant:
- Rustoleum American Accents Gloss Clear (1 thin coat)
Split-cup Pour Video Tutorial
Split-cup Pour Step by Step


- Lay down a layer of background paint. I didn’t do it for this one, but I wish I had to help it move across the canvas more easily. Alternatively, you can use more paint in the cup, which I also would have been happy with this on this piece.
- For this split-cup pour, I wanted to work with negative space, so I filled the inside cup with white and the space between the outside cup and the inside cup with my colors. But you can do anything you want with these two cups and differentiate them any way you want. I layered the outside cup with: yellow-orange, yellow-green, violet, yellow-orange, violet, yellow-green, violet.
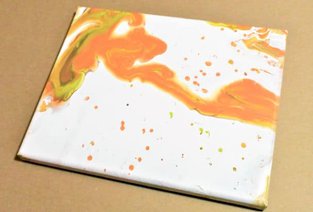
- Pour your cup out as you would an dirty-cup pour, pouring the paint as you see fit around the canvas. For this painting, I did a little bit of a spiral.
- Tilt your canvas until you’re happy with your painting.
Go Forth and Pour!
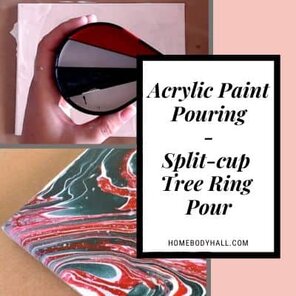
So as you see, you can do a lot with a homemade split cup and it’s super easy! If you are interested in seeing what a 3D-printed split cup can do, check out this split-cup tree ring pour!
As always, check out my updates on Facebook and Instagram and feel free to peruse Homebody Hall for more fluid art tips, tricks, and tutorials! Also head over to Youtube and subscribe to get my videos sent to you as soon as they come out!!
And now you can joing my Facebook Group, Flourishing Fluid Arts with Homebody Hall and get help, tips, inspiration and just hang out and have a great time!

Ideas for Painting Mountains at Sunrise

5 Inspiring Night Painting Ideas for Artists

Water Flower Ideas that Make Boring Days More Creative
Want to remember this split-cup pour tutorial? Pin Day 28 of this Acrylic Pouring Color Theory Series to your favorite Pinterest Board!