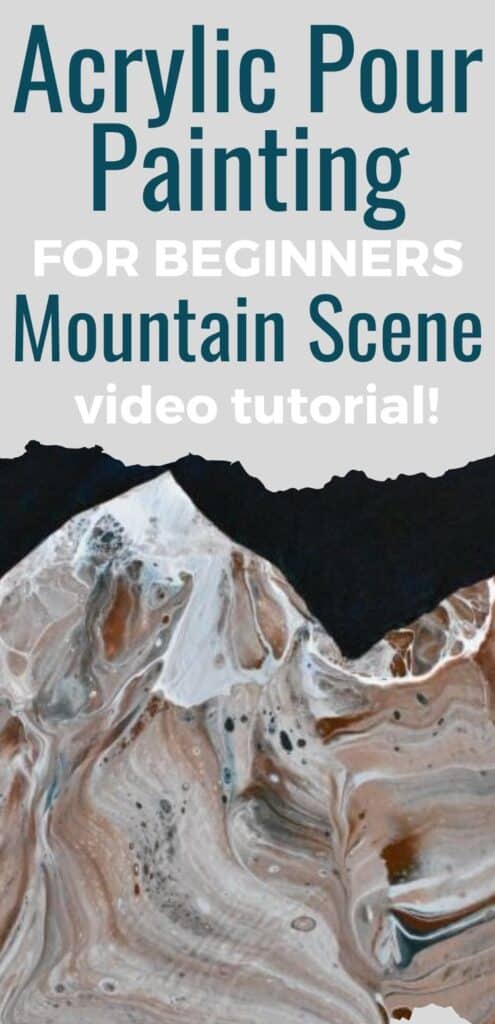
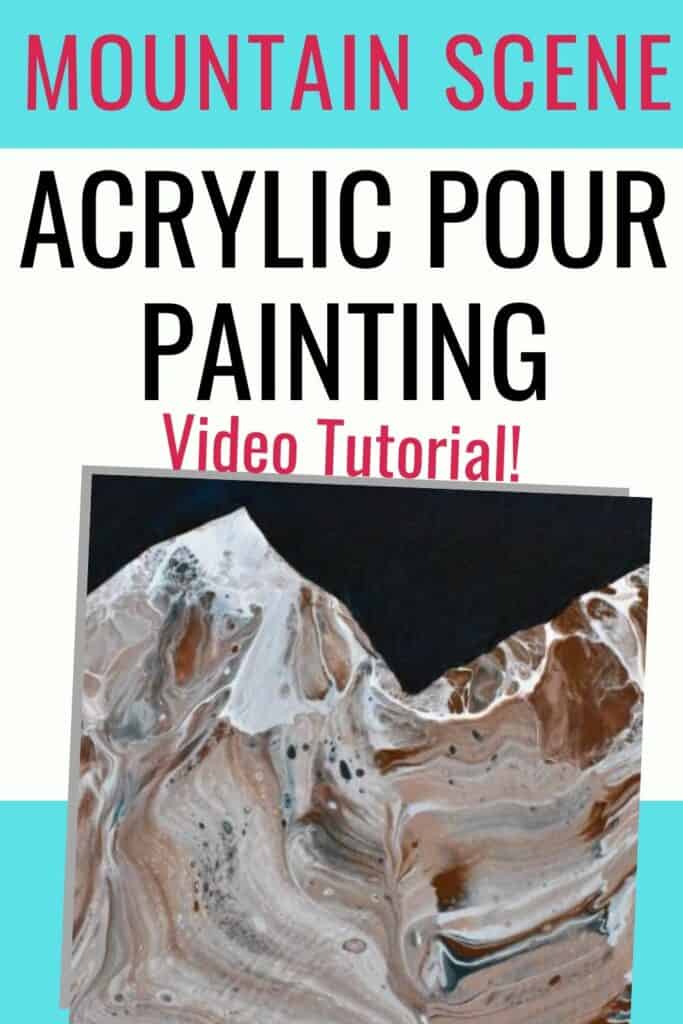
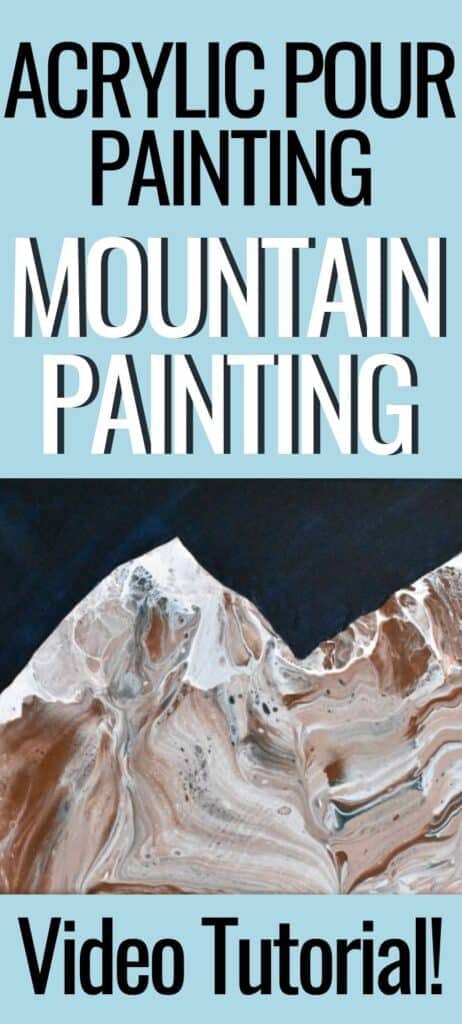
In a homebound effort to appreciate nature, I have decided to work on some more landscapes created with acrylic pouring, and I have decided to branch out from the beach and the ocean and move on to the mountains! So today’s pour is a mountain painting, but if you have a hankering for something tropical, please be sure to check out these other pours: Wave Pour, Large-scale Wave Pour, Beach Sunset, and Beach Scene.
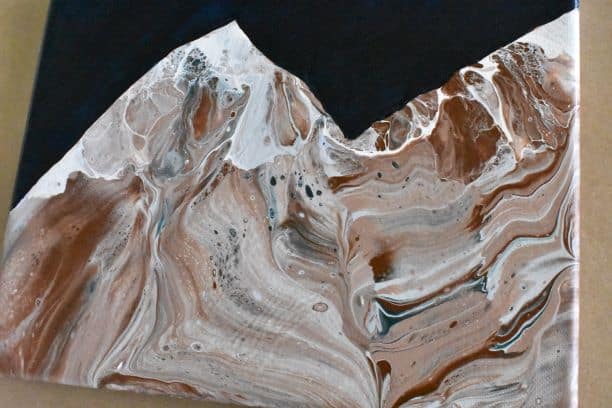
I know that when you’re starting out painting as a beginner, it can be daunting, but it can be simple and easy and beautiful at the same time. You don’t even have to sit down for as long as it would take you to follow a Bob Ross video, you can paint amazing nature scenery in minutes!
And this style of painting is super easy to customize to your taste. Make it a sunset scene, a sunrise scene, a night scene, a more abstract sillhouette, more winter snow, use colors you love, model it after mountains you know and love. Seriously, the possibilities are endless!
Mountain Acrylic Painting with Acrylic Pouring
- Swipe with cotton yarn
- Straw blown
- Brushed on background
Paints:
- Navy Blue mixed from Artist’s Loft Bright Blue and Master’s Touch Permanent Black (background)
- Flat, Medium Base Behr Paint & Primer in One, Color Sample – Mauve color*
- Satin, Deep Base Behr Paint & Primer in One, Color Sample — Dark teal color*
- Eggshell, Ultra Pure White Base Behr Paint & Primer in One, Color Sample — light gray color*
- Saitin, Deep Base Behr Paint & Primer in One, Color Sample — Dark brown color*
- Artist’s Loft Titanium White
*I don’t know the exact colors of these because I purchased them in the “oops” section of Home Depot as well as from the HabiStore, but I noted as much identifying info as I have.
Pouring Medium:
- Floetrol
- Water (only in acrylics)
Canvas:
- 8in x 10in canvas
Step-by-step How to Paint Mountains
Tape Off your Main Mountain Shape
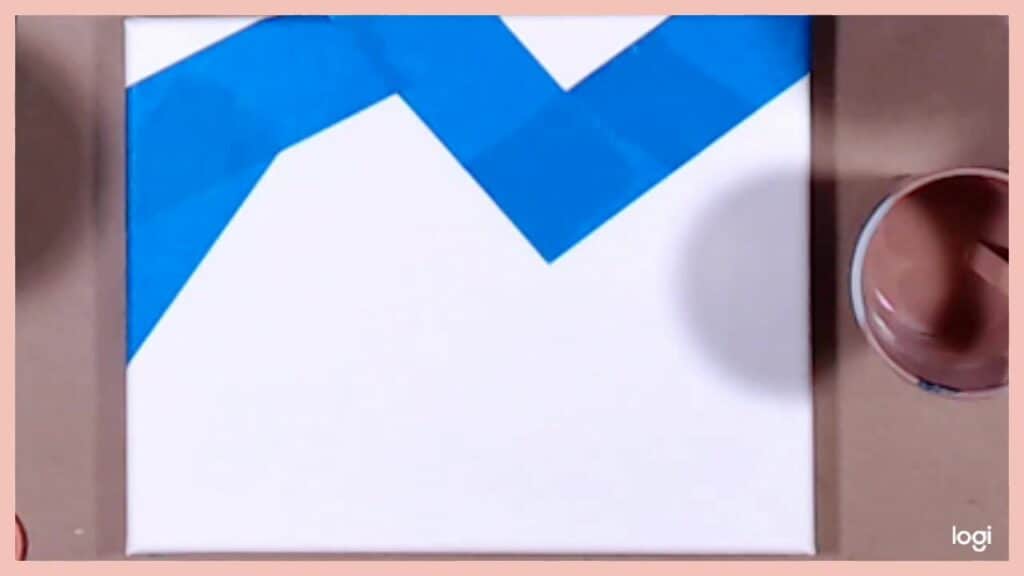
Choose the shape of your mountains and use blue painter’s tape to mask that shape off. Be sure to press the tape down on the edge where the paint will meet the tape.
On my mountain painting, the paint did bleed through the painter’s tape, even though I burnished it down really intentionally. I think that’s just a byproduct of the fact that the paint is thin and there was a good bit of it. But if you clean up your background and the edges as I did, no worries, painting still looks great!
Lay in Your Colors
I use 5 colors for my mountains, 3 main colors and 2 accent colors. I recommend that you use at least three colors for your main colors, 1 light color, 1 medium color, and 1 dark color.
And then add small hints of an accent color if you want to. I used a little light blue and some green for a hint of the feeling of trees.
When you’re laying in the colors, you’ll want to do it in lines from the peak of the mountain down and out toward the bottom, fanning it in.
Tilt and Meld your Colors
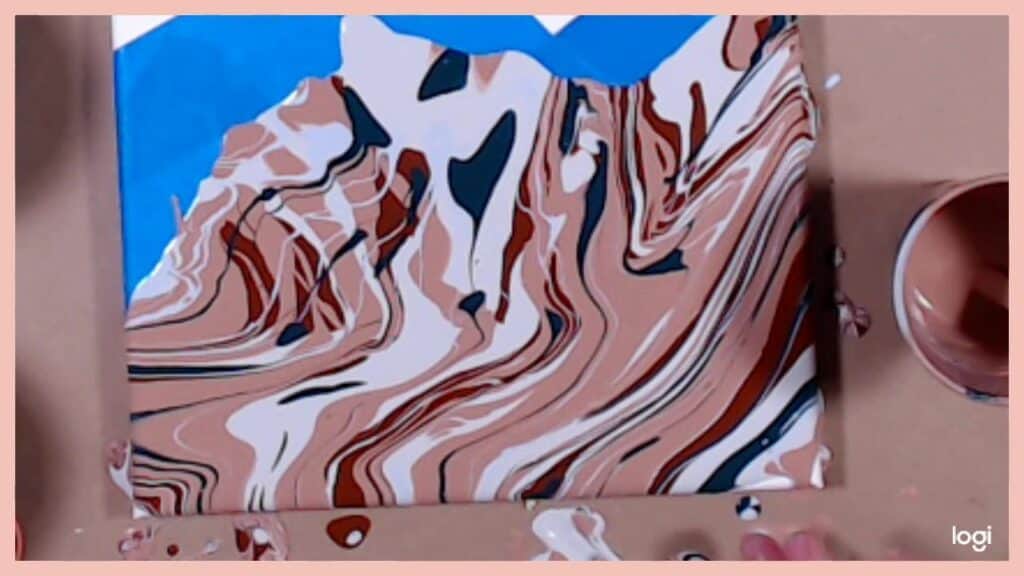
Now you’ll want to tilt the canvas a little each way to get the empty spaces to fill in and really meld the colors together nicely.
Swipe in the Faces of the Mountains
While I was thinking about how do you paint a mountain range, I did some reseach both on the computer and by stepping outside and taking a look at the mountains. Might as well take advantage of the fact that you live in a valley!
And what I noticed and wanted to capture in this mountain painting was the faces of the mountains and the way that they seemed to have a grain, so to speak, that went in different directions. So in order to capture that, I went about it with a swipe executed with a string. Now, this is only the first interation of this concept, so there’s certainly work to be done on the technique, but I am pleased with the results.
What you need to do is take your string and drag it through the paint and different angles to create the faces of the mountains. I also used a popsicle stick to touch things up and get into smaller spaces.
Add Some Snowcaps to Your Mountaintops
The snow is just straw blown in there with some white paint, and I really like the lacing detail that came out and the lightness of it. I found it helpful to turn the painting around so that I could apply the snow and blow it out more easily. You can really add as much or as little snow your mountains as you like!
Fill in Your Background
The last step is just to take a brush and fill in the background and clean any paint that may have seeped under the tape.
I choose to go with a navy blue nighttime-type background, but you could do anything you want, sunset, sunrise, blue, clouds. Again, endless possibilities!
Go Forth and Pour!
I hope that you enjoyed learning how to make a mountain landscape painting and that this time is going as well for everyone as it can be. I also hope that you’re playing with paint too and appreciating what nature you can absorb, either through your window, on a walk, on TV, or on the internet.
As always, check out my updates on Facebook and Instagram and feel free to peruse Homebody Hall for more fluid art tips, tricks, and tutorials! Also head over to Youtube and subscribe to get my videos sent to you as soon as they come out!!
2024 Color Palettes for Creating Updated Art
Let’s Throw a Paint Party: How to Host Your Own Paint and Sip
Do It Yourself Countertop Paint: Update Your Kitchen With Pour Paint
Want to remember this mountain scene acrylic pour painting? Pin this tutorial to your favorite Pinterest Board!
