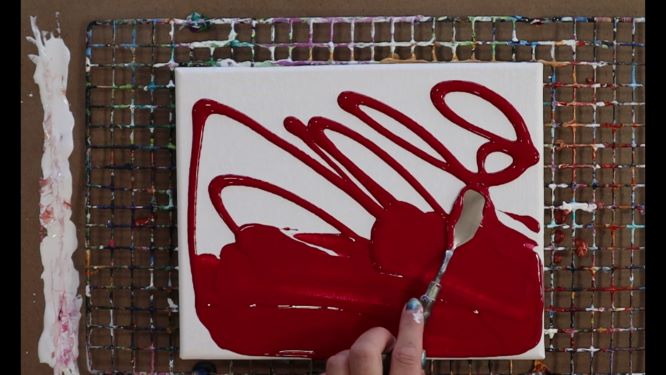
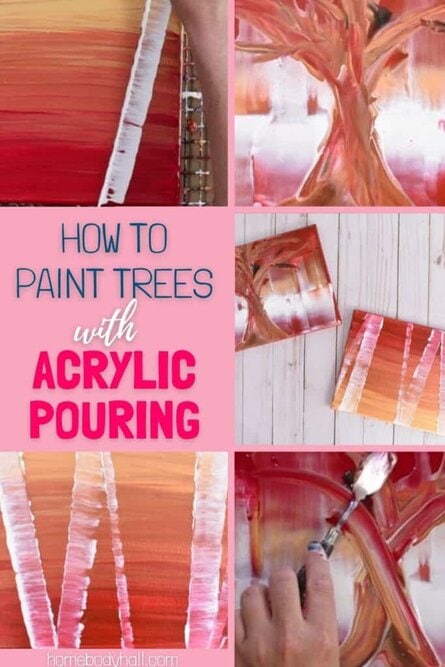
There’s something about bringing nature inside with paintings that brings that soothing and calming energy of nature right into your home. And trees are just the epitomy of that for me, just steady, stable, and grounding. So I set about doing a tutorial on how to paint trees that anyone could do, beginners and experienced painters alike.

If you’re pouring for the first time and would like more explanation on materials, processes, and terms, you can head on over to my Beginner’s Guide to Acrylic Pouring. You can also head over to my Comprehensive Guide to Acrylic Pouring Techniques for more information on all of the different techniques and my How to Thin Acrylic Paint for Acrylic Pouring post to learn all about pouring mediums!
So how do you paint a tree with acrylic pouring? Well, the two techniques that I used were:
- Swipe Technique
- String Pull
What colors do you need to paint a tree or forest painting?
Obviously, traditionally and biologically, there is some sort of green involved in a tree, but you can definitely pick colors that suit your taste, decor, or vision. For instance, you could do an autumn painting by incorporating reds, oranges, yellows, and browns.
For the birch forest, I do recommend using a white for painting the tree trunks, but you can either mix it up for the background or choose a different color for the trunk. The sky truly is the limit when you’re painting. If you can imagine it, you can create it.
For these how to paint trees tutorials, I used red, black, white, gold, and copper.
(If you’re curious about colors and color theory as it relates to acrylic pouring, head on over to my post about Choosing Colors for Acrylic Pouring and grab your FREE printable Color Wheel and Color Scheme Guides below!)
Materials You Will Need to Paint a Tree or Forest Painting with Acrylic Pouring
This post contains affiliate links, which I earn a small comission from. These are provided for your convenience, and the price isn’t increased at all.
Paints:
- Master’s Touch Antique Gold
- Liquitex Basics Ivory Black
- Master’s Touch Titanium White
- Master’s Touch Crimson
- Master’s Touch Brown Red (copper)
Pouring Medium:
- Floetrol
- Water
For these tree paintings, I thinned my paint with this “recipe”: 1 part paint to 2 parts Floetrol and a smidge of water as needed.
Tools:
Canvas:
Video Tutorial: How to Paint a Birch Forest Painting via String Pull
**Inspired by fellow artist Designer Gemma77.
Step-by-step Birch Forest Painting with the Acrylic Pouring String Pull
- Lay out your paints onto your canvas for the background. I chose three colors and went with a sunset-type look.
- Brush each layer out with a wide, flat paint brush
- Go back and blend the colors by brushing a little above and a little below where the colors meet, blending them together.
- Lay out your string and cover in white paint, making sure that it is completely coated. I used a palette knife to really smoosh the paint in.
- Hold one end of the string in each hand and pull it tight. Lay it onto the canvas at whatever angle and placement you’d like your tree and drag it toward the side of the canvas, stopping when you feel that the tree trunk is wide enough. If you would like more definition to your trunk or a heavier bark look, take the string back the opposite way toward where you started.
- Dip your string back in your white paint (or whatever color you chose for your tree trunks) and continue making trees of differing angles and widths until you are happy with the composition.
Video Tutorial: How to Paint a Tree using the Acrylic Pouring Swipe Technique
Step-by-step Tree Painting with the Acrylic Pouring String Pull


- Coat your canvas liberally in the background color of your choosing.
- Lay out a flat line of paint across the canvas where you would like your horizon to be. Continue to layer the colors you are using for your background swipe on this horizon line.
- Using a piece of printer paper (mine was about 2 inches by 3 inches) swipe downward from the center of the horizon line of paint toward the edge of the canvas. Using a new piece of paper each time, continue this process along the horizon line until one half of the canvas has been swiped.
- Flip the canvas around and repeat the swipe process, adding more paint to the horizon line if necessary.
- Decide where you would like your tree trunk to be centered and place a line of paint there from the top of the canvas to the bottom of the canvas, again layering the paint that you will be swiping to form the tree trunk and branches.
- Using a medium-sized palette knife, swipe downward from the place where you would like your branches to start toward the bottom of the painting, curving outward a bit at the base of the tree.
- Then use your palette knife to swipe upward in curving motions to form the larger branches of your tree. Don’t overdo it, just a few should be a good base for the rest of the tree.
- Using a small, preferably pointed palette knife, swipe outward from these larger branches you created to fill out the shape of the tree until you’re happy with the silhouette and details.
- Once your painting is dry, you may choose to go back in and add details like bark or leaves to it, perhaps leaves falling even, depending on the season your painting is portraying. You could also go inn and ad shadows or a sun, any number of different things, to this simple painting.
Go Forth and Pour!
If you’re interested in painting different types of trees with acrylics, check out my post on painting a simple, whimsical Christmas tree (you could totally do this for a simple pine tree too) and my post about how to paint a cherry blossom tree. And for more how to paint trees goodness, check out my tree ring post too!


As always, check out my updates on Facebook and Instagram and feel free to peruse Homebody Hall for more fluid art tips, tricks, and tutorials! Also head over to Youtube and subscribe to get my videos sent to you as soon as they come out!!
And now you can joing my Facebook Group, Flourishing Fluid Arts with Homebody Hall and get help, tips, inspiration and just hang out and have a great time!
2024 Color Palettes for Creating Updated Art
Let’s Throw a Paint Party: How to Host Your Own Paint and Sip
Do It Yourself Countertop Paint: Update Your Kitchen With Pour Paint
Want to remember these simple acrylic pouring tree and flower painting tutorials? Pin this tutorial to your favorite Pinterest Board!
