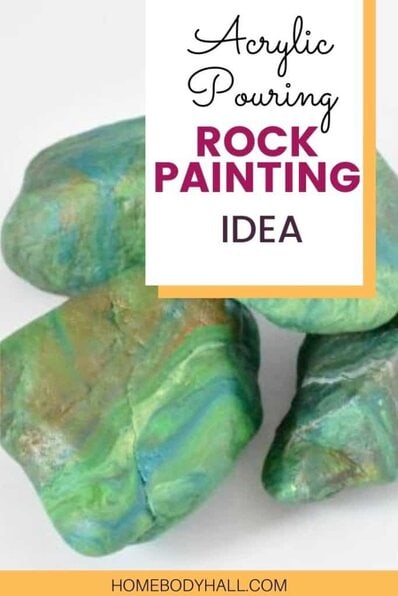
Rock painting is a really cool trend that has surged lately, and there are TONS of different styles of how to paint rocks in acrylics, including paint pouring on rocks! Some people use them as yard art, and some paint them and hide them for others to find around town.
Since I really just like the spirit of this trend and the materials are super cheap because the only thing I have to buy is paint (which I already have tons of), I thought I would get in on the fun in my own way and show you how to paint rocks in acrylics with acrylic pouring!
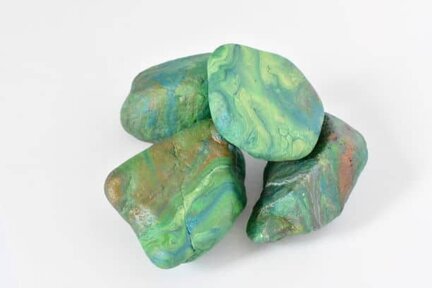
My goal with paint pouring on rocks was to spruce up some of my outdoor plants by putting some jewel-inspired, painted rocks in the pots. So I went with mostly earthy colors with some pops of bright color and a couple metallics for sheen.
If you’re new to pouring, head on over to my Beginner’s Guide to learn all about the art form and how to get started as well as my Comprehensive Techniques Guide to check out videos for each different technique.
And if you’re getting hung up with color or just want to learn how to choose awesome color combos, check out my post on Choosing Colors for Acrylic Pouring and sign up to receive my FREE Color Wheel and 8 Color Scheme Guides below!
How to Paint Rocks in Acrylics with Fluid Art – Materials Needed
This post contains affiliate links, which I earn a small comission from. These are provided for your convenience, and the price isn’t increased at all.
Paints:
- Artist’s Loft Neon Green
- Artist’s Loft Metallic Bronze
- Artist’s Loft Metallic Cobalt
- Artist’s Loft Metallic Copper
- Apple Barrell Canary Yellow (I don’t actually use anymore, as of when I am updating this post, but it is a cost effective alternative.)
Pouring Medium:
- Floetrol
- Water
Canvas:
- River rocks sourced from our yard
Method:
- Dirty-cup pour
Video Tutorial on How to Paint Rocks in Acrylics with Acrylic Pouring
Step-by-step Instructions for How to Paint Rocks in Acrylics with Acrylic Pouring
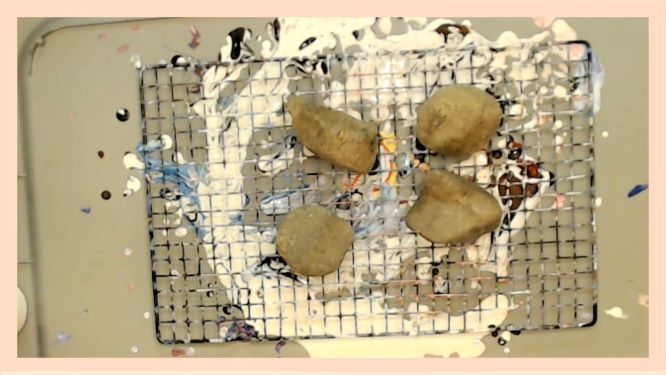


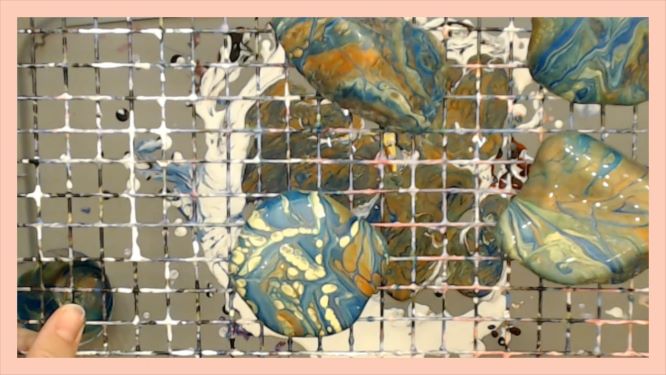
- The firs thing you’re going to want to do if you want SUPER bright colors on your rocks is something I actually skipped, priming your rocks. A primer like Zinsser is one of my favorites, but something opaque like gesso or white acrylic paint out of the tube would work as well.
- Next you’ll want to layer your paints in your cup however you’d like. As this was a dirty pour, I did it kind of randomly.
- After that, you just pour the paint on the rocks, making sure that you get all of the rocks covered entirely.
- Set those out to dry for a few days and they should be good to go.
- If your rocks are going to live outside, a sealant like this Rustoleum Gloss spray would be a good idea to help protect your paint job from the weather.
Go Forth and Pour!
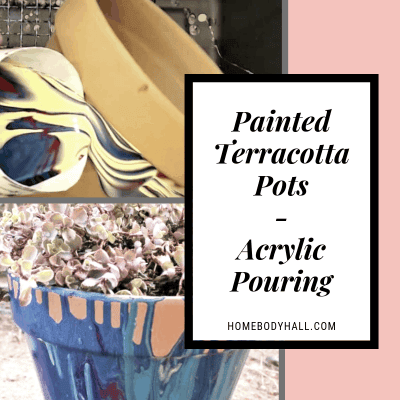
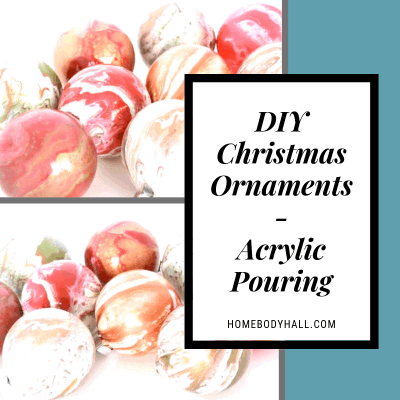
So that’s how to paint rocks with acrylics using acrylic pouring! Not too hard at all! If you’re interested in pouring on more 3D objects, you may also be interested in my post about pouring on flower pots, pouring on ornaments, or pouring on coasters!

As always, check out my updates on Facebook and Instagram and feel free to peruse Homebody Hall for more fluid art tips, tricks, and tutorials! Also head over to Youtube and subscribe to get my videos sent to you as soon as they come out!!
And now you can joing my Facebook Group, Flourishing Fluid Arts with Homebody Hall and get help, tips, inspiration and just hang out and have a great time!
2024 Color Palettes for Creating Updated Art
Let’s Throw a Paint Party: How to Host Your Own Paint and Sip
Do It Yourself Countertop Paint: Update Your Kitchen With Pour Paint
Want to remember how to paint rocks in acrylics with fluid art? Be sure to pin this idea to your favorite Pinterest board!
