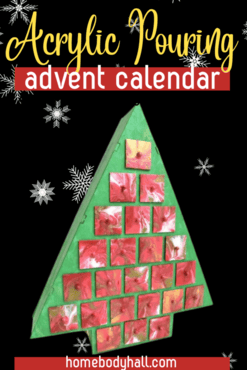
It’s that time of year again, the holiday season. In fact, it’s the beginning of the Advent, which is very important to me. My goal for my family during the advent is to cultivate an appreciation for the true gift of the season, Jesus Christ. And I think that a DIY Christmas Advent calendar to count down to the big day is a perfect way to do that.
If you’re pouring for the first time and would like more explanation on materials, processes, and terms, you can head on over to my Beginner’s Guide to Acrylic Pouring. You can also head over to my Comprehensive Guide to Acrylic Pouring Techniques for more information on all of the different techniques and my How to Thin Acrylic Paint for Acrylic Pouring post to learn all about pouring mediums!
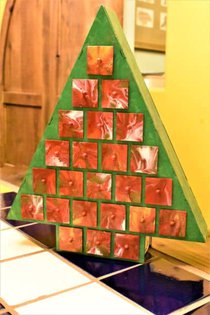
Acrylic Pour DIY Christmas Advent Calendar!
There are so many plain wooden DIY Christmas Advent calendars on the market right now that make a perfect blank canvas for acrylic pouring.
So how do you make a DIY Christmas Advent Calendar with acrylic pouring? Well, the three techniques that I used were:
- Dip Technique – Body of the Christmas Tree
- Dirty-cup Dip – Drawers
- String Pull
What colors do you need to paint a cherry blossom painting?
Truthfully, you can use any colors that you want, and with all the designs like houses and such, I’m sure that you can come up with something to perfectly fit your holiday decor. I personally went for more of a traditional tree wth this one.
If you want more information about colors and color theory as it relates to acrylic pouring, head on over to my post about Choosing Colors for Acrylic Pouring and grab your FREE printable Color Wheel and Color Scheme Guides.
Paints:
I mixed the blue and yellow to make the green and made various shades of green by adding white and black to the original green I made. (If you want to learn how to mix colors, be sure to grab your free color wheel printables and snag the helpful printable pack as well.) I also added in a metallic green to mix it up a bit and add some sheen.
For the dirty-cup that I dipped the drawer faces into, red and white were my main colors and then I added a bunch of metallic colors that I already had mixed up for some shine and sparkle.
This post contains affiliate links, which I earn a small comission from. These are provided for your convenience, and the price isn’t increased at all.
- Artist’s Loft Brilliant Blue
- Artist’s Loft Brilliant Yellow
- Artist’s Loft Deep Red
- Artist’s Loft Titanium White
- Master’s Touch Permanent Black
- DecoArt Dazzling Metallics Glorious Gold
- DecoArt Dazzling Metallics Splendid Gold
- DecoArt Dazzling Festive Green
- DecoArt Dazzling Festive Red
- Artist’s Loft Metallic Bronze
- Artist’s Loft Old Gold
- Master’s Touch Crimson
Pouring Medium:
- Floetrol
- Water
Canvas:
- Wooden Advent Calendar sourced at Michael’s (similar to this one on Amazon)
Acrylic Pouring DIY Christmas Advent Calendar Video Tutorial
Acrylic Pouring DIY Christmas Advent Calendar Step by Step
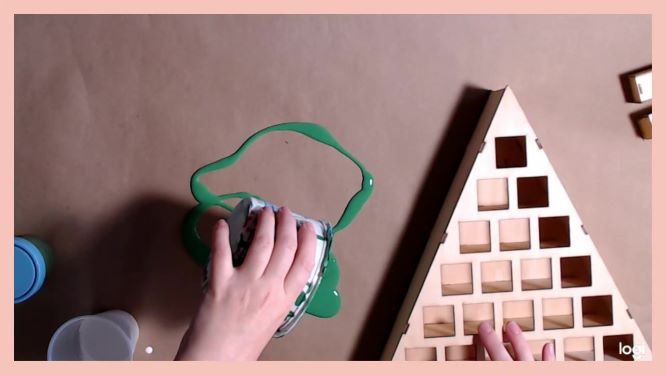


- Drizzle the colors that you want the tree to be onto your work surface. Dip each side of the Advent calendar into the paint. My biggest tip is to take your time and allow each side to dry separately.
- Cover any parts that you may have missed with a popsicle stick.
- Take a string covered with a darker or lighter color and and starting at the center of the sides of the tree, drag the paint toward the outside of the side of the tree. Do the same thing in th opposite direction as well as on the other side of the tree.
- Prepare a dirty-cup paint cup by pouring th colors that you would like the drawers to be into one cup. **
- Dip the faces of the drawers into the paint and set upright to dry.
**Remember when you’re layering the paint for your dip of the tree, that whatever you put down first is actually going to end up in the foreground of your pour.
So if I had thought more about that as I was doing the pour, I would have reversed the order in which I laid down the paints for the dip.
What can I put in my own Advent calendar?
This year I wanted to create an advent calendar that we could use year after year and really start a tradition where the kids know what’s coming when the advent calendar makes its appearance. And when I saw this awesome wooden DIY advent calendar with cute little drawers, I thought that this would be perfect for my family because I can fill it with whatever I want my kids to have that year!
Scriptures
I like to use these advent calendar cards from the Happy Home Fairy, which are great for the kiddos because they are not too long but they still take you along a journey toward Christ on the way to Christmas. These are also great if you’re looking for non-candy Advent calendar ideas.
Sweet Treats
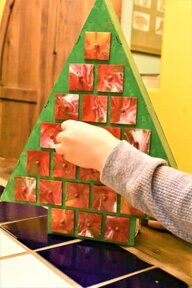
But I also like to give the kids a little treat each night leading up to Christmas. One of my favorite childhood memories is running to the fridge in the evening to get my little chocolate square out of my grocery store advent calendar. So I wanted to recreate that for them, but honestly, the older I get the more I realize that was not really the best chocolate. So with my kids I aim to keep the spirit but give them some yummier candies, which with a DIY Christmas Advent calendar like this, I can put whatever I want in there!
Go Forth and Create New Traditions!
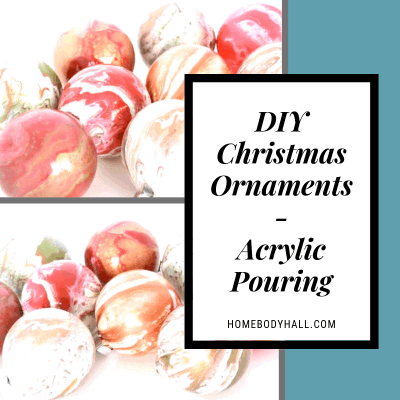
Making your own DIY Christmas Advent Calendar is an awesome way to remind your family of what the season is truly about and to make beautiful memories this holiday season! And be sure to check out my acrylic pouring ornaments, whimsical Christmas tree painting, and wood cutout Christmas home decor projects for more memory-making fun!


As always, check out my updates on Facebook and Instagram and feel free to peruse Homebody Hall for more fluid art tips, tricks, and tutorials! Also head over to Youtube and subscribe to get my videos sent to you as soon as they come out!!
And now you can joing my Facebook Group, Flourishing Fluid Arts with Homebody Hall and get help, tips, inspiration and just hang out and have a great time!
