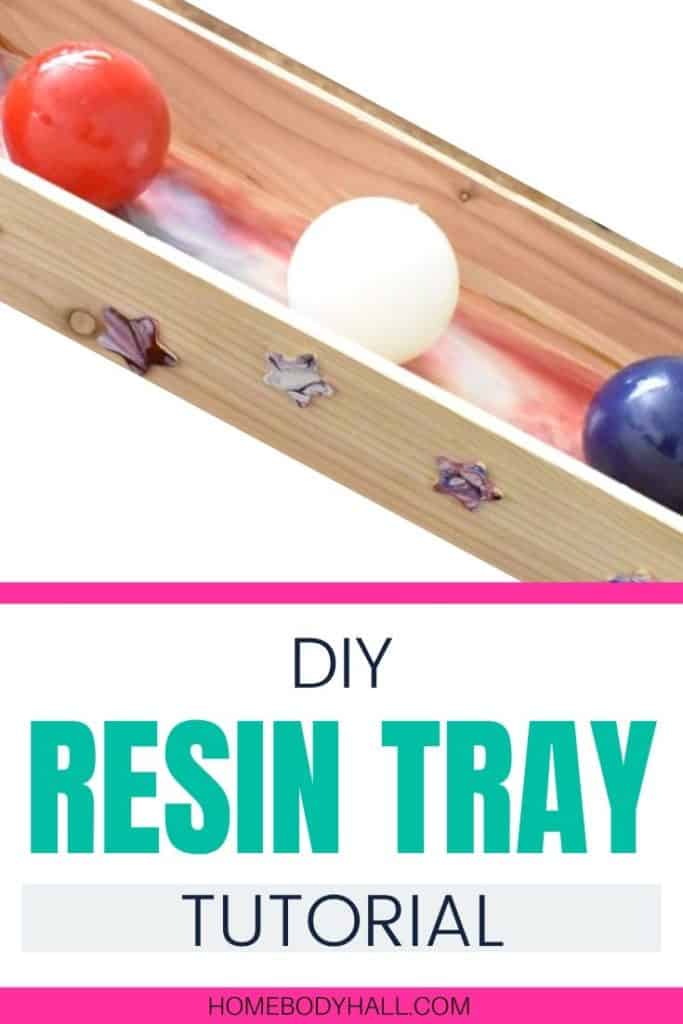
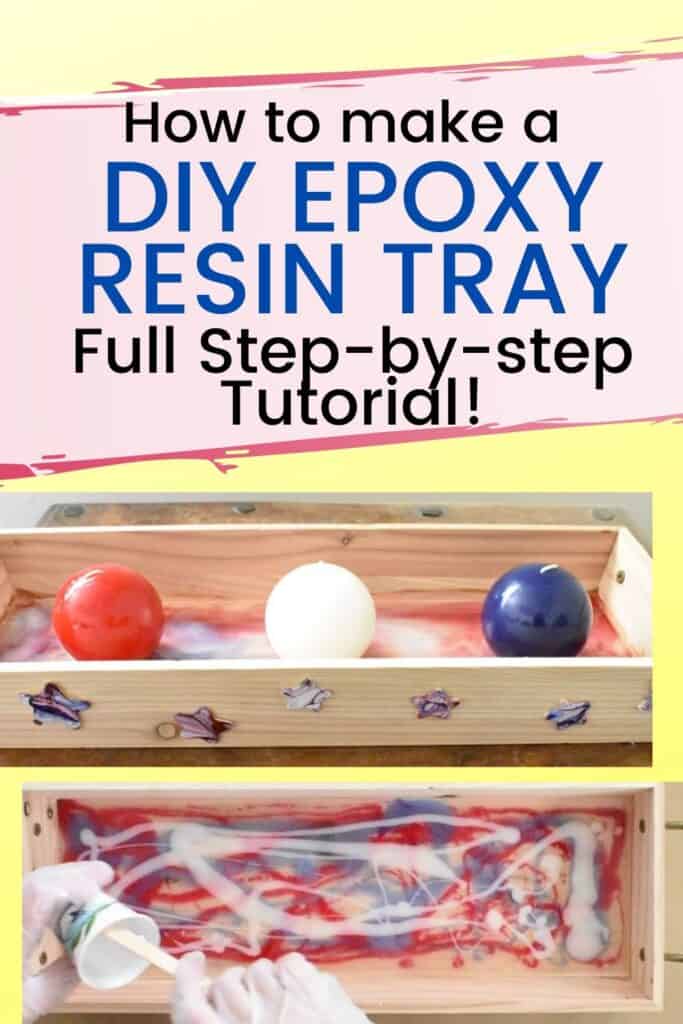
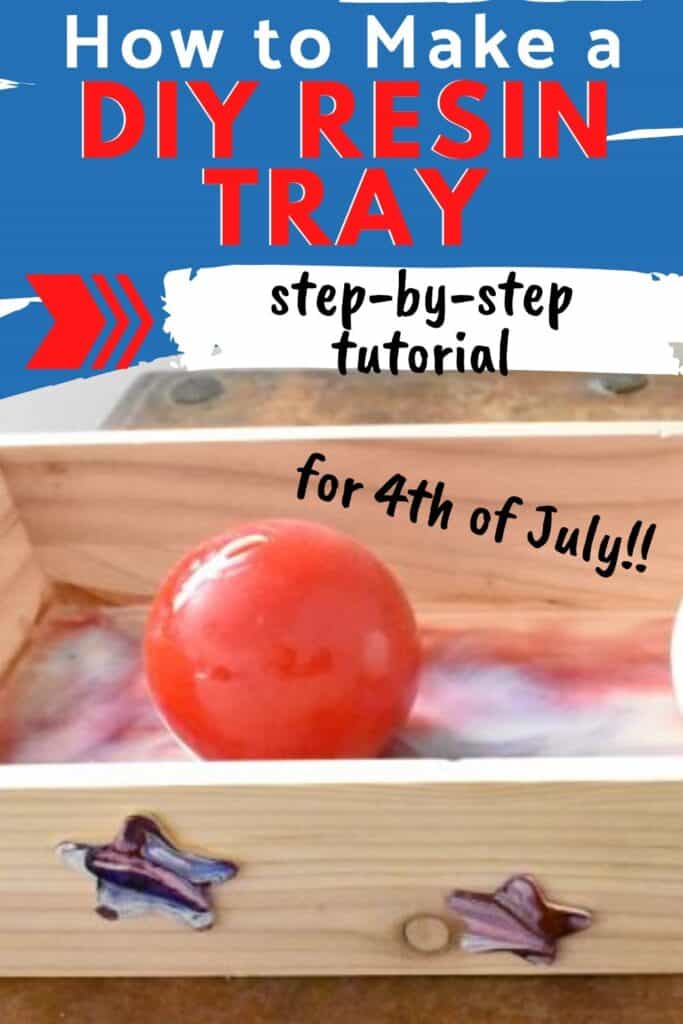
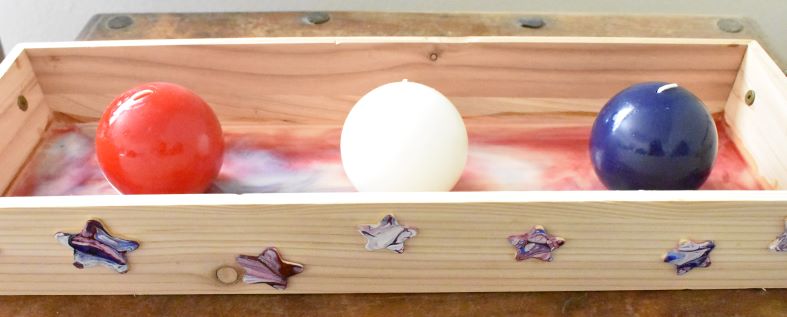
A decorative tray makes a great centerpiece. Simple, easy, and different. This week, I decided to try my hand at pouring resin in the bottom of a wooden tray as a decoration for the 4th of July. And, for some pizzazz, I added some stars that I used an acrylic pouring technique in festive colors on.
Materials Used:
- Mod Podge
- Foam Brush
- Red acrylic paint (Master’s Touch Crimson)
- White acrylic paint (Basics Titanium White)
- Blue acrylic paint (Master’s Touch Ultramarine)
- Pro Marine Epoxy Resin
- Floetrol
- Water
- Dixie cups
- Popcycle sticks
- Plastic containers for mixing
- Heat gun
- Blue painter’s tape
- Hot glue/wood glue
- Wood tray from Hobby Lobby
- Star cutouts from Hobby Lobby
- Red, white, blue sphere candles from Hobby Lobby
Prepping for the Decorative Tray DIY
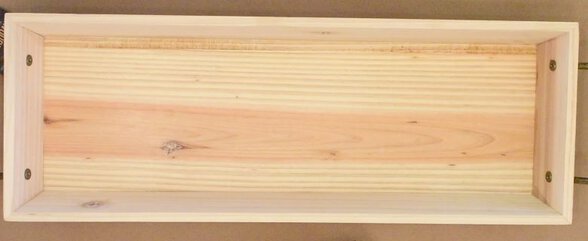
I got this wooden tray at Hobby Lobby. It was $10.99, but they ALWAYS have a 40% off coupon. Don’t forget that if you go! So it was really only a bit over $7.00.
Also, I hadn’t poked around there too much before, but I have to say that they have a great selection of unfinished wood products for customizing.
Sealing
I prepped the bottom of the tray for resin with a thin coat of Mod Podge using a foam brush. This way, I didn’t have to do a seal coat of resin on the bottom of the tray.
Painter’s Tape
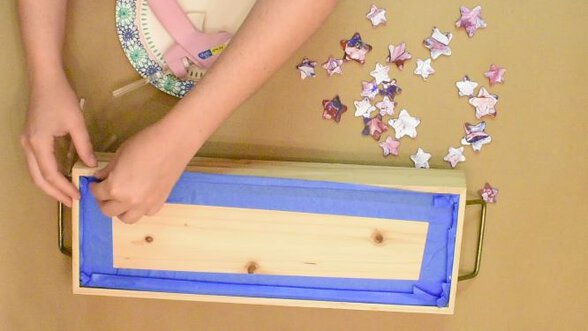
I also put blue painter’s tape on the bottom of the tray so that the resin wouldn’t seep out of the seams.
Acrylic Pouring on the Wooden Stars
Mixing
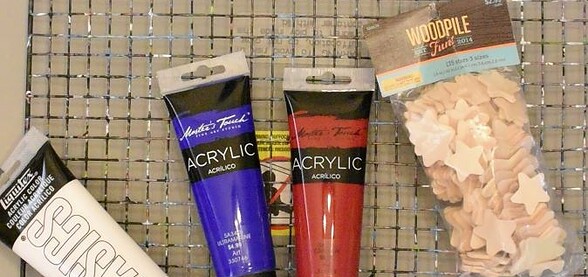
I mixed up red, white, and blue acrylic paint for the pour. I used Floetrol and water and mixed with the paint until I got a consistency that I liked.
Pouring
I used a dirty-cup pour method. As far as layering my colors, I used white for every other layer and alternated red and blue. I wanted to be sure that things didn’t get muddled and end up somewhere in the purple range.
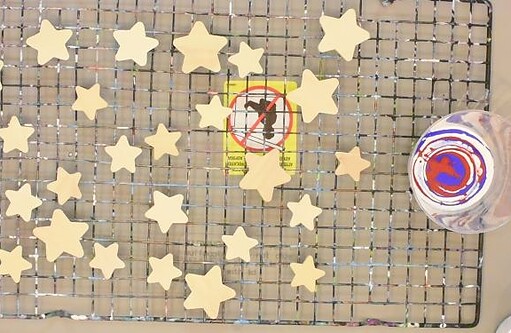
Then, I just poured the paint over the stars. For the last couple stars, I dipped them in the paint drippings, and that gave another cool effect. I then used a popsicle stick to pull the paint towards the points of the stars and to cover them completely.
Drying
I let the stars dry for about 48 hours before affixing them to the tray.
Resin
Mixing
I mixed up my resin according to the instructions for use from Pro Marine. I used a dixie cup of each part, and that amount filled the bottom of the tray nicely.
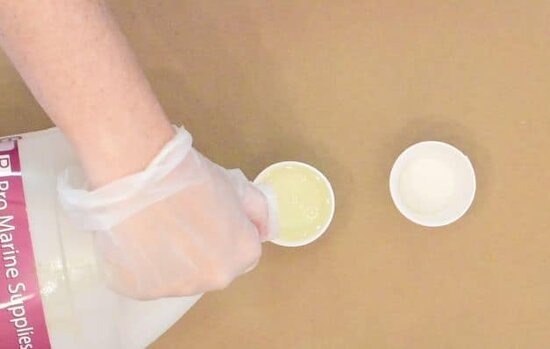
I wanted there to be some clear parts of the bottom because I really liked the look of the blonde wood. So I kept about one Dixie cup’s worth of resin clear, and then I split the rest evenly between red, white, and blue.
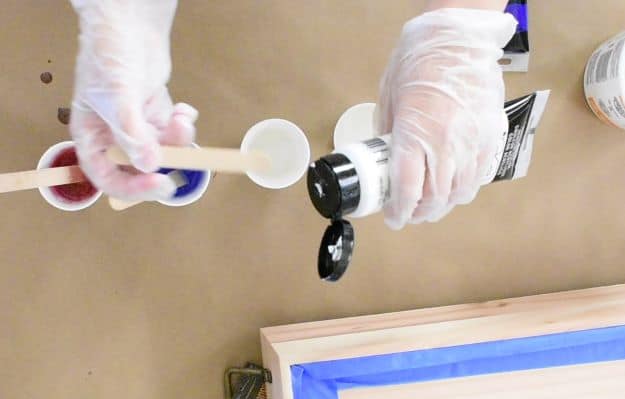
When mixing acrylic paint into resin, you want to be sure not to add too much, no more than 10%. If too much water is added to the resin via paint, the resin’s curing can be altered and you can end up with a sticky mess. So, really, just a dollop will do, just enough to get the color you are looking for.
Pouring
I started with a layer of clear resin and moved it around until it completely covered the bottom of the tray. Then, I drizzled the red, white, and blue around the tray as I liked. Next, I used a heat gun to pop the air bubbles and move the resin around. I also used a popsicle stick to draw the colors into each other.
Drying
Let the resin cure according to the instructions for use from the makers of the resin you have chosen.
Attaching Stars to Outside of the Decorative Tray
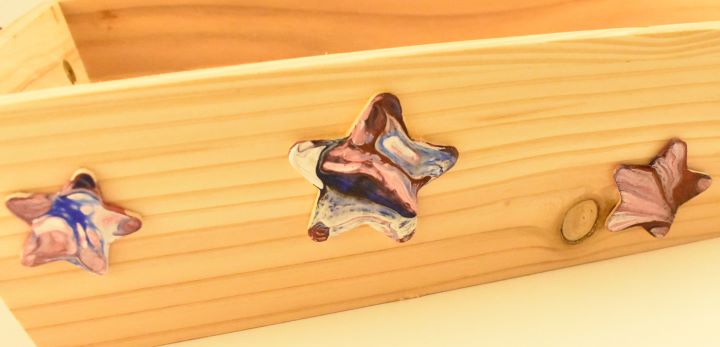
I attached a couple stars with my hot glue gun, but it was not working properly so it was going to be slow going. So I decided to use wood glue instead, and because both the stars and the decorative tray are wood, it worked out quite nicely. I used the ever handy-dandy popsicle stick to spread the glue onto the stars.
Go Forth and Resin!
I’m really enjoying exploring with resin more. I was actually pretty intimidated by resin for a while, but I think it’s way more accessible and doable than I realized before. So hopefully my experiences and these how-tos will help you take the leap and play with some resin.
Or at the very least, please try acrylic pouring. So much fun and so satisfying. Really, much of paint pouring is preferential, so I encourage you to experiment with different techniques and styles to find what appeals to you.
Also, with any luck at all, my next acrylic/resin pouring how-to will be accompanied by a video. I had totally filmed an amazing video for this one, but my child pulled the SD card out while I was uploading files and corrupted them. So frustrating, but that’s life. I still learned a lot about the video-making process, so hopefully I will return with even better videos for you all!
As always, check out my updates on Facebook and Instagram and feel free to peruse Homebody Hall for more fluid art tips, tricks, and tutorials! Also head over to Youtube and subscribe to get my videos sent to you as soon as they come out!!
Art Projects for November: Fantastic Fall Paint Pouring Ideas
Acrylic Christmas Painting Ideas for Creating Easy Holiday Decor
Acrylic Pouring Easter Centerpiece
Want to remember this patriotic project? Be sure to pin this tutorial to your favorite Pinterest board!
