Thanksgiving is just around the corner, and if you’ve got family and friends coming over to celebrate, you’re going to need some new decor! I don’t know about you, but when I think about Thanksgiving art ideas, my mind wanders to paper plate turkeys, Indian corn, and pumpkin coloring pages. No wonder, everyone skips it and heads straight for Christmas decor. We think we can do better! I’ve gathered some fun art projects for November that will not only fill your home with autumn color but with an updated style that doesn’t feel kitschy!
If you’re new to paint pouring, head over to our Beginner’s Guide for some fall art lessons! It’s the ultimate guide to paint pouring, chalked full of tips and tricks to get you started on your acrylic pour journey. We know you’re going to fall in love pour painting! We also have a Comprehensive Techniques Guide to help you get the intended effect (almost) every time.
Choosing Your Colors
It wouldn’t be a proper guide on designing home decor if we didn’t talk a little bit about color theory! Every home is different, and every creator has a unique perspective. That’s the beauty of art. When it comes to choosing colors for your home decor, your own opinion is the most important. You’re the one who has to look at it every day! However, here are a few color combinations that work well for autumn art.
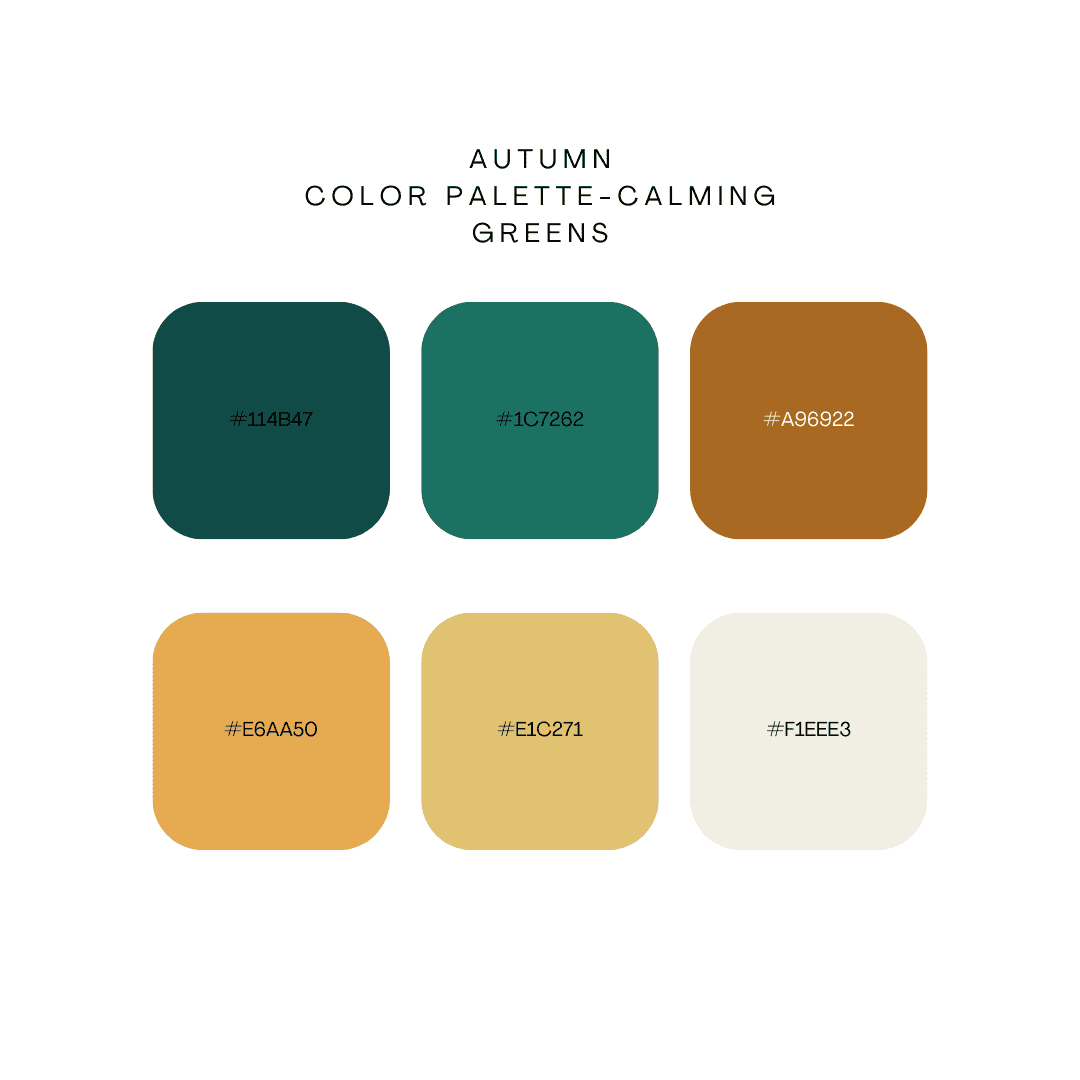
Scheme 1: Calming Greens

A combination of forest or emerald green, a lighter sea green, a burnt sienna, and two shades of gold, (one metallic) make the perfect color palette for fall paint pouring projects. This color scheme exudes a Ralph Lauren vibe and feels upscale and calming.
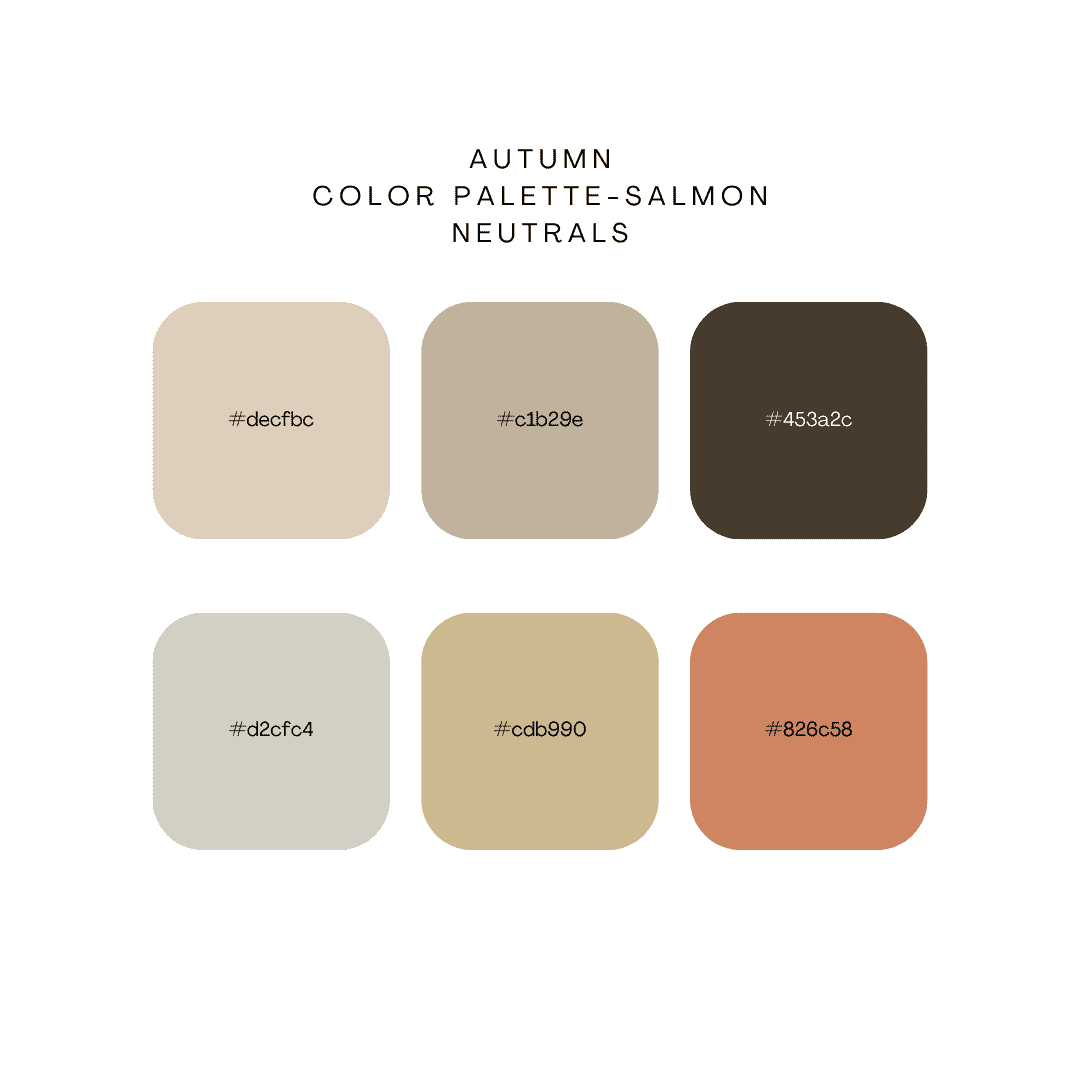
Scheme 2: Salmon Neutrals

Mixing a salmon of mauve pink into your fall decor can produce an unexpected pop! It’s best paired with muted grays, warm whites, or warm browns and tans. We love this scheme for Thanksgiving art ideas because it’s easy to find matching florals for wreaths and table arrangements that scream hobo chic.
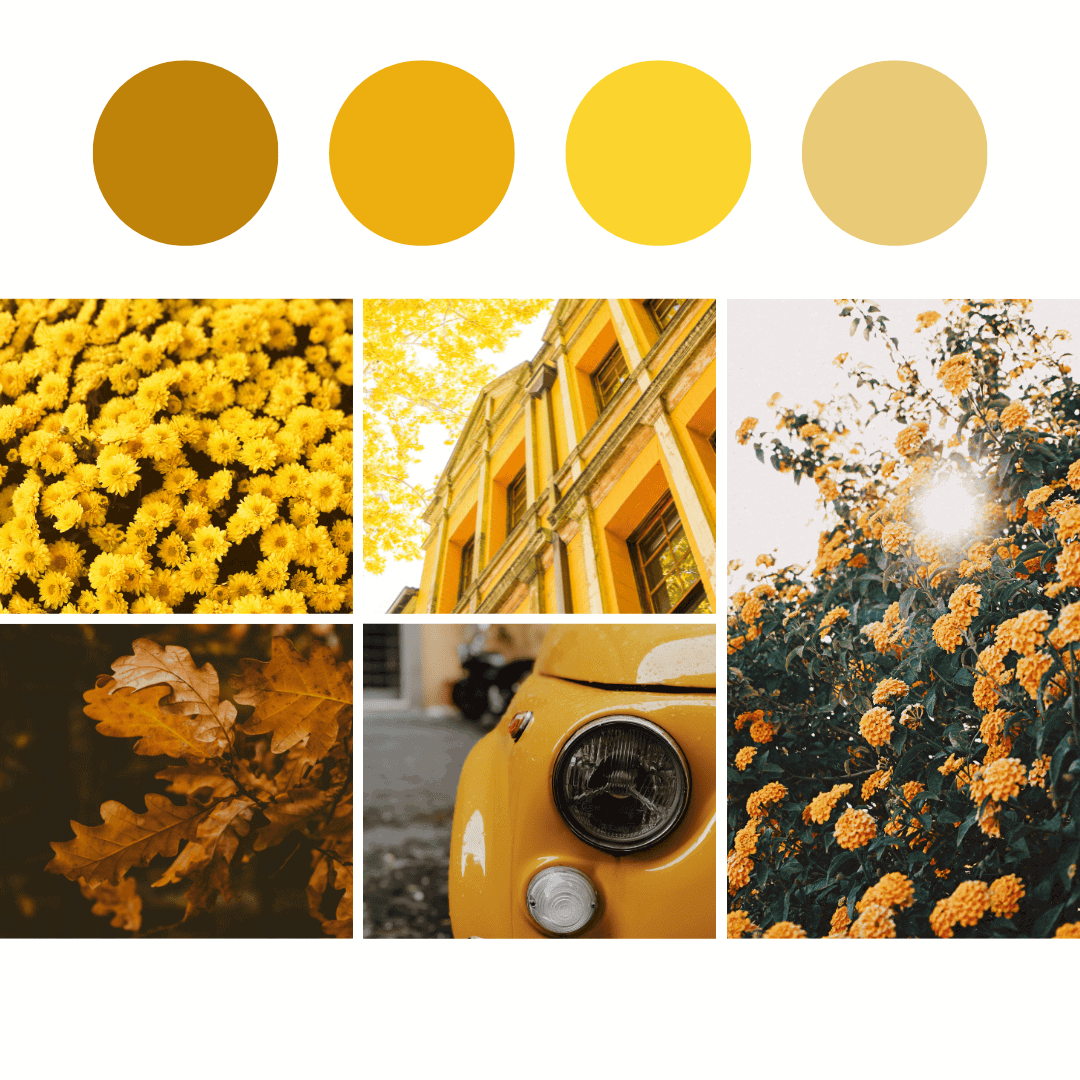
Scheme 3: Autumn Monochrome

For a cohesive look, consider utilizing different shades of the same color to create the perfect art project with a modern twist. You know when you go to Lowes and pick up a paint sample card, and there’s 5 shades of the same color family on it, ranging from light to dark, that’s where we’re going here. You could choose yellow/gold, oranges, reds, or even a slightly unexpected color like plum or purple. When doing acrylic pouring projects, utilizing a monochrome color scheme can get tricky. You might have to play with technique a bit to keep your colors separate.
If choosing color combinations is the hardest part for you, learn basic art color theory in our post on Choosing Colors for Acrylic Pouring. Not only will it give you a better understanding of what goes with what, but you sign up for a FREE Color Wheel and sample color palettes.
Stunning Art Projects for November
Now that you’ve picked your color palette, let’s get to the nitty gritty. I’ve chosen two fun November projects that don’t feel like a Kindergarten craft. Time to pour!
1. Autumn Rocks!
Our first November art project is a fun one that can be done by almost anyone. In fact, if you’ve got kiddos at home for Thanksgiving vacation, this is a great collaborative art project to do together. Once finished, your decorative rocks will look great scattered on the dinner table, in a vase with some fall flowers, or filling the guest bathroom sink. Here’s what you need:
Project Materials:
- Smooth white or river rocks- These can be sourced from Amazon, Hobby Lobby, or your local home and garden store. If you’re doing this project with the kids, have them collect rocks from the neighborhood instead.
- Liquitex white paint– I prefer Titanium White by Liquitex, but any white acrylic will work.
- 3-4 acrylic colors of your chosen color palette
- Floetrol or white glue and water
- A black Sharpie
- Gold or fall-themed glitter
- Plastic cups for paint mixing
- Plastic wrap or parchment paper
- 1 medicine cup or small plastic cup for each participant
- Cookie drying rack or plastic cup with dowel rods
Technique:
Stacked Paint Dirty Pour
Directions:
- Gather your rocks and lay them flat on a cookie-drying rack in a straight row. Place parchment paper or plastic wrap below your rack to catch the excess paint. If you’re using river rocks, I recommend painting them in a coat of white Liquitex paint first. You do not need to let the white dry before moving on to the next step. If you don’t have a cookie drying sheet, take a plastic cup and punch four holes in the top of it, two on each side. Slide two small dowel rods through the holes, creating a scaffold in the center of the cup to hold your rock. There are a myriad of ways to set this up, actually. You just need something that your rocks can rest on that allows the paint to flow around them and drip below.
- Mix each color of your chosen paints 50:50 with Floetrol. If you don’t have Floetrol, you can make a mixture of white glue and water in a 50:50 solution.
- Stack your colors in a medicine cup. Stacking just means that you dump in the colors, one by one, on top of each other. You don’t need to stir or swirl them.
- Line your rocks up in a straight line. With a side-to-side motion, pour your paint mixture over the line of rocks.
- Provide some slight motion by tilting the cookie rack back and forth.
- If you would like to add a sparkly corner to your rocks or some fun confetti, now is the time.
- Allow your rocks to dry for at least 24 hours.
- For some added personality, utilize your Sharpie to add fun fall words, swirls and dots, or inspirational phrases to your rocks.
2. Modern Metallic Foliage Painting

Our second project of the day makes for a fantastic focal point above the fireplace or standing in a corner. While you could use any shape of canvas or wood base for this project, I prefer a long and skinny base. This allows you to make the leaves appear as if they are falling.
Project Materials:
- A primed canvas or primed wooden base. The shape and size will depend on where you want to display your artwork. Measure your space, and remember, bigger is always better when it comes to art. Fill the space! Try out this 12″x 36″ canvas from Hobby Lobby. If you have a larger space, you could always place three of these side by side, making a modern tryptic!
- 4-5 colors of acrylic paint in your chosen color palette. I recommend you include at least one metallic paint in the mix.
- Faux Maples leaves
- Liquid Leaf Classic Gold
- Large Plastic Cups-one for each paint color and one for your dirty pour
- Floetrol or white glue and water
- Plastic or canvas drop cloth
- Small paintbrush
- Smooth roller or large paintbrush
Technique:
Standard Dirty Pour
Directions:
- Lay out your drop cloth in a large space. Set up your canvas on four plastic cups to elevate it off the ground.
- Paint your Maple leaves with the Liquid Leaf gold. You could also grab some metallic leaves from Amazon or Hobby Lobby if you want to save a step. There are usually plenty of options in November in preparation for Christmas. Just take a walk down the Christmas tree sprig aisle.
- Mix your paint colors in separate plastic cups. While a 50:50 solution with Floetrol usually works, it depends on the brand and quality of paint you are using. You’re looking for a smooth, warm honey or thin pancake batter texture.
- Since we are doing a dirty pour, it will work better if you have a damp base of paint on the canvas. Do a simple layer of white paint (or black for more contrast) with a roller or brush. If using wood instead of canvas, you’ll need to prime it first with a standard primer and let it dry. Then do your wet base coat.
- In a large cup, add your colors bit by bit, alternating them as you see fit.
- Simply pour your paint on the canvas, and begin to tilt it to create movement. For small canvases, you can choose one spot to pour, and work the paint from there. For larger canvases, you may need to spot-pour your paint in a few different areas on the canvas and allow your “spots” to come together as you move the canvas.
- Use the end of your paintbrush or a popsicle stick to fill in any spots that aren’t covered.
- Once you’re happy with your pour, and while your paint is still wet, arrange your metallic leaves in a falling pattern down the canvas. Be gentle when sticking them on. You want them to stick and not peel, but you don’t want to move the paint around too much.
- Place your painting in a cool, dry place, and allow it to dry for 2-3 days before handling.
Go Forth and Create!
That’s it guys. You’ve now got two easy and adorable art projects for November to celebrate Thanksgiving in style. We hope you enjoyed these two simple projects. If you’re looking for more holiday inspiration, make sure to check out our seasonal paint pouring section. We’re constantly adding new seasonal projects to keep your home looking amazing year-round!
For more advanced techniques, I encourage you to check out our Comprehensive Acrylic Pouring Techniques Guide.
As always, check out our updates on Facebook and Instagram, and feel free to peruse Homebody Hall for more fluid art tips, tricks, and tutorials! Also, head over to YouTube, subscribe, and hit the bell icon so you receive videos as soon as they come out!!