•Fall-themed craft perfect for beginners•
Intro
Pour art, distinguished by its appealing swirls and abstract designs, is an extremely relaxing and satisfying craft. With fall approaching, cool crisp nights and pumpkins start sneaking up. Let’s use these pumpkins and their vibrant shades of oranges, greens, and browns to inspire our palette for our Fall-themed pour art. Here is a step by step guide for creating your own creative pour art. This craft is beginner friendly and could even be done in large groups for extra fun.
Materials
- Acrylic paints
- The most perfect pumpkin orange for your pumpkin
- Rich brown for the stem
- Refreshing green for the vine and whatever leaves you choose to add
- Background colors of your choice (I used cream and gold)
- Popsicle sticks for pouring and smoothing/moving paint mixture
- Disposable cups for putting the acrylic paint in to pour
- Any size canvas or sturdy flat surface (I used an 8×10 canvas)
- A pouring medium to mix with the acrylic paints (Elmer’s glue is a great budget friendly option)
- Some type of drop cloth or disposable option to keep your workspace clean
- Gloves (optional)
- Cups that can be used to elevate the canvas so the paint can drip off
Step-by-step
Preparation:
- Start by laying down your protective covering in a well ventilated area. After this, place at least 2 disposable cups upside down and add the canvas on top of the cups.
Mixing:
- In disposable cups, begin mixing each of your paints with the pouring medium. Typically the ratio is 1 part paint to 2 parts pouring medium.
- Stir smoothly with popsicle sticks until smooth
Pouring:
- Decide what colors you want to use for your background. In a clean cup, pour each paint mixture in one by one without stirring. I used gold and white which turned into a cream color.
- Once you have your background cup mixed and you are ready to pour, pour the mixture all over the canvas in any pattern you wish. I used the popsicle sticks to scrape the rest of the paint out of the cup and help smooth the paint onto the canvas. Once you are happy with the amount of paint on your canvas, carefully pick the canvas up and tilt it side to side until you are happy with the outcome. I decided to add more white and gold onto the canvas until it had the perfect fall feel. This is your time to be creative!

Pumpkin:
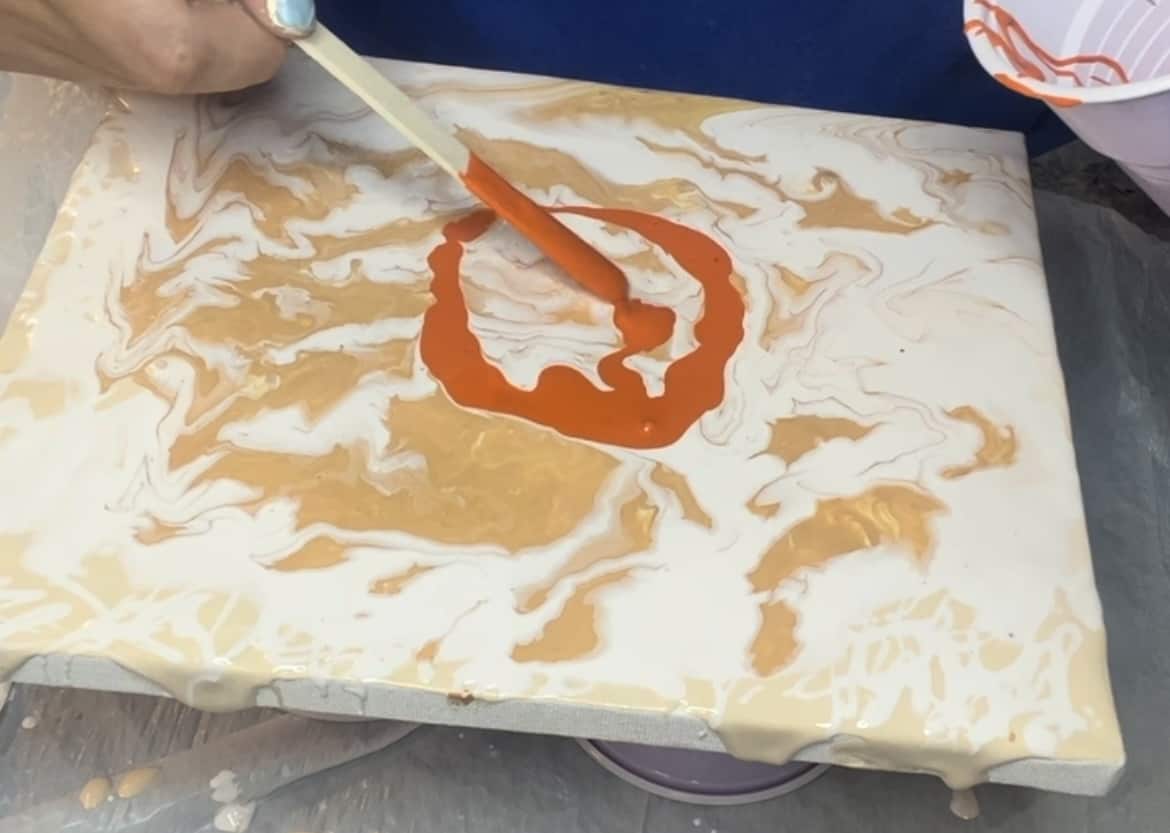
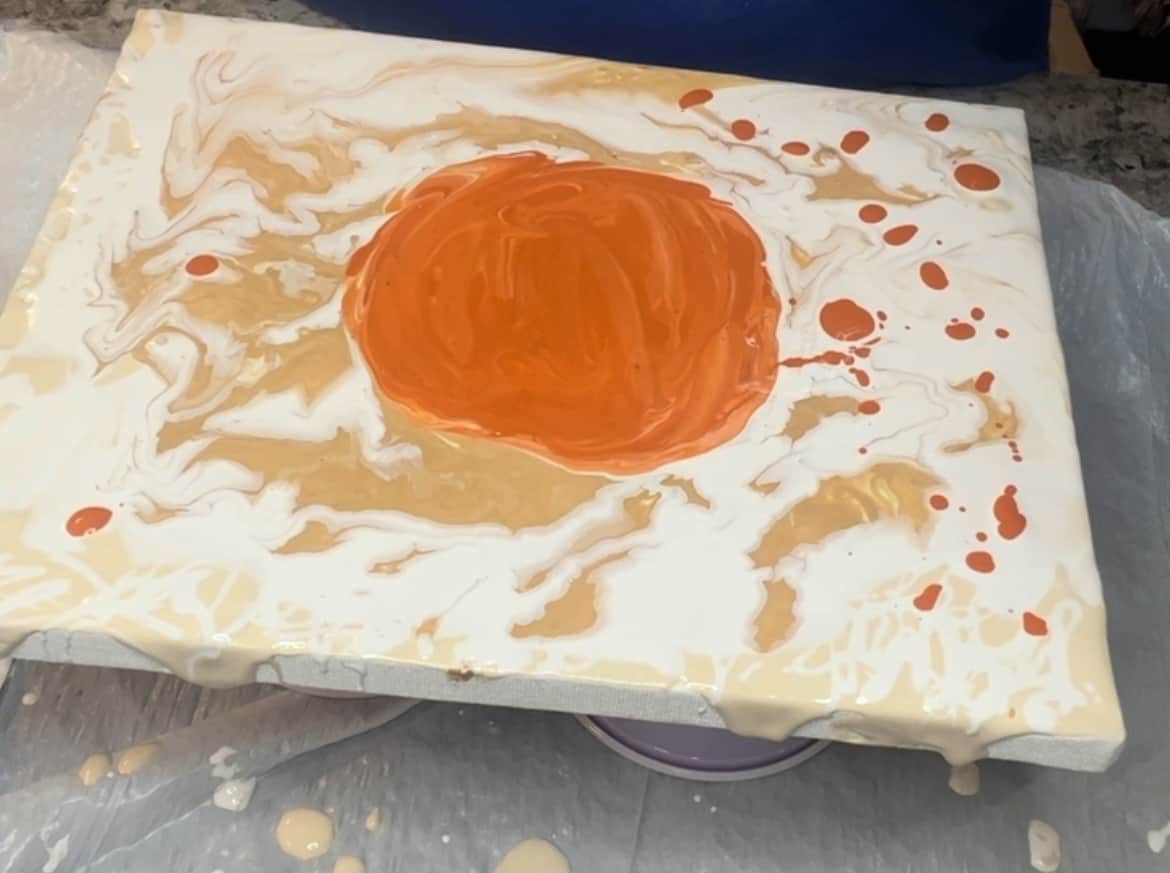
- After mixing up the perfect pumpkin orange, I decided to use a popsicle stick to drop the orange color onto the center of the canvas creating the perfect pumpkin shape that I desired. You can add as much or as little orange as you would like to or also use the pour technique that we used on our background.
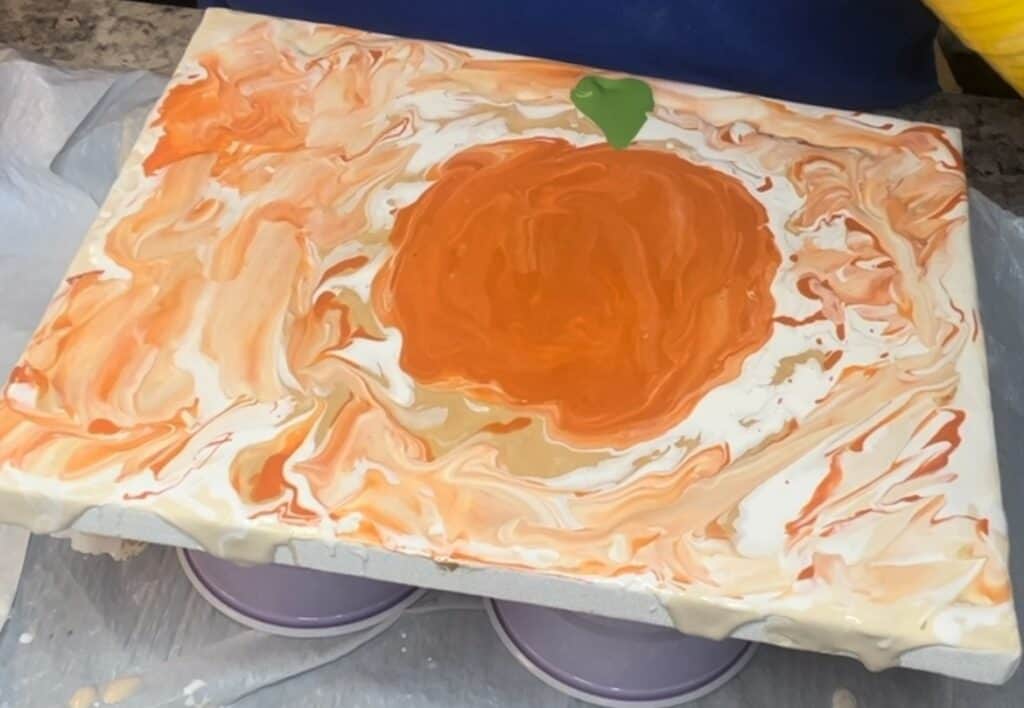
- After finding a refreshing green, use another popsicle stick to let the paint drip off of to create the leaves that you see on vines at the pumpkin patch, making them as big or plentiful as you would like.
- After you have mixed your rich brown, get curly with it. Add a stem that’s just as unique as the rest of your pour art.
- Let your artwork dry for 24-72 hours
Extras
Add in more pumpkins or use different fall colors! Create the art you want!
Once dried, you could seal your project with a clear coat to protect and enhance colors
For more amazing seasonal projects, check out our seasonal and holiday lookbook. It’s full of fantastic tutorials to keep you creating all year long!
