Christmas is just around the corner guys! I know, some of you are jumping for joy, and others are rolling your eyes in disgust at me right now, but it’s coming soon whether you like it or not! The kids will be out of school and shouting that they’re bored in no time. Give them something constructive to do this year with these easy Christmas paint ideas that the whole family can create together!
If you’d rather do your Christmas creating in solace, I get that too! That’s why I just created a brand new article on fun and chic DIY Christmas decorations too! It’s got tutorials for painted rocks, Santa Claus coasters, and a cute Christmas painting or two that will have your home decked out in holiday spirit in no time!
Also, don’t forget to check out our full lookbook of seasonal projects. It’s full of festive and easy DIY painted Christmas ornaments, sugar skulls for Halloween, and fun rock painting ideas for Thanksgiving!
Four Easy Christmas Paint Ideas for the Whole Family
Alright, let’s get this little Christmas painting party started! Here are the four best ideas to get crafty with your crew this year.
1. Wooden Ornament Dip Painting

For our first easy Christmas painting idea, we’re making some DIY ornaments!
Art Supplies
- Acrylic paint in 4-5 colors, at least one metallic
- White primer
- Wooden (or plastic) flat ornaments- These from DHGate are perfect!
- Drop cloth
- Drying rack
- Mixing cup for each color
- Stir sticks
- Craft paintbrushes
- Thin ribbon that matches your paint colors or twine
- A flat surface for dipping—this can be a piece of wood you don’t care about, a flat plastic tray, or some plastic wrap spread out on the kitchen counter (if you dare!)
- Optional: Glitter and a paint pen
The Process
- Prepare your painting area. You need a big space with plenty of room for little elbows.
- If using wooden ornaments, give each one a quick coat of primer. Any primer brand will do, as long as it’s water-based.
- Mix each color of acrylic paint with a little flow medium if you’re using thicker art paint. If you’re using bottled craft paint, you probably won’t need a medium for this one. For more tips on mixing acrylic paint for pouring, check out “The Perfect Acrylic Pouring Medium to Suit Your Pour Paint Technique.”
- On your flat surface, have each family member take their color and gently dump them in layers into one big puddle. You can do them all at once, or add a little of each color at a time, layering them strategically.
- Lift and tilt your surface slightly, allowing the paint to flow and create a cool pattern.
- Dip your ornaments, face down, into your paint puddle and gently wiggle. Lift straight up.
- Flip over the ornaments and set them on the drying rack.
- If you want to add glitter or confetti, now is the time.
- Allow them to dry for 24 hours.
- You can then spray with some clear coat if you wish.
- Tie them with twine or ribbon and decorate that tree! If you want, you can use a paint pen to add some decorative writing to your ornaments!
2. Glitter Merry Christmas Mantle Piece

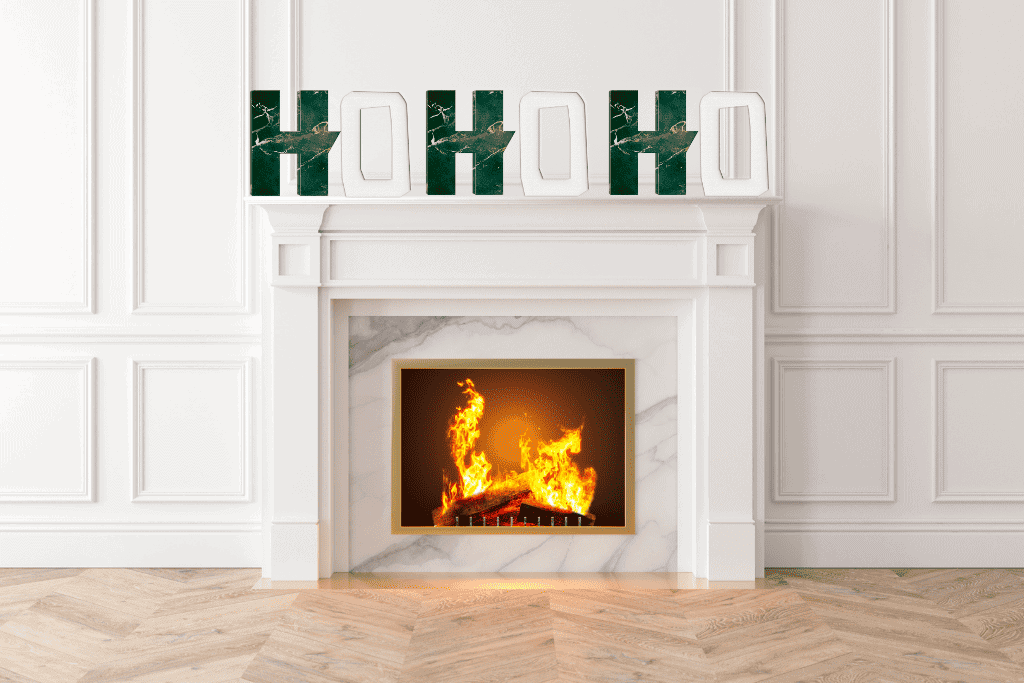
The next of our awesome Christmas designs is not only easy but makes a big impact! These large box letters stand on their own, so you can use them for porch design, spread across your mantle, or even hung from the ceiling with some clear twine if you want to get funky! Choose your own Christmas saying!
Art Supplies
- Cardboard box letters—Hobby Lobby has inexpensive paper mache letters in their craft section that work great!
- Acrylic paints in your chosen color scheme. You might want to buy larger bottles or cans for this project. You’re going to need quite a bit of paint. Need help choosing colors, check out our article on “Choosing Paint Colors for Acrylic Pouring.”
- Mixing cups for each color, stir sticks, pour cup
- Floetrol or preferred pour medium
- Plastic spoons
- Drop Cloth
- Drying rack or something to elevate your letters for drying (you can just set each one on an upside-down cup)
- Optional: Glitter or Christmas Confetti
The Process
- Prepare your work area with a large drop cloth and plenty of space. You need a drying rack of some sort for each letter.
- Mix your acrylic paint with a flow medium. Remember to start slow, you can always add more. You can’t take it away. You’re looking for that warm-honey consistency. Each color should be mixed separately in its own mixing cup.
- Use your plastic spoons to scoop and drip paint onto your designated letter. Use swirls, circles, and lateral movements to get interesting patterns as you alternate colors. Make sure that you get the entire letter covered, and allow the paint to flow over the sides, coating them completely. You may have to use your spoon handle to fill in blank spots on the sides.
- If you’d like to add glitter, now is the time. For a chic look, consider only glittering one corner of each letter.
- Allow to dry for 24 hours.
- Display!
3. Fun DIY Paint Pour Greeting Card

Next on the DIY paint party agenda…adorable acrylic pour Christmas cards that Grandma is gonna love! We’re going to perform a flip cup dirty pour—quick, easy, and fun!
Art Supplies
- Pre-primed art canvases (You’ll need one canvas for every 8-9 Christmas cards)
- A box of plain-colored blank greeting cards—I suggest brown craft paper ones
- Acrylic paint in your chosen color scheme
- Scissors
- Glue sticks
- Paint pens or Sharpies
- Craft knife
- Drop cloth
- Drying rack
- Christmas cookie cutters or flat ornaments (you may need these as drawing guides)
The Process
- Prepare your space and elevate your canvases.
- Mix each of your paint colors in a separate mixing cup with your preferred flow medium. Remember—warm honey consistency and don’t mix too vigorously, or you’ll get those dreaded air bubbles.
- Gently pour all of your paint colors into your pour cup. You can either dump all of each color in at once and create minimal layers, or you can alternate a little bit of each, creating more layers, which will create a more intricate pattern.
- Turn your canvas upside down and place it on top of your pour cup.
- In one motion, turn the cup and the canvas over and set on a flat surface.
- Pick up your painting with both hands and gently tilt until you’ve covered the entire surface and sides.
- Add paint anywhere you think needs a little more flair. You can add a with a plastic spoon, one color at a time, from your mixing cups for detail.
- Allow to dry for 24 hours.
- Use your craft knife to cut the canvas away from the frame—adult-only step!
- Use craft scissors to cut out Christmas shapes. You can use Christmas cookie cutters as drawing guides to get the shapes right if you don’t trust your free-form skills.
- Glue your cutouts to the front of each card with the glue sticks.
- Use your paint pens to add fun Christmas wording, and allow the kiddos to write their holiday message to friends and family inside.
4. Traditional Christmas Pour Painting

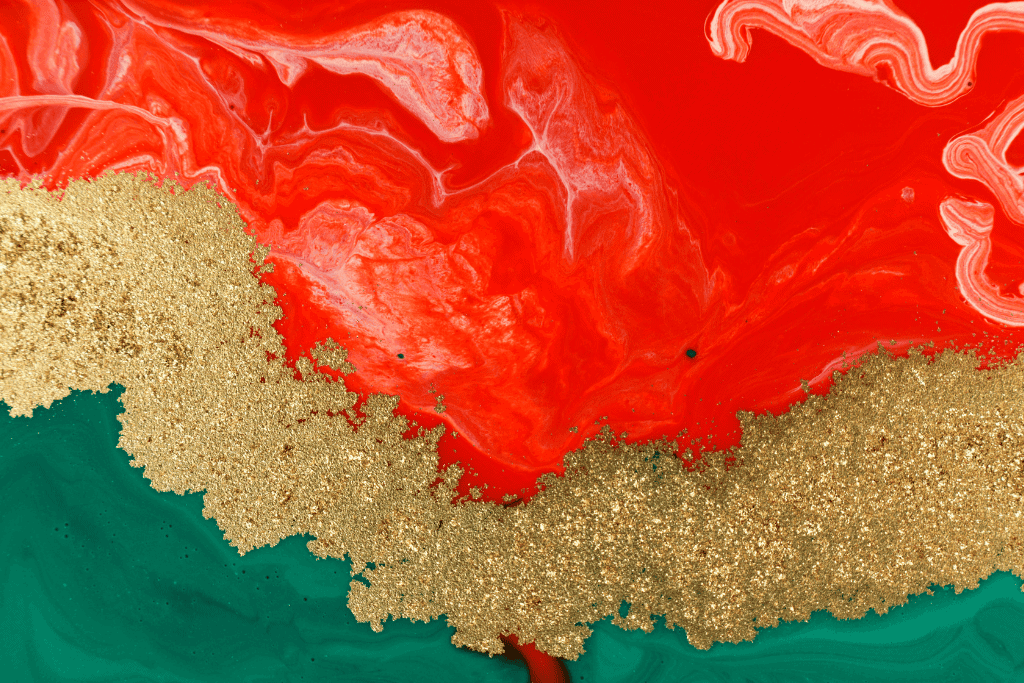
The last of our holiday paint night ideas strays away from cute and craft projects and dips into holiday chic decor. When it comes to easy Christmas canvas painting ideas, this one is a personal fave. It looks professional and makes the perfect mantle centerpiece. I’ve used red, white, and green in the example. If you are using traditional Christmas colors, they are opposite on the color wheel and highly contrasting. That’s why they look amazing together, but when doing an acrylic pour painting with highly contrasting colors, it can get too messy looking very quickly. You don’t want to mess with the paint too much! For that reason, we’re going to perform a Dutch Pour, which means we’ll be using air to get that blown-out effect.
Art Supplies
- Pre-primed canvas that fits your intended display space. Fill that space!
- White and black acrylic paint
- Two colors of acrylic paint that you want to be the focal colors
- Gold glitter
- Drop cloth
- Mixing cups and stir sticks
- Hair dryer with concentrator attachment
- Plastic drinking straw
- Floetrol or other flow medium
- Plastic spoons
- Optional: Resin or gloss acrylic sealer (You can also use gloss Modge Podge as your flow medium for an extra glossy look).
The Process
- Prepare a large space that’s clean and dry where you can paint and allow your art to dry afterward. With larger paintings, you may need to set up saw horses or a ladder to work on.
- Mix your paint colors to that warm honey consistency. You will need a full solo cup of each of your two primary colors. A small amount of white and black will do.
- Pour your first color in a wave pattern over the top 2/3 of your canvas. Pour your second color over the bottom third.
- Use a plastic spoon to drizzle white on the top in a swirl pattern. Drizzle black on the bottom. You don’t need much here. We’re just adding some visual interest.
- Lift your painting slightly from each corner, just enough to get the sides and all surfaces covered, and allow your two colors to begin to flow together.
- Use your blowdryer on the cool, low setting to blow out your white and black swirls. You can also use it sparingly where your two primary colors intermingle, but don’t worry too much about this as you’re going to cover this with gold glitter. If you don’t want to use a hair dryer, you can get fine detail by blowing the paint gently, at a 45-degree angle, with a drinking straw.
- While your paint is still wet, hand sprinkle your gold glitter at the confluence of your two primary colors.
- Let dry for at least 24 hours (it may take more).
- For a professional look that will last for years, cover your painting in a high gloss clear coat of your choice. Resin is a fantastic option, but it needs to be done in a well-ventilated area, and it’s a bit pricey. High-gloss Modge Podge or Triple Thick from Deco Art are great brush-on options that won’t break the bank.
Go Forth and Pour!
Alright, guys! That’s that. We hope you enjoyed this list of easy Christmas paint ideas. Remember when creating holiday-inspired art that it’s all about the experience. We provide basic tutorials, but always feel free to branch out. Try your own spin on it and do what works best for you! Acrylic pour painting is about the freedom to experiment and create your own masterpieces!
What are you still doing here? You have Christmas art to make!
Happy Holidays, folks!