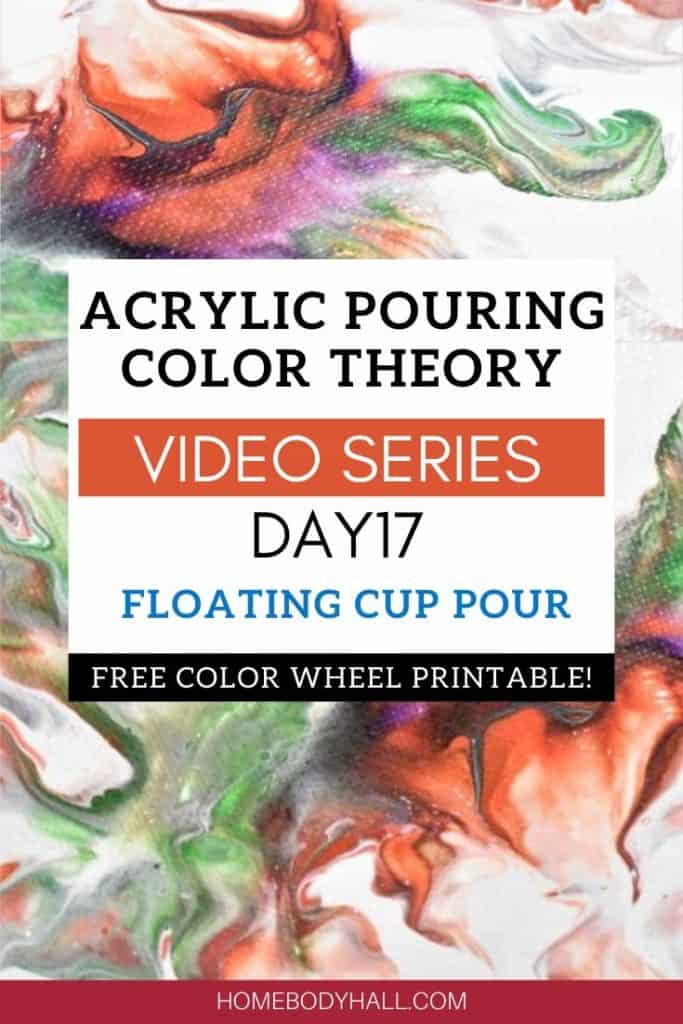
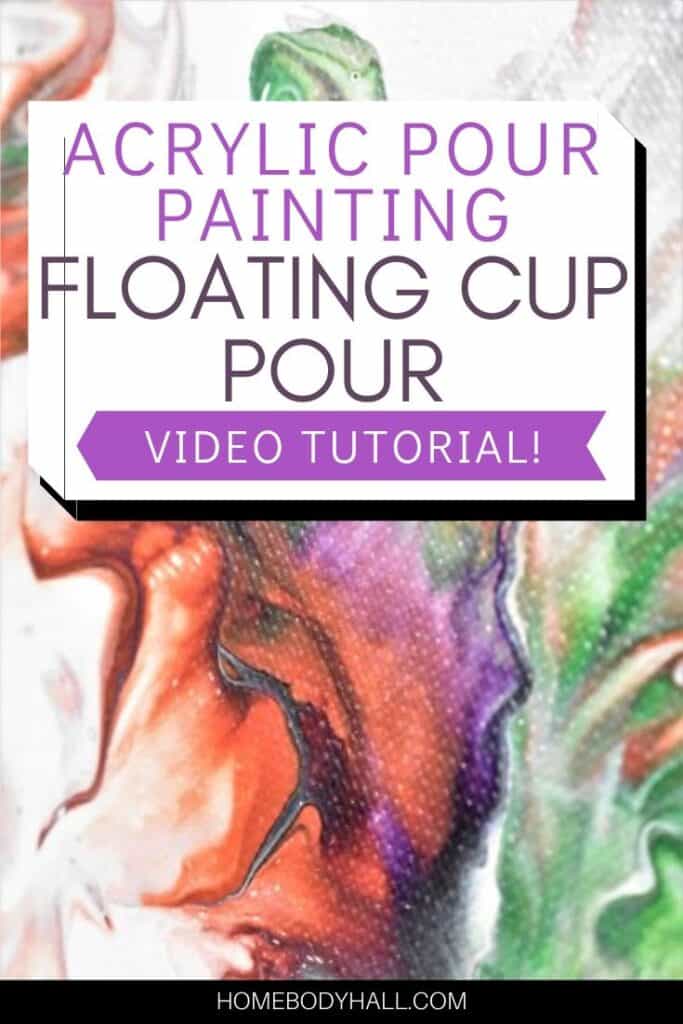
Day 17 of my acrylic pouring color theory series is a super fun floating cup acrylic pour blown with a straw! A floating cup pour is an easy way to get really cool ribbons of color and lacing.
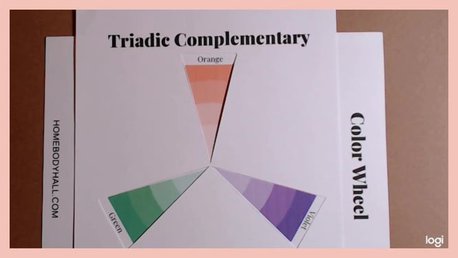
If you’re curious about colors and color theory as it relates to acrylic pouring, head on over to my post about Choosing Colors for Acrylic Pouring and grab your FREE printable Color Wheel and Color Scheme Guides.
If you would like to follow along with my 30-day acrylic pouring color theory video series, grab your very own color wheel and color scheme guides and some paint, and head on over to the color theory section of Homebody Hall!
If you’re pouring for the first time and would like more explanation on materials, processes, and terms, you can head on over to my Beginner’s Guide to Acrylic Pouring. You can also head over to my Comprehensive Guide to Acrylic Pouring Techniques for more information on all of the different techniques and my How to Thin Acrylic Paint for Acrylic Pouring post to learn all about pouring mediums!
This post contains affiliate links, which I earn a small comission from. These are provided for your convenience, and the price isn’t increased at all.
Color of the Day (Day 17 – Floating Cup Acrylic Pour):
- Green
Color Scheme:
- Triad Complementary – Green, Violet, Orange
Shades Chosen:
- Green
- Violet
- Orange
Neutral Chosen:
- White
Technique:
- Floating Cup Pour
Paints:
All of the colors I used for this floating cup acrylic pour were mixed from the paint colors below. (Blue and yellow for green, red and yellow for orange, and blue and magenta for violet)
I used magenta for my violet hues because I think it makes a less muddy color because there isn’t a yellow undertone to it as there is with red. So if you ever want to make a very vivid violet color, go with magenta. I have found that I actually prefer the Liquitex Basics Quinacridone Magenta to the Artist’s Loft Brilliant Magenta.
- Artist’s Loft Brilliant Blue
- Artist’s Loft Brilliant Yellow
- Artist’s Loft Deep Red
- Liquitex Basics Titanium White
- Artist’s Loft Brilliant Magenta
Pouring Medium:
- Floetrol
- Water
Canvas:
Tools:
- Straw
- Tiny cup (I used a medicine measuring cup, but you could use a Dixie cup or a Keurig cup)
Sealant:
- Rustoleum American Accents Gloss Clear (1 thin coat)
Floating Cup Acrylic Pour Step by Step


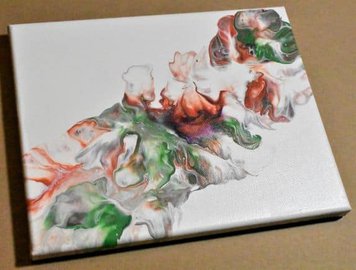
- Cover your canvas in a base coat of paint.
- Fill your tiny cup with the paint you want to work with. I layered my paints in this order: green, violoet, orange, white.
- Flip your canvas over and place it on top of your tiny cup. Flip it as a unit as you would with a flip-cup pour.
- Release the suction of the cup on the canvas slightly by poking a hole in the top of the cup, uncovering a hole that you previously poked in the cup, or by lifting the cup up VERY SLIGHTLY.
- Glide your tiny cup of colors across the canvas in whatever pattern you would like the paint to move in, releasing paint as you go.
- Using a straw, blow the paint out from the sides of your stripe of paint.
- Tilt or manipulate the paint in any other way you’d like until you’re happy with the composition and appearance of your painting.
Go Forth and Pour!
So that’s how you go about doing a floating cup acrylic pour! Nothing too difficult, and it makes some beautiful ribboning and lacing. Great for making a delicate piece of art!
As always, check out my updates on Facebook and Instagram and feel free to peruse Homebody Hall for more fluid art tips, tricks, and tutorials! Also head over to Youtube and subscribe to get my videos sent to you as soon as they come out!!
And now you can joing my Facebook Group, Flourishing Fluid Arts with Homebody Hall and get help, tips, inspiration and just hang out and have a great time!

Ideas for Painting Mountains at Sunrise

5 Inspiring Night Painting Ideas for Artists

Water Flower Ideas that Make Boring Days More Creative
Want to remember this floating cup acrylic pour? Pin Day 17 of this Acrylic Pouring Color Theory Series to your favorite Pinterest Board!