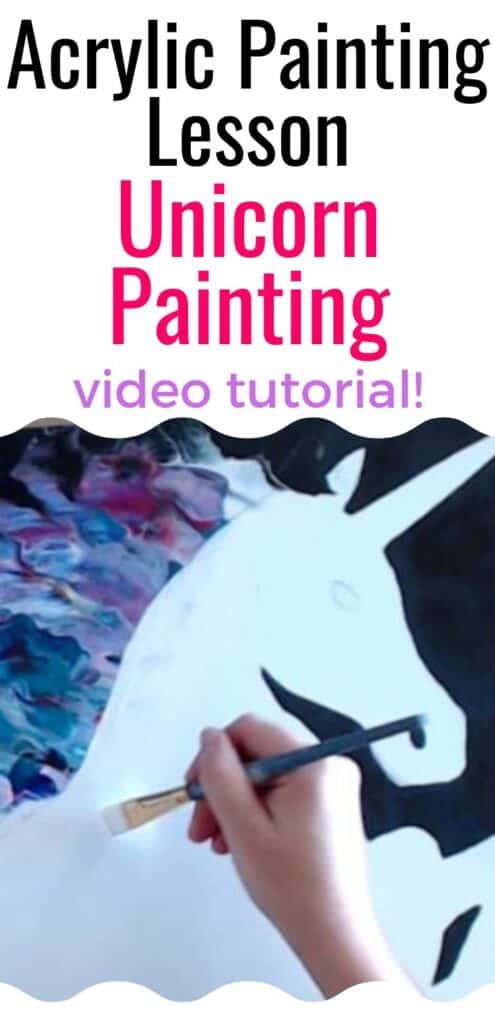
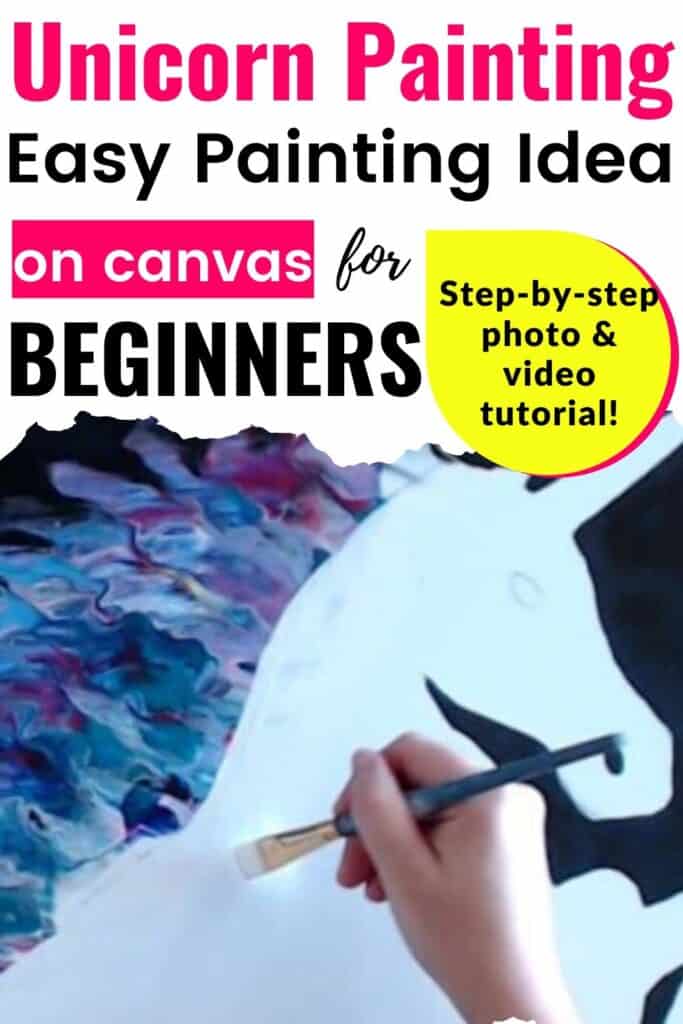
I’m going to teach you how to make an easy unicorn painting with acrylic pouring today! You can tweak this to make any type of unicorn you want, change the colors, make it more realistic, make it a cartoon unicorn, a silhouette of a unicorn, whatever you want! Plus, you don’t need to know how to draw a unicorn to follow this step-by-step tutorial and make a beautiful unicorn painting!
If you’re pouring for the first time and would like more explanation on materials, processes, and terms, you can head on over to my Beginner’s Guide to Acrylic Pouring. You can also head over to my Comprehensive Guide to Acrylic Pouring Techniques for more information on all of the different techniques and my How to Thin Acrylic Paint for Acrylic Pouring post to learn all about pouring mediums!
So how do you paint a unicorn painting with acrylic pouring? Well, the three techniques that I used were:
- Swipe
- Straw-blowing
- Hand-painting
What colors do you need to paint a unicorn painting?
Because unicorns are everything magical and magestic, I went pretty much as colorful as possible for this unicorn painting, blues, pinks, metallics, yellow, purple, a very fun color palette.
But as with all art, inlcuding acrylic pouring, you can do what ever you want! Use your imagination! I would, however, be conscious to choose a variety of shades, so a light, medium, and dark at the very least. This will help your paints contrast against one another and pop.
(If you’re curious about colors and color theory as it relates to acrylic pouring, head on over to my post about Choosing Colors for Acrylic Pouring and grab your FREE printable Color Wheel and Color Scheme Guides below!)
Materials You Will Need to Paint a Unicorn Painting with Acrylic Pouring
This post contains affiliate links, which I earn a small comission from. These are provided for your convenience, and the price isn’t increased at all.
Paints:
- Artist’s Loft Mars Black
- Artist’s Loft Titanium White
- Master’s Touch Ultramarine (mixed with the white to make a lighter blue) (Buy on Hobby Lobby / Amazon)
- Liquitex Basics Quinacridone Magenta
- Artist’s Loft Metallic Cobalt
- Artist’s Loft Lemon Yellow
- Artist’s Loft Neon Pink
- Violet made from the Ultramarine and Magenta mentioned above
Pouring Medium:
- Floetrol
- Water
Tools:
- Palette Knife (one large and one smaller)
- Baby wipe/wet paper towel
- Straw
- Paintbrushes
- Paper plate/ Palette
- Paper or Vinyl for stencil
- Cricut or Printer to make stencil
- Scissors
- Pencil
Embellishments (optional):
Sealer
Canvas:
Step-by-step Unicorn Painting with Acrylic Pouring
Find a Unicorn Reference
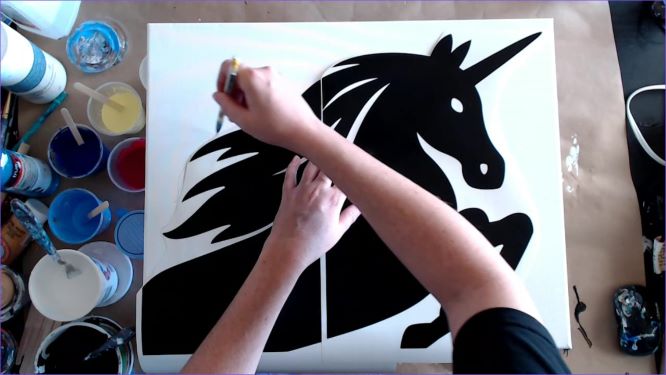
Like I said at the beginning of this post, you do not need to know how to draw to create a beautiful unicorn painting. I used my Cricut Maker to cut out a vinyl unicorn and then traced that to make my unicorn painting. Just as easily, you can find a sillhouette of a unicorn online, print it out, cut it out and trace that. Seriously, let this be easy and fun!
Here are the details of what I used to make my stencil with my Cricut Maker:
I used the free unicorn image MF727596 in Cricut Design Space and used the slice tool to get just the top half of the unicorn to put onto my canvas.
I used matte black removable vinyl for my unicorn since I was just using it as a stencil. If you don’t like painting by hand at all, you could also cut the unicorn out of vinyl whatever color you want your unicorn to be and just put it on the canvas when you’re done with painting the mane.
Because I used a larger canvas, I had to cut the image into a couple pieces to make it the size I wanted because it wouldn’t fit on the mat. Here’s the video I followed to do that:
Sketch your Unicorn Mane onto the Canvas
The first part of the unicorn that you will be painting is the mane. And that is the part that you will paint with acrylic pouring, so you don’t need to draw anything in detail here. Just get your unicorn reference where you want it on your canvas and sketch the general area of where the mane will be. (You can also do the tail if you’re doing a full body unicorn.)
Lay Down Paint for the Mane
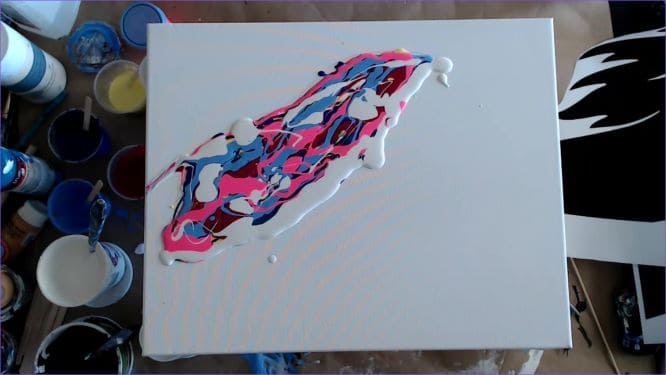
Drizzle your paints into the space you sketched out for the mane (and tail if you’re doing one).
The order I put my paints on was: metallic cobalt, magenta, lemon yellow, violet, light blue, neon pink, white.
Lay Down your Swipe Paint
Put a line of paint across the long side of your mane, the side that will touch the unicorn. I chose white, but you could work with any color that you want.
Lay Down your Background Paint
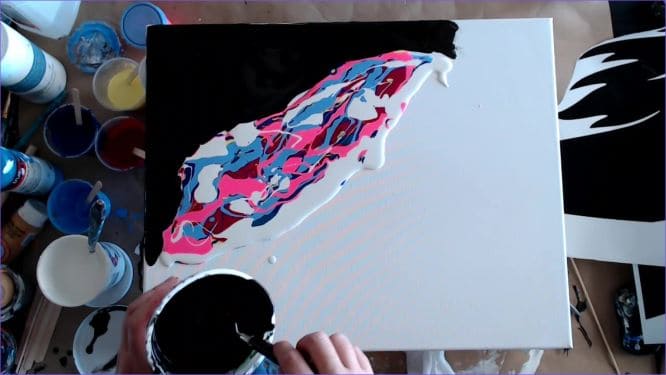
Add whatever color you want for the background (I chose black) around the outside of your swipe so that when you swipe the hair outward it is sitting on top of that background color.
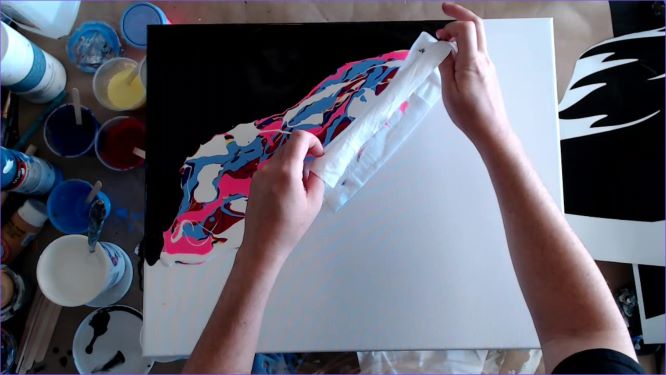
Swipe the Mane Out on your Unicorn Painting
I first swiped with a baby wipe, but I wasn’t quite satisfied with the transitions, so I then went back in with a large palette knife. Use whatever your favorite method of swipe is though to achieve the look you’re going for!
Add Some Movement with Straw-blowing
I found that I liked the texture from straw blowing a little more than just the swipe, it also brought the colors out really nicely. I blew the paint outward from the inside edge. Then I tilted it to get the direction of the paint to change a bit.
Sketch on Your Unicorn
Once your pour is dry, cut the mane off of your unicorn reference, place the rest of the unicorn onto the canvas, and trace it onto your canvas.
Paint in the Background of your Unicorn Painting
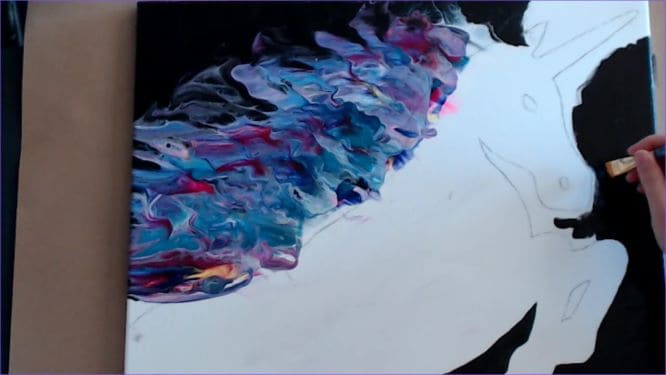
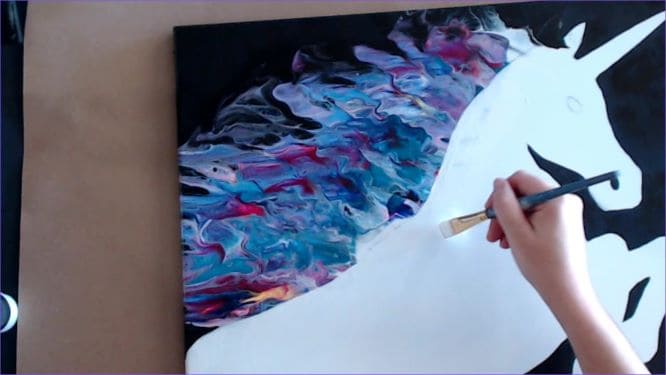
Follwing the outline you just drew, using a wide, flat brush, paint the background into your painting. I chose a black background.
Paint your Unicorn
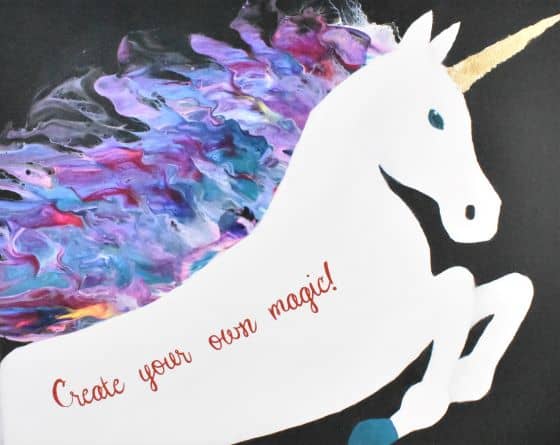
Now it’s time to fill in your unicorn. I chose to have a white unicorn to let the mane really be the focal piece and shine, but you choose whatever makes you happy!
Here are a couple of tips. If you want to have more complete coverage or need to cover something other than white, use your paint straight out of the tube. If you want a more transluscent effect or you’re layering, you can use te paint you’ve thinned down for pouring to get some interesting effects.
Another tip is that if you realize you made a mistake, you can usually wipe it off with a wet paper towl or baby wipe if you catch it quickly enough. Just be gentle while you’re wiping so you only wipe that layer off.
Add Details
Now’s when you paint the hooves ( I started out with purple and ended up landing on metallic cobalt.) and the eye. If you look up a horse’s eye, they’re very different than humans’. Even the shape of the pupil is different. So keep that in mind when you are painting the eye and grab a picture to go from.
I also filled in a little bit of the mane where it was just white from the swipe.
I shaded a little bit where the legs met to show that they were two different legs and that one was behind the other. I did the same with the ears. And I also added shading to the rounded jaw muscle of the unicorn.
The shading I did is SUPER subtle, but if you want a more graphic look or realistic look, you can go to town with the details!
Gold Leaf Horn
Since the horn is pretty much everything on a unicorn, I decided to do gold leaf on mine. I used Mod Podge and gold leaf sheets.
- Spread a very thin coating of glue on the horn area with a sponge brush. And when I say very thin, I mean you think that there’s not enough to hold anything on. It will work and it will work better than if you put more on.
- Lay the gold leaf on top of the glue and rub it on. Give it a few seconds to stick, and then pull the sheet back.
- Repeat the process on any spots that may not have taken.
- Once the glue is dry, after a few minutes, take a soft, dry paintbrush and brush away the excess gold leaf.
My gold leaf did not match perfectly to the edge of the horn, but since I liked the imperfect nature, I just touched up the edges of the horn with the black background.
Other options for a cool horn could be metallic paint, paint pens, or glitter!
Seal your Painting
I don’t always seal my paintings, but when you use gold leaf you really should so that it stays on there well. I used Rustoleum Gloss Clear spray to do this.
Add a Name or a Fun Quote or Saying!
I wanted to add a fun quote to this unicorn painting, which I made for my daughter’s room, so I went with “Create your own magic!”
Again, I used my Cricut Maker to cut out the lettering, and I went with red shimmer vinyl for the cute quote. And I used the Chloe font for something fun and bouncy.

Go Forth and Pour!
And that’s it! I hope that this project inspires you to create YOUR own magic too!
As always, check out my updates on Facebook and Instagram and feel free to peruse Homebody Hall for more fluid art tips, tricks, and tutorials! Also head over to Youtube and subscribe to get my videos sent to you as soon as they come out!!
2024 Color Palettes for Creating Updated Art
Let’s Throw a Paint Party: How to Host Your Own Paint and Sip
Do It Yourself Countertop Paint: Update Your Kitchen With Pour Paint
Want to remember this unicorn acrylic pour painting? Pin this tutorial to your favorite Pinterest Board!
