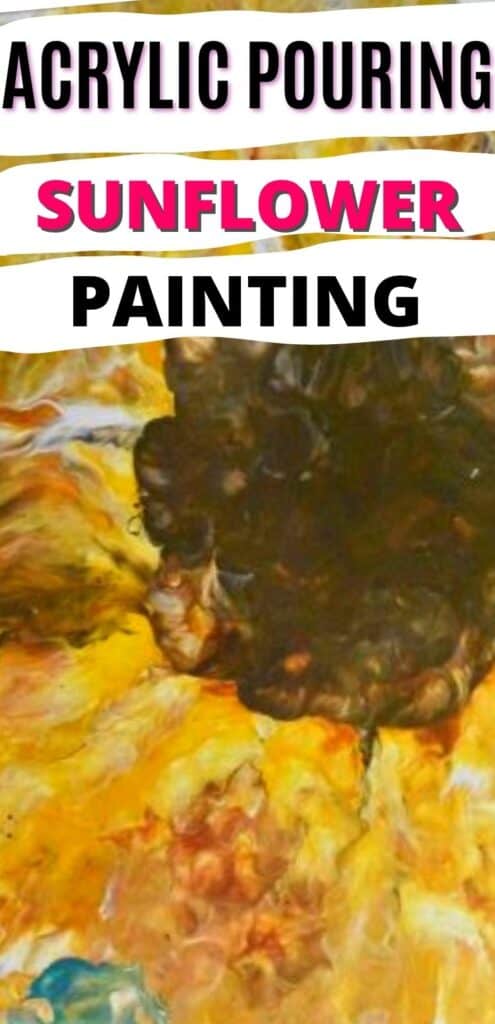
Sunflowers are so bright and happy, and I can’t help but love the fact that you can continue to enjoy them into the fall. And if you want to enjoy them even longer, a sunflower painting is just the thing! And acrylic pouring makes a sunflower painting a super fun project where you can explore a couple different techniques, depending on what effect you’re going for!
If you’re pouring for the first time and would like more explanation on materials, processes, and terms, you can head on over to my Beginner’s Guide to Acrylic Pouring. You can also head over to my Comprehensive Guide to Acrylic Pouring Techniques for more information on all of the different techniques and my How to Thin Acrylic Paint for Acrylic Pouring post to learn all about pouring mediums!
So how do you make a sunflower painting with acrylic pouring? Well, the two techniques that I used were:
- Dutch Pour
- Strainer Pour
What colors do you need to paint a sunflower painting?
Well, obviously, for a sunflower painting, you’re going to need a bright, cheery yellow. I prefer to use a deeper yellow, like a goldenrod. To add some depth to the petals, I also used a toffee-like color and some gold.
And of course, for the center of the sunflower, you’ll need some dark brown. I also used the toffee-color in the center as well to varigate it, since the center of a sunflower has so much texture.
(If you’re curious about colors and color theory as it relates to acrylic pouring, head on over to my post about Choosing Colors for Acrylic Pouring and grab your FREE printable Color Wheel and Color Scheme Guides below!)
Materials You Will Need to Paint a Sunflower Painting with Acrylic Pouring
This post contains affiliate links, which I earn a small comission from. These are provided for your convenience, and the price isn’t increased at all.
Paints:
- Master’s Touch Yellow Med
- Artist’s Loft Old Gold
- Master’s Loft Permanent Black
- Artist’s Loft Raw Umber
- Liquitex Basics Titanium White
- Artist’s Loft Bronze
- Master’s Touch Crimson
- Artist’s Loft Metallic Cobalt
All of the colors that I used were mixed from the colors above.
Pouring Medium:
- Floetrol
- Water
For these sunflower paintings, I thinned the paint for the flowers with water only, as is the style of Rinske Douna. However the white paint for the backgrounds is mixed with 1 part paint, 2 parts Floetrol, smidge water.
Tools:
Canvas:
How to Paint a Sunflower Painting via Dutch Pour Video Tutorial
How to Paint a Sunflower Painting via Strainer Pour Video Tutorial
Step-by-step Sunflower Painting with Acrylic Pouring
Dutch Pour
- Lay down a nice, even coat of your background color. Be sure to cover the edges of the canvas as well.
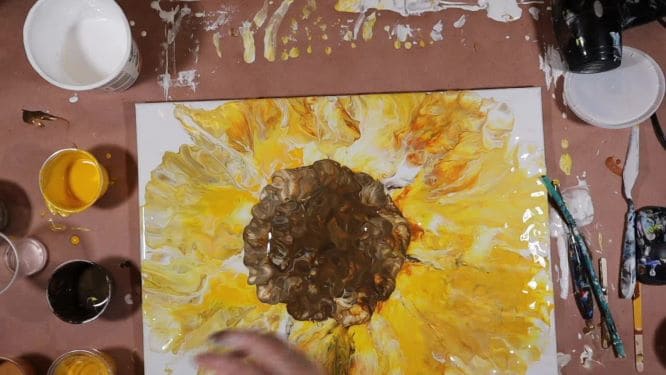
- Wherever you’d like the center of your sunflower to be, pour a puddle of paint. The order in which Iaid down my paint in the puddle was: brown, yellow, gold, yellow, orange, yellow, gold, yellow, brown.
- Pour a circle of yellow paint along the outside of your puddle.
- Using the hair dryer blow that circle of yellow paint up and over the puddle of paint, going all the way around the puddle.
- Blow the paint out from the center and working your way around in a circle.
- Keep going until the petals are a good length that you like and create an even circle.
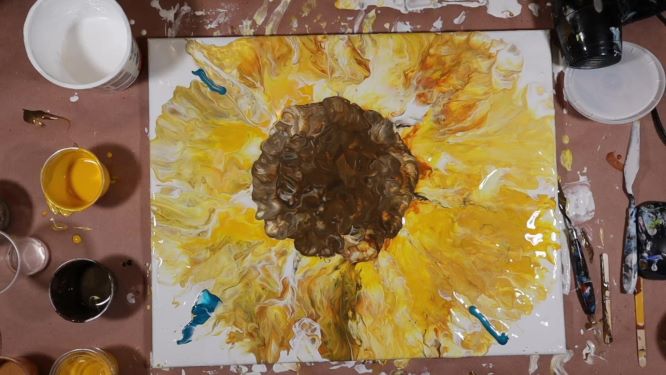
- Add the center of the flower by pouring dark brown into the center and creating a nice large head for the center.
- You may have to do what I did in a few areas and add colors back into the petals to even out your colors around the circle.
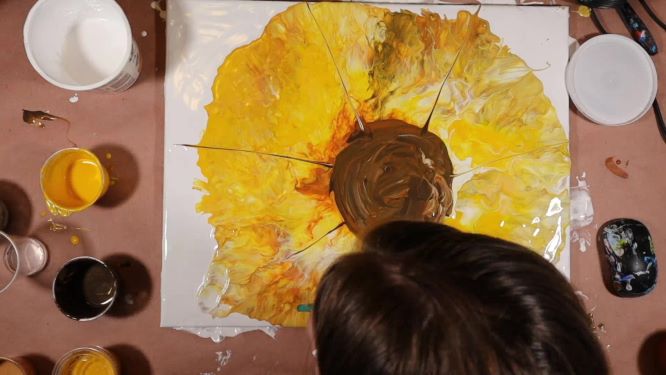
- Draw petal lines out from the center of your sunflower using a skewer, popsicle stick, palette knife, whatever you have.
- Soften these petal lines by blowing on them with a straw.
- Soften the outside edge of your petals by fanning the paint out by blowing on it with a straw.
- You can also blow inward from the background toward the center to create more definition and separation in the petals.
- Continue working with your straw and soften the edges of the sunflower center, and use the straw to create texture within the center of the sunflower as well.
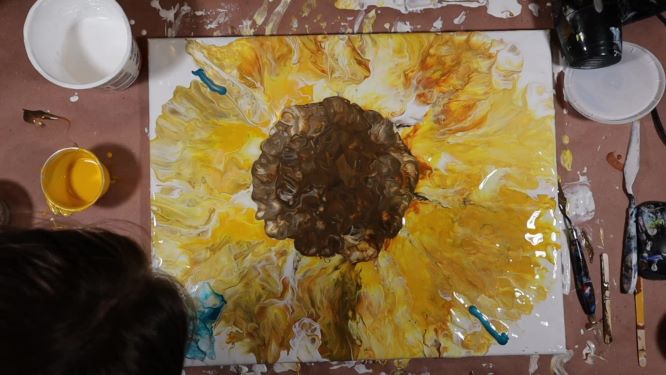
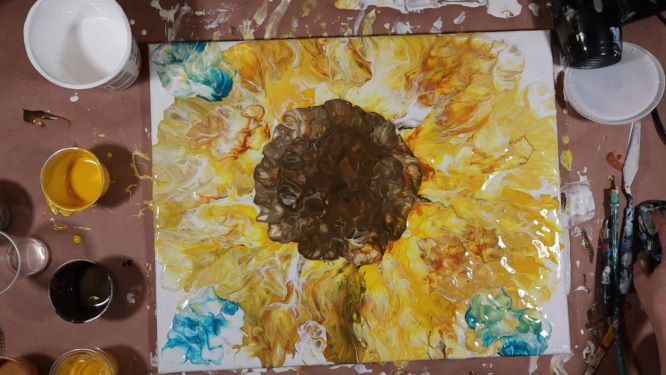
- Add in some lines of green for leaves. I recommend three because that is a pleasing number to the eye.
- Blow out the leaves with a straw.
- Finish up by making sure that you’re happy with the composition and color distribution aroud the flower, adding more color wherever you see fit.
Strainer Pour
- Lay down a nice, even coat of your background color. Be sure to cover the edges of the canvas as well.
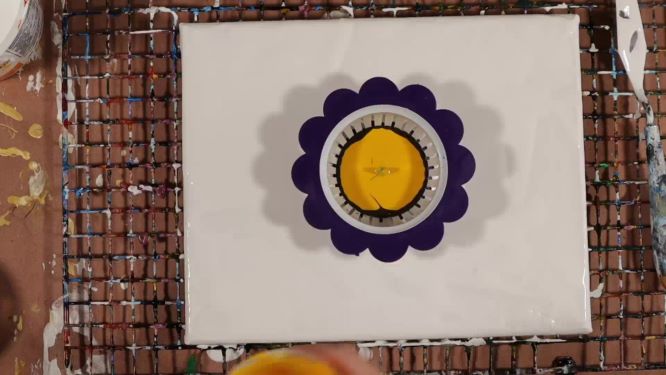
- Place your sink strainer where you would like the center of your flower to be.
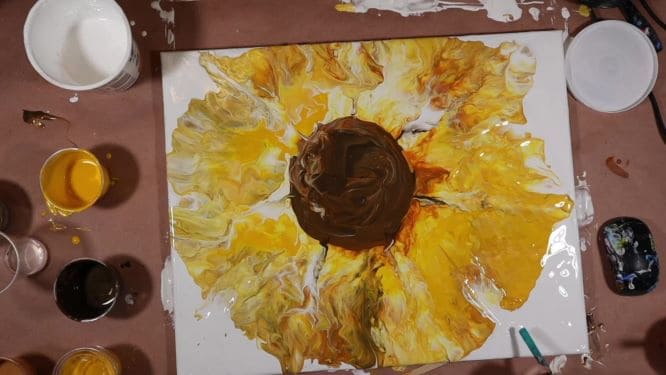
- Pour your layers of colors for the petals into the center of the sink strainer. I started with a smidge of brown to form a little bit of an outline. The order that I added colors to the strainer was: Brown, yellow, gold, orange, yellow, brown.
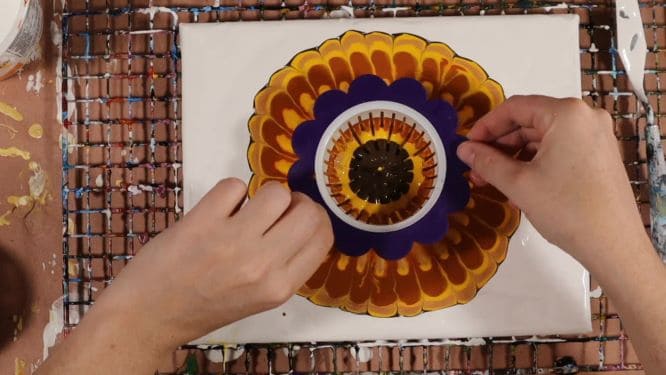
- Pick up the strainer and let the excess paint drip down into the center of the flower or be sure to put something beneath the strainer so that drips don’t ruin your petals as you move it off of the canvas. I like to do a little twist of the strainer at that point too.
- Tilt your canvas in a circular manner, stretching the paint as you go. Continue this process until you are happy with the final size of your flower.
- Take a skewer or the tip of a palette knife and drag some of the dark brown paint out to the edge of each petal. This will bring a point to each petal.
- Use the tool you used on the petals to add a little swirl and texture to the center of the flower.
- Add a little green paint to one of the corners and swipe it out to ccreate a leaf.
Go Forth and Pour!
So there you have it, two very different sunflower paintings, both made with acrylic pouring! It’s amazing how you can achieve such different effects with different techniques. If you’re interested in learning more about Dutch Pours, check out my How to Do a Dutch Pour Painting post. And if you’re interested in painting other flowers, my Cherry Blossom Tutorial is a super fun and easy project.
As always, check out my updates on Facebook and Instagram and feel free to peruse Homebody Hall for more fluid art tips, tricks, and tutorials! Also head over to Youtube and subscribe to get my videos sent to you as soon as they come out!!
And now you can joing my Facebook Group, Flourishing Fluid Arts with Homebody Hall and get help, tips, inspiration and just hang out and have a great time!
2024 Color Palettes for Creating Updated Art
Let’s Throw a Paint Party: How to Host Your Own Paint and Sip
Do It Yourself Countertop Paint: Update Your Kitchen With Pour Paint
Want to remember this simple acrylic pouring sunflower painting? Pin this tutorial to your favorite Pinterest Board!
