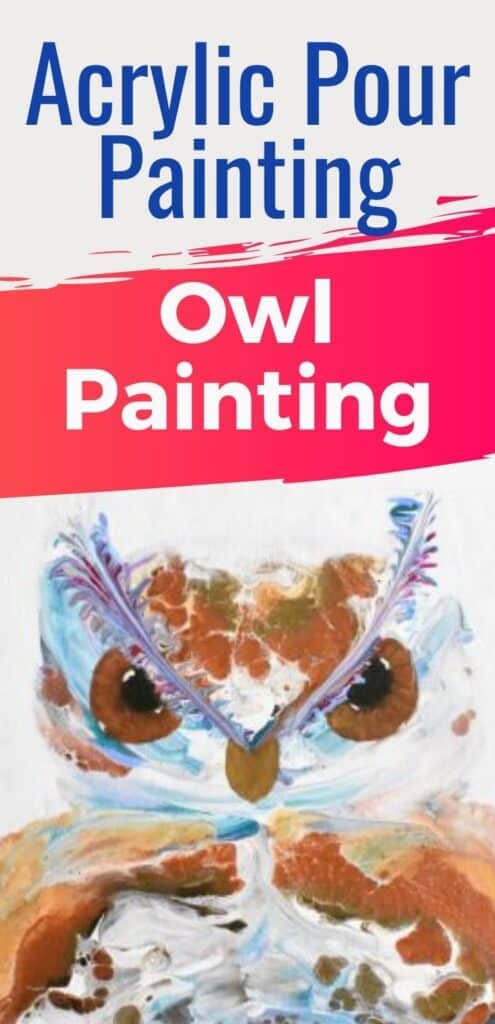
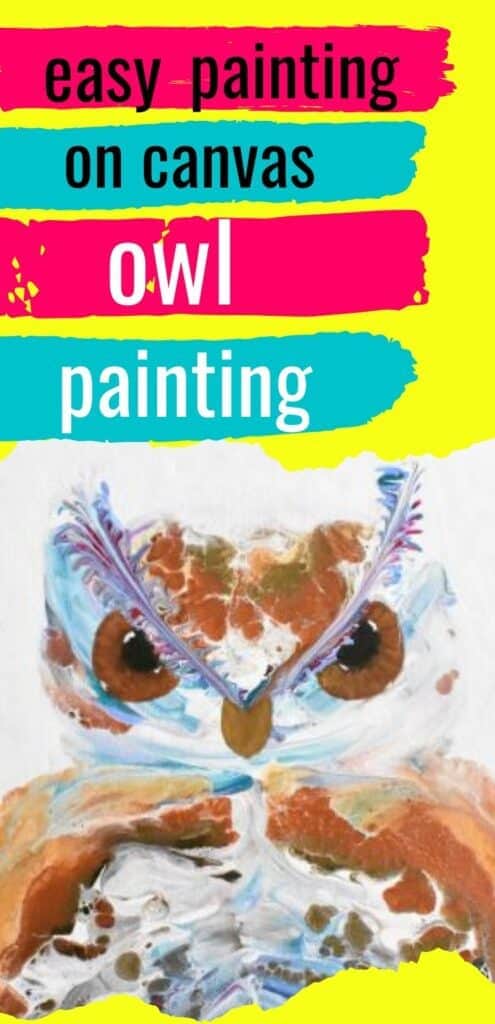
Owls are my absolute favorite animal. Seriously, they are all over my house in about every form I can find them. And since it’s been a while since I painted an owl, I thought, “Hey, why don’t I do an easy owl painting with acrylic pouring?” Now, I will be honest with you, acrylic pouring is not an art form that lends itself to photorealism, but I just can’t resist a whimsical, abstract take on a subject…especially an owl!
This is a bigger project, but I’m going to break it down into manageable steps so that even if you’re a beginner, you can do this!
If you’re pouring for the first time and would like more explanation on materials, processes, and terms, you can head on over to my Beginner’s Guide to Acrylic Pouring. You can also head over to my Comprehensive Guide to Acrylic Pouring Techniques for more information on all of the different techniques.
So how do you paint an owl painting? Well, the four techniques that I used were:
- Swipe
- Chain Pull
- Straw-blowing
- Hand-painting
What colors do you need to paint an owl painting?
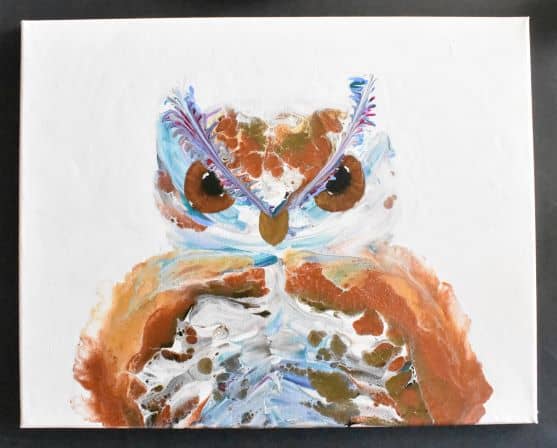
So owls are predators, and they are pretty much the same colors as their environment, which include browns, tans, whites, things of that nature. But the beauty of art is you can make anything you want. And I wanted a fun, whimsical owl, so I used a lot of metallics and some pops of fun colors like light blue, metallic cobalt, and magenta.
I used a simple white background for my painting, but if you’d like, you can easily tweak this tutorial to suit your fancy with a night background or a winter background, really whatever you’d like. You could even use the concepts I used to paint this owl to create a painting of an owl flying.
(If you’re curious about colors and color theory as it relates to acrylic pouring, head on over to my post about Choosing Colors for Acrylic Pouring and grab your FREE printable Color Wheel and Color Scheme Guides below!)
Materials You Will Need to Paint an Underwater Painting with Acrylic Pouring
Paints:
- Artist’s Loft Mars Black
- Artist’s Loft Titanium White
- Master’s Touch Ultramarine (mixed with the white to make a lighter blue)
- Artist’s Loft Raw Umber
- Artist’s Loft Metallic Bronze
- Artist’s Loft Copper
- Artist’s Loft Old Gold
- Liquitex Basics Quinacridone Magenta
- Artist’s Loft Metallic Cobalt
Pouring Medium:
- Floetrol
- Water
Tools:
- Palette Knife (one large and one smaller)
- Mardis Gras Beads
- Straw
- Paintbrushes
- Paper plate/ Palette
Canvas:
- 20in x 16in canvas
Step-by-step Owl Painting with Acrylic Pouring
Sketching Out Your Owl


The first thing that you’ll want to start with for your owl painting is a good sketch. This is important because you will use your sketch to find the shapes to work with while you’re pouring.
Above, I have laid out step by step how I drew my owl. You’re welcome to use this as a reference or find your own owl reference. Either way, you’ll want to have a clear, simple sketch to work from.
If you aren’t one for drawing, don’t panic, YOU CAN DO THIS! Get some sort of straight edge, either a regular ruler or I really like to use my clear sewing ruler for drawing as well, and draw some guidelines. Find the middle of your canvas and mark it with perpendicluar lines. Then work your way out from the center.
You can make guidelines for any point you want to reference. I used them to make sure the eyes were at the same height, but you can do the same thing with the tufts on top of the head or anything else you aren’t sure about. You’re not going to see any of this anyway, so do as much measuring as you need. You’ll be thankful you did later.
If you’re really opposed to drawing or things just aren’t working out, print something out and trace it. No big deal!
Painting the Wings and Chest


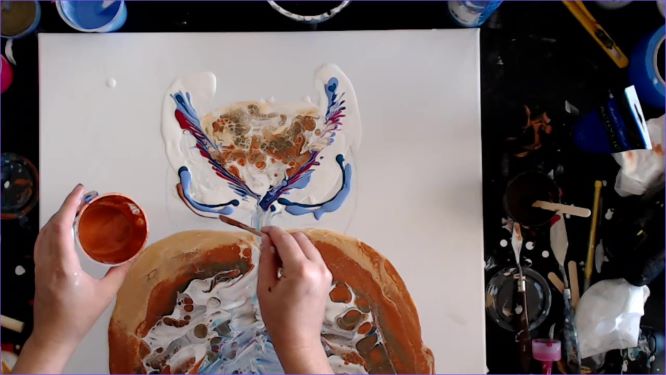
The first thing I painted for this owl painting was the wings and the top of the chest. As you can see from your sketch, there is an arch shape with a bit of a cleft in the middle. I followed this shape both in laying down my paints as well as in my swipe.
I wanted to have contrast between the stomach and the wings and chest of the owl, so I worked my way from light to dark as I moved toward the center of the owl because I knew that I wanted the stomach to be lighter.
The order in which I layered my paint for the chest and wings was old gold, copper, bronze, and umber.
Then, I poured a thin line of white paint right down the center of the chest where the cleft is. Using a larger palette knife, in one curved motion, I swiped a thin layer of the white paint over the paint that I layed down for the chest and wings.
Paint the Stomach of your Owl


The next step in your owl painting is painting the chest. I wanted this part to look fluffy and feathery, so I did it in two layers so that my swipes would overlap.
- Outline the inner chest portion that you have sketched out like an upside down U in white.
- Fill the space between the wings and your oultine with whatever colors you choose. I used light blue, bronze, umber, and copper.
- Using a smaller palette knife, swipe the white outline over the colors in the gap toward the wing. Use short, curved light strokes.
- Now, fill in the stomach area. I chose to get progressively more colorful as I moved toward the inside of my owl. So the colors that I used were magenta, metallic cobalt, bronze, and light blue.
- Pour a line of white down the middle of the stomach and swipe that white out to the sides in the same fashion as the last layer, overlapping your strokes over your last layer just a bit.
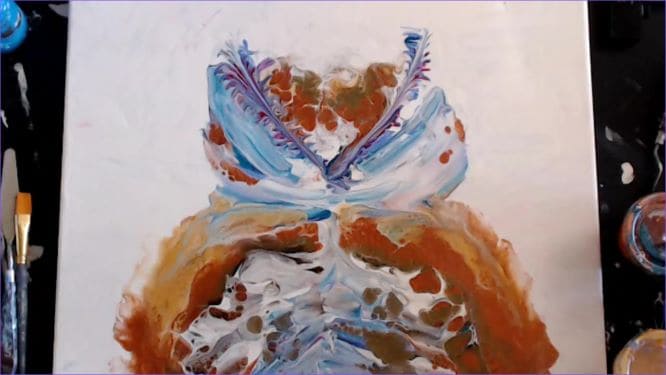
Paint the Tufts of the Owl

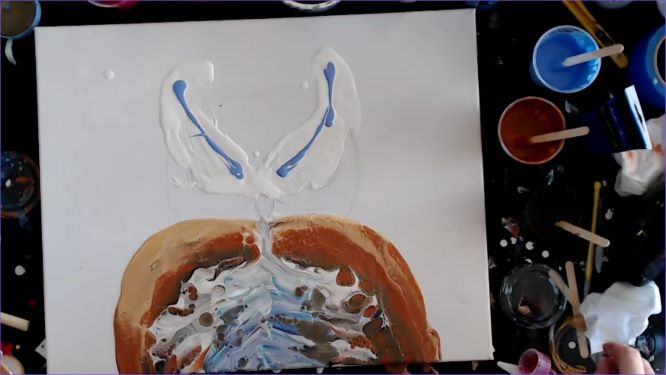


Because I feel like the focal point of any owl is its eyes, I wanted to bring the attention there by painting some awesome tufts and drawing them towards the eyes.
- Lay down a thin layer of white paint where your tufts are going to be. This will facilitate a nice chain pull.
- Add thin lines of the colors that you want to use for your tufts. I used light blue, metallic cobalt, and magenta.
- Place the mardis gras beads along the lines of colored paint and pull them down towards the center of the owl’s face.
Paint the Owl’s Head


Now it’s time to finish up the owl’s face and head. I worked on the forehead first and then the area around the eyes.
- Layer the paint for the forehead in a V shape between the brows. I used copper, bronze, gold and white to balance out the wings and the chest.
- Pour a line of white paint from the middle of the head to the center of the brows. Swipe this line out toward the brows, being careful not to overswipe as I did. But if you do overswipe, you can repull the tufts and brows like I did, and it will be fine.
- Next, using the curved shape of the eyes as a reference, pour lines of paint under each eye. I used metallic cobalt, light blue, copper, and umber.
- Pour two puddles at the center edge of each curve (not as big as mine!). Swipe this white paint outward over the colored paints using a larger palette knife. Don’t worry about keeping a blank space for the eyes; you will paint those in.
Even Out the Background
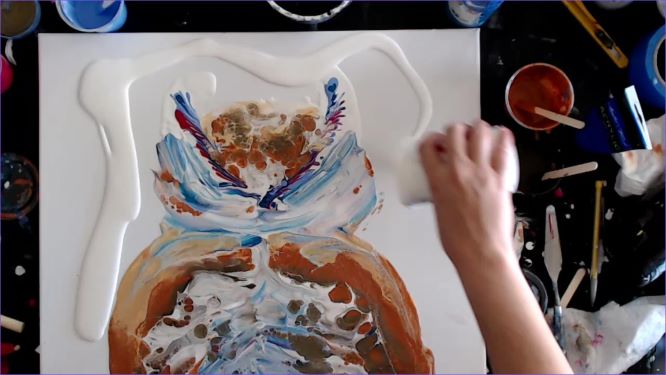
Decide on a background color and add this on, smoothing as you go.
Fluff up Your Owl
I didn’t like the hard edge of the body of the owl, so I decided to fluff him up a bit with some straw-blowing. I tested it on the top of the head as well, but I didn’t really like it there. Play around with the look of your owl and see what you like.
It’s important to do this AFTER you put the backgroud down so that the paint will flow.
Paint in Your Owl’s Facial Features


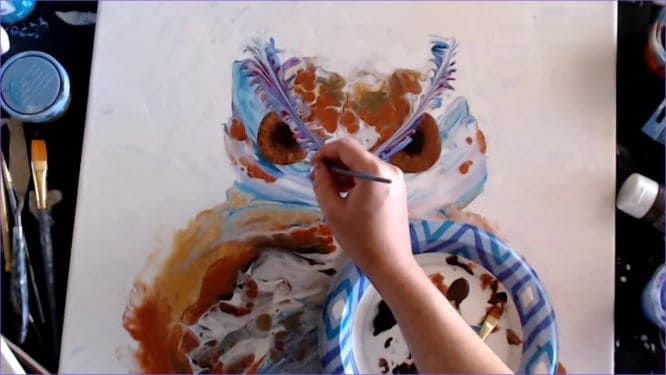


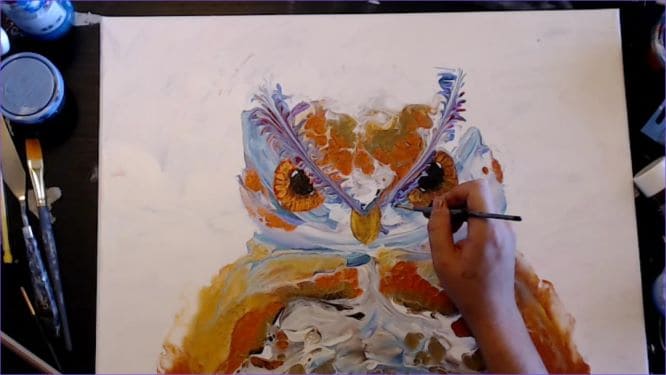


Once your owl paintng is dry, it’s time to add the finishing touches!
Here are a couple of tips. If you want to have more complete coverage or need to cover something other than white, use your paint straight out of the tube. If you want a more transluscent effect or you’re layering, you can use te paint you’ve thinned down for pouring to get some interesting effects.
Another tip is that if you realize you made a mistake, you can usually wipe it off with a wet paper towl or baby wipe if you catch it quickly enough. Just be gentle while you’re wiping so you only wipe that layer off.
- Sketch your eyes back onto your owl with a pencil, including the pupils. The brows will intersect the eyes if you followed my sketch.
- Fill in the eyes. The main color I chose for my owl’s eyes was copper.
- Fill the pupils in with black paint.
- Paint a transition circle layer beween the pupil and the outer eye with umber. As you can see in the video, I worked for a while blending the colors and creating the gradient for the eye, because, like I said, it is the focal point of the whole painting. Just be patient and keep working at it.
- Add highlights of gold and copper into the eye by painting lines that radiate out from the pupil.
- Paint in just a couple white highlights into the eye. Ths really adds life into the eyes and makes them pop.
- Paint in the beak with gold.
- Using the colors of the face, adjust any of the pour that you need to in order to make sure that the facial features look rigt and are the focal point.
- Using the background color, shape up the face if you need to. I started doing this and quickly realized that the owl looked disprportionate if I took too much off of his head. So just keep proportion in mind while you’re working and step back from your work to look at it every so often.
Go Forth and Pour!
And that’s it! I hope that this project gives you some new tools in your toolbelt when it comes to intentional pouring and painting! Have fun and challenge yourself, and don’t forget to be easy on yourself and enjoy the process!
As always, check out my updates on Facebook and Instagram and feel free to peruse Homebody Hall for more fluid art tips, tricks, and tutorials! Also head over to Youtube and subscribe to get my videos sent to you as soon as they come out!!

Ideas for Painting Mountains at Sunrise
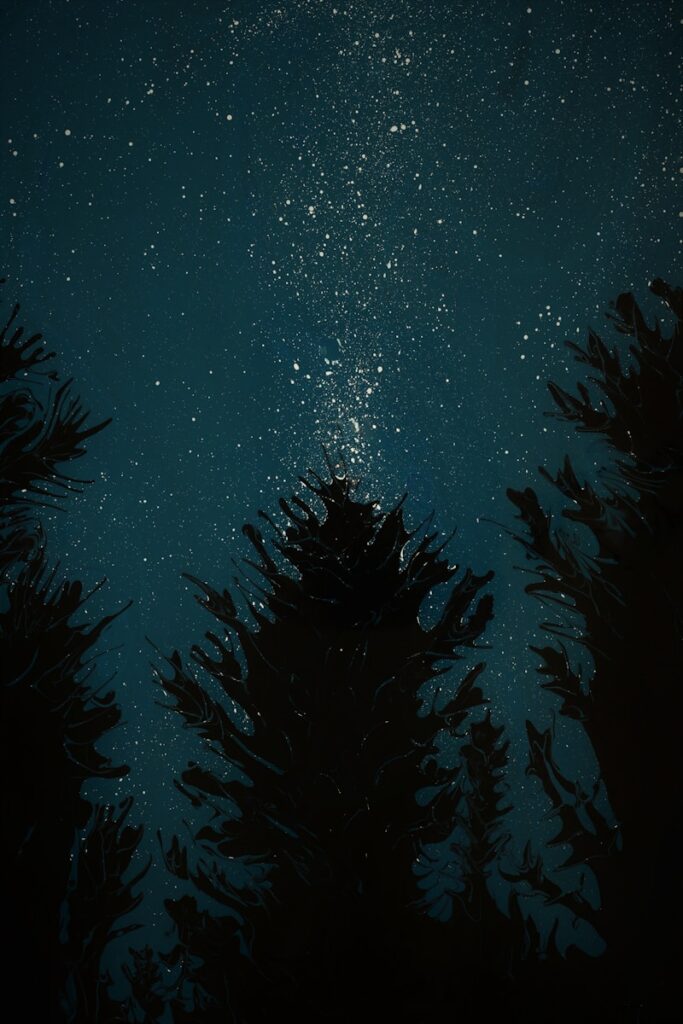
5 Inspiring Night Painting Ideas for Artists
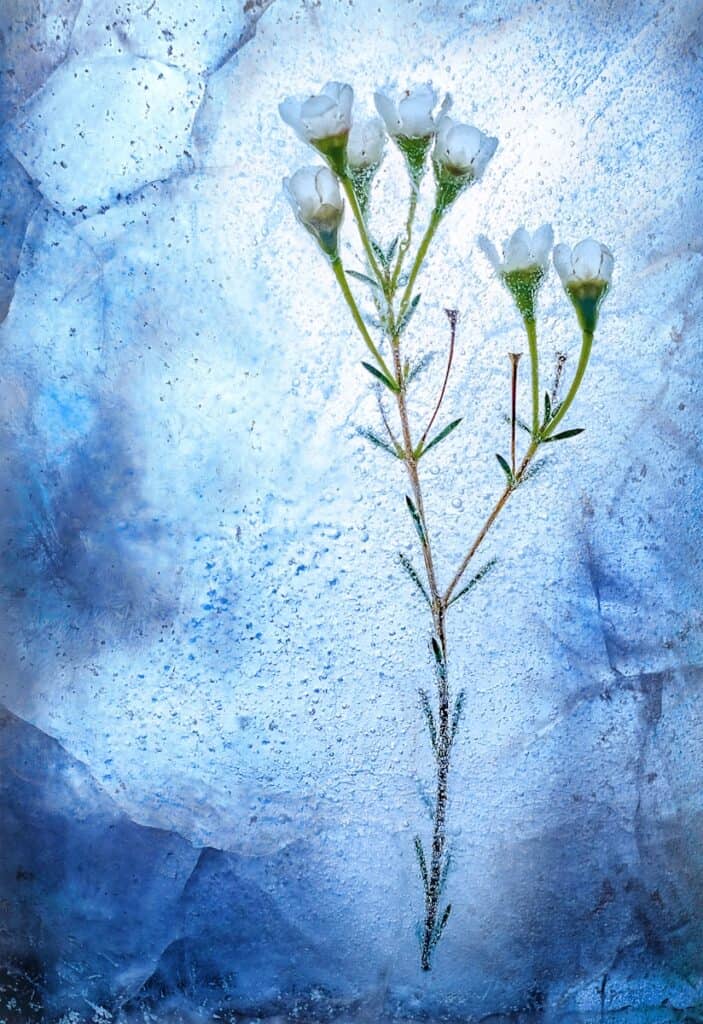
Water Flower Ideas that Make Boring Days More Creative
Want to remember this owl painting acrylic pour painting? Pin this tutorial to your favorite Pinterest Board!