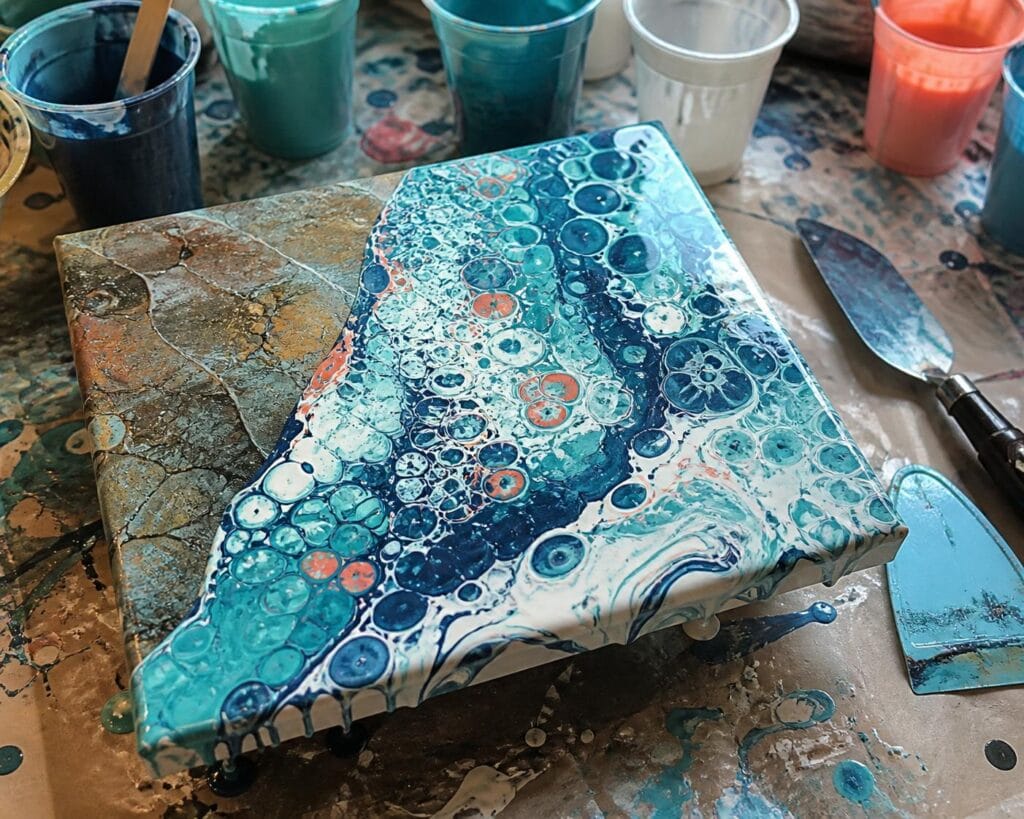
There is a particular moment in acrylic pouring when a painting seems to turn against you. The colors looked beautiful in the cups, the first ribbons of paint were promising, and then one tilt too many stretched the cells into blurry streaks. Or perhaps the pour dried with a bare corner, a cracked center, or colors that settled into something resembling brown soup.
Before scraping the canvas or pouring another layer over it, pause. I have noticed that disappointment arrives faster than good judgment, especially when the paint is still moving. A pour can look awkward halfway through tilting and become lovely once the composition settles. It can also look spectacular while wet and lose contrast as it dries. The useful question is not simply, “Do I like it?” It is, “What exactly went wrong, and is it still fixable?”
Pause Before You Decide Your Acrylic Pour Is Ruined
My first step is to put the canvas flat and stop touching it for a moment. Acrylic pouring rewards decisive movement, but it punishes frantic correction. Each extra tilt blends colors, thins coverage, and sends the most interesting areas over the edge.
I learned this after ruining a ring pour that had one unattractive corner. Instead of fixing only that corner, I kept tilting the entire canvas. I lost the rings, stretched every cell, and ended with a much less interesting painting. The original problem had occupied about ten percent of the surface. My rescue attempt affected all of it.
Take a quick photograph before making another move. Looking at the image on a screen can make the composition easier to judge. I often discover that the area bothering me is smaller than it feels when I am standing over a wet canvas.
Diagnose the Actual Pouring Problem
Do not choose a rescue technique until you identify the problem. A muddy pour needs a different response from a canvas with thin coverage.
The colors have become muddy
Mud usually comes from too much movement, incompatible color choices, or paint layers mixing instead of sliding past one another. Complementary colors are especially quick to neutralize each other when repeatedly tilted. If the entire surface is muddy, adding more colors rarely restores clarity. If only one section is muddy, that section may be replaced while the rest remains intact.
The cells are stretched or overwhelming
Large stretched cells often appear when the paint is too thin or the canvas is tilted long after a pleasing pattern has formed. In my experience, continuing to chase better cells makes this worse. Cells are not automatically the most important part of a pour. A few quiet areas can give active cells room to breathe.
There are bare spots or weak edges
This is often a coverage problem rather than a failed composition. Paint may have been too thick to travel, or there may not have been enough paint for the canvas size. Check the corners at eye level. A tiny exposed spot is much easier to repair than a whole composition.
The dried surface cracked, crazed, or sank
Cracking commonly appears when a heavy paint layer dries unevenly. Too much paint left in the center, excess water in the mixture, or fast drying conditions can contribute. A sunken area may indicate that the paint film shrank around a thick puddle. These problems need to finish drying before you attempt a repair.
How to Rescue a Pour While It Is Wet
Wet paint gives you immediate options, but it also gives you very little time to think. I recommend making the smallest correction that can solve the problem. Beginners are often advised to scrape everything and start again. Scraping is useful, but I consider it a last wet rescue because it wastes paint and can leave an uneven film behind.
- Fix one weak area. Mix a small amount of the original colors at the same consistency. Add a controlled puddle or ribbon over the problem, then tilt only enough to connect it with the surrounding paint.
- Cover a muddy section. Spoon off the worst paint if it is especially thick. Add a fresh base color, followed by two or three clean accent colors. Use fewer colors than before so the rescue does not create a second muddy area.
- Repair a bare corner. Place matching paint directly on the exposed area and guide it over the edge with a palette knife or gloved finger. Do not send the entire pour across the canvas to cover one corner.
- Create a deliberate focal area. If the composition feels empty, add a small swipe, ribbon, or traveling puddle. Keep it connected to colors already present so it looks intentional rather than patched.
One mistake I see often is adding silicone during the rescue because the first cells were disappointing. Extra silicone may produce openings, but it can also create greasy pits and make later varnishing more difficult. For a beginner, matching paint consistency and controlling the tilt are more dependable than adding another variable.
What to Do After the Pour Dries
Let the painting cure before deciding how to rework it. A surface that feels dry may still be soft underneath, especially after a heavy pour. Pressing, sanding, or pouring too soon can disturb the paint film.
If you still dislike the painting after several days, choose a repair based on the surface.
- For an unattractive composition: Clean away silicone residue, lightly scuff a glossy surface if needed, remove the dust, and apply a fresh base coat before pouring again.
- For minor cracks: Allow the painting to dry thoroughly, fill the cracks with acrylic medium or paint in thin applications, and let each application dry. Then repaint or pour over the repaired area.
- For sharp texture: Carefully sand only the raised ridges. Avoid aggressive sanding that exposes canvas fibers or creates deep valleys.
- For one beautiful section: Preserve it. Add a controlled swipe around it, paint calmer negative space nearby, or crop the canvas visually with a contrasting shape.
What surprised me most when I began pouring over old work was how strongly the first layer could influence the second. Raised ridges may remain visible, and dark colors can show through a thin new base. Sometimes that texture adds depth. Sometimes it looks distracting. My preference is to reuse a canvas when it is structurally sound, but not to pile pour after pour onto thick, cracked paint. Reusing saves a canvas, while starting fresh gives you a flatter surface and more predictable movement. That tradeoff matters when you are practicing a specific technique.
Rework, Repurpose, or Let It Go
A painting is a good candidate for reworking when the canvas is firm, the dried paint is stable, and you have a clear plan for the next layer. It is a good candidate for repurposing when small areas are more successful than the whole. I have cut appealing sections from failed pours for jewelry, bookmarks, collage pieces, and color reference cards. Those fragments often reveal combinations I want to try again.
Let the painting go when the canvas has sagged, the paint is peeling, or the surface contains so many heavy layers that another pour will not dry reliably. I eventually realized that saving every canvas was not the same as learning from every canvas. Sometimes the most valuable part is recording the colors, consistency, technique, and point where the composition changed.
Troubleshooting Questions
Can I pour directly over a dry acrylic pour?
Yes, if the surface is clean, stable, and free from oily silicone residue. Wash or clean it appropriately, allow it to dry, and use a base coat to give the new pour a consistent surface.
Should I scrape off a wet pour I hate?
Only if the entire painting is beyond a focused repair. First consider saving one area or correcting one section. If you scrape, remove the paint evenly and check that no thick ridges remain before starting again.
Will varnish fix dull colors or a poor composition?
Varnish can deepen color and even out sheen, but it cannot restore lost contrast, repair stretched cells, or improve awkward placement. Test the appearance by viewing the fully dry painting under good light before assuming it only needs gloss.
How do I know when to stop fixing it?
Stop when each correction creates a new problem, or when you can no longer explain what the next change is meant to accomplish. Acrylic pouring includes uncertainty, and not every unusual shape needs correction. Keep the lesson, keep any part that excites you, and let the next pour benefit from what this one taught you.
