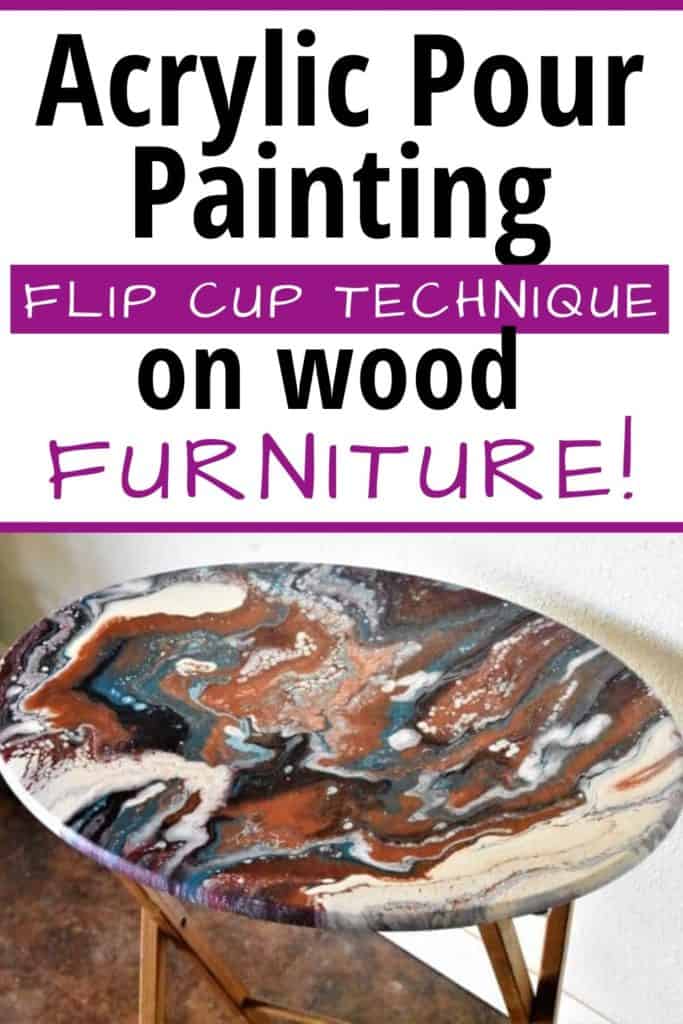
Today, I want to share with you some acrylic pouring on furniture I did to upcycle an old TV tray I found!
Thrift Store Potential
My best advice for going to thrift stores is to keep an open mind and see the potential in things. Don’t necessarily focus on what they look like or are right now but what they could look like and what they could be.
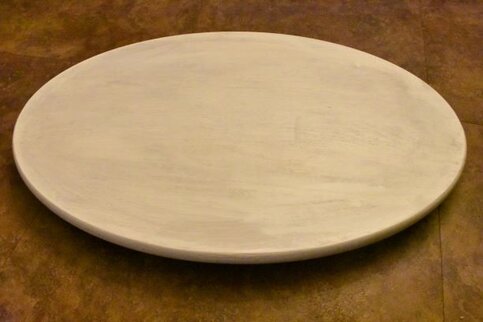
Prime example, I found this TV tray table at the Habistore for 15% off of $5. It had a stain and some damage on the top, and the legs needed some work as well. But I’d been wanting a small table for beside the couch in the playroom and the price was right. Plus, it folds up, awesome space-saving solution.
If you’re new to pouring, head on over to my Beginner’s Guide to learn all about the art form and how to get started as well as my Comprehensive Techniques Guide to check out videos for each different technique.
And if you’re getting hung up with color or just want to learn how to choose awesome color combos, check out my post on Choosing Colors for Acrylic Pouring and sign up to receive my FREE Color Wheel and 8 Color Scheme Guides below!
Prep Work
I took it home, and my husband and my son helped me shore up the legs by tightening all the screws and adjusting the placement of some of the hardware. Then, we used wood glue to reattach the support dowel that runs horizontally between the legs.

To prep for paint, I sanded the top of the table down with an electric palm sander. And then I primed it with a coat of Zinsser Bulls Eye 1-2-3 Primer.
Acrylic Pouring on Furniture
Then came the fun part. I employed one of my favorite techniques, acrylic pouring, to paint the top of the table and bring some life back into it. I did what’s known as a dirty cup pour. The paints I used were: Master’s Touch titanium white, Artist’s Loft metallic cobalt blue, Artist’s Loft copper, and a dark maroon made from a combination of Liquitex Basics quinacridone magenta, Apple Barrel bright red, and Apple Barrel black. I thin all my paints with Floetrol and water. Check out this video to watch the pour.
Finishing Up
Once the top is completely cured, I plan to apply a coat of clear resin to seal the top and make it more kidproof.

Go Forth and Upcycle!
Overall, this is was a super cheap, easy, fun project that took virtually no time at all. If you keep your eyes out, you can find a lot of cool stuff that can be upcycled easily without breaking the bank to fit right in with your home decor. For more inspiration, check out all of my upcycling projects.
As always, check out my updates on Facebook and Instagram and feel free to peruse Homebody Hall for more ideas on how to make your house a home, on a budget! Happy creating!
Leopard Pour Art Welcome Sign: Perfect Craft Project for Beginners!
How to Paint Rocks in Acrylics – Spruce Up your Garden
DIY Decorative Tray for 4th of July
Want to remember this Upcycled TV Tray project? Pin this bit of inspiration on your favorite Pinterest board!


