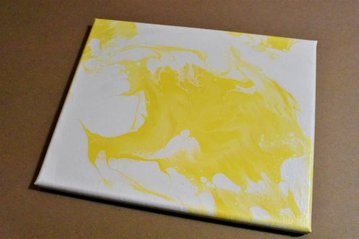
Day 12 of my acrylic pouring color theory series is a monochromatic reverse dip with shades of yellow over white. It’s a very subtle piece, which I think goess to show the range of effects you can get with acrylic pouring depending on the colors and techniques used.
This piece is also a great example of what you can do if you aren’t happy with the first thing you do on a canvas. There are always ways to “fix” things that “go wrong.”
If you’re curious about colors and color theory as it relates to acrylic pouring, head on over to my post about Choosing Colors for Acrylic Pouring and grab your FREE printable Color Wheel and Color Scheme Guides.
If you would like to follow along with my 30-day acrylic pouring color theory video series, grab your very own color wheel and color scheme guides and some paint, and head on over to the color theory section of Homebody Hall!
If you’re pouring for the first time and would like more explanation on materials, processes, and terms, you can head on over to my Beginner’s Guide to Acrylic Pouring. You can also head over to my Comprehensive Guide to Acrylic Pouring Techniques for more information on all of the different techniques and my How to Thin Acrylic Paint for Acrylic Pouring post to learn all about pouring mediums!
This post contains affiliate links, which I earn a small comission from. These are provided for your convenience, and the price isn’t increased at all.
Color of the Day (Day 12 – Reverse Dip):
- Yellow
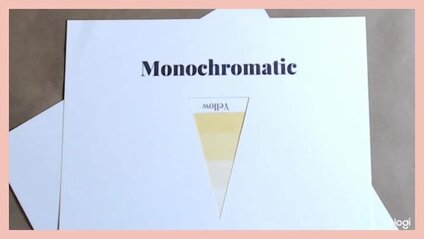
Color Scheme:
- Monochromatic – Yellow
Shades Chosen:
- 3 shades of yellow
Neutral Chosen:
- White
Technique:
- Reverse dip
Paints:
All of the colors I used were mixed from the paint colors below.
Pouring Medium:
- Floetrol
- Water
Canvas:
Tools:
- Popsicle stick
- Sandwich bag, cling wrap, other piece of plastic
- Butane Torch

Sealant:
- Rustoleum American Accents Gloss Clear (1 thin coat)
Reverse Dip Step by Step
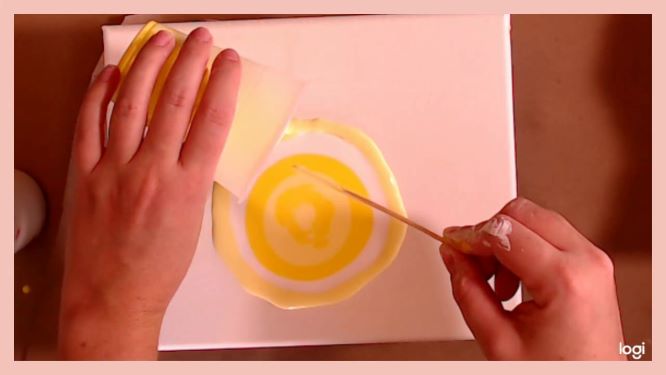
- Lay down puddles of paint in colors of your choice. I used white and three shades of yellow for this painting.
- Draw the paint outward and inward with a popsicle stick to create a flower-like pattern.
- Press a piece sandwich bag, a piece of cling wrap, or some other piece of plastic down on top of your paint. Slowly and carefuly lift the plastic up off the paint. (If you used enough paint and you’re happy with the design, this may be the end of your painting.)
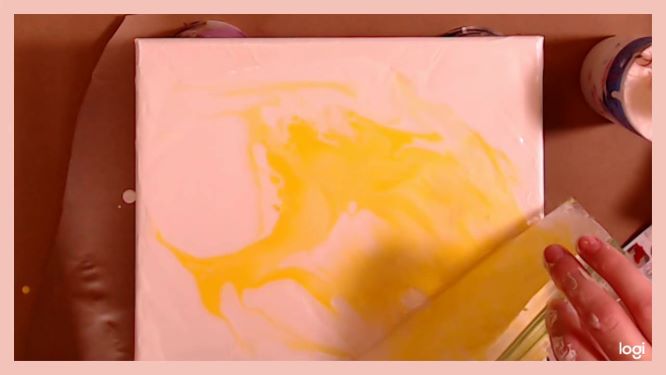
- Pour more paint around the outside of your design and spread it out. (Pouring a good base coat down in the beginning would have been better.)
- Tilt to move your paint around the canvas. (Again, this could be the end of your painting process if you’re happy with the results.)
- You can use the paint that is on the bag to add more color to your canvas.
- Torch to bring out cells. (Totally optional! Just something I chose to do because of the monocromatic color scheme. I was trying to create some more details and visual interesst.)
Go Forth and Pour!
As always, check out my updates on Facebook and Instagram and feel free to peruse Homebody Hall for more fluid art tips, tricks, and tutorials! Also head over to Youtube and subscribe to get my videos sent to you as soon as they come out!!
And now you can joing my Facebook Group, Flourishing Fluid Arts with Homebody Hall and get help, tips, inspiration and just hang out and have a great time!
Acrylic Pouring Wing Pour Technique
Black Canvas Paintings – Acrylic Pouring & Neons!
Acrylic Pouring Split-cup Pour: A Guide
Want to remember this reverse dip tutorial? Pin Day 12 of this Acrylic Pouring Color Theory Series to your favorite Pinterest Board!
